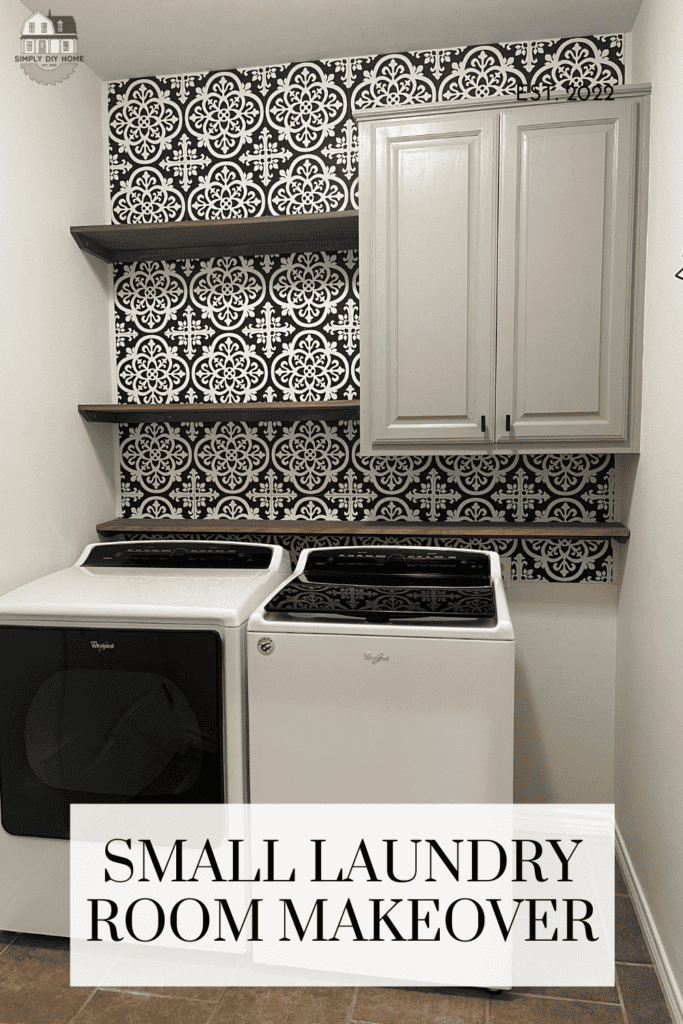
Do you have a small laundry room that is in need of a makeover? If so, you are not alone. Many homes have small laundry rooms that don’t offer much storage space. But don’t worry, there are a few simple things you can do to give your small laundry room a makeover and make it more functional and stylish.
It has officially been 3 years since I completed our Texas laundry room makeover. When I posted my laundry room makeover back in 2020 on Pinterest, it went viral! Hundreds of questions on details and cost. So, here we are 3 years later and I’m going to break it down for you.
[AFFILIATE LINKS ARE PROVIDED BELOW FOR CONVENIENCE. FOR MORE INFORMATION SEE MY DISCLOSURE HERE.]
Tools & Shopping List
Recommended Tools
- Brad Nailer
- Level or Laser Level
- Drill
- Palm Sander
- Utility Knife
- Ruler
- Cutting Board
Shopping List
- Floor Pops Tile
- Spray Adhesive
- PowerPro Screws
- Brad Nails
- Sandpaper
- 1×2 Select Pine Boards
- 1×6 Select Pine Board
- 1×8 Select Pine Board
- Quarter Round Trim
- Pre-Stain Conditioner
- Briarsmoke Stain
- Clean Rag For Applying Stain
Total Cost
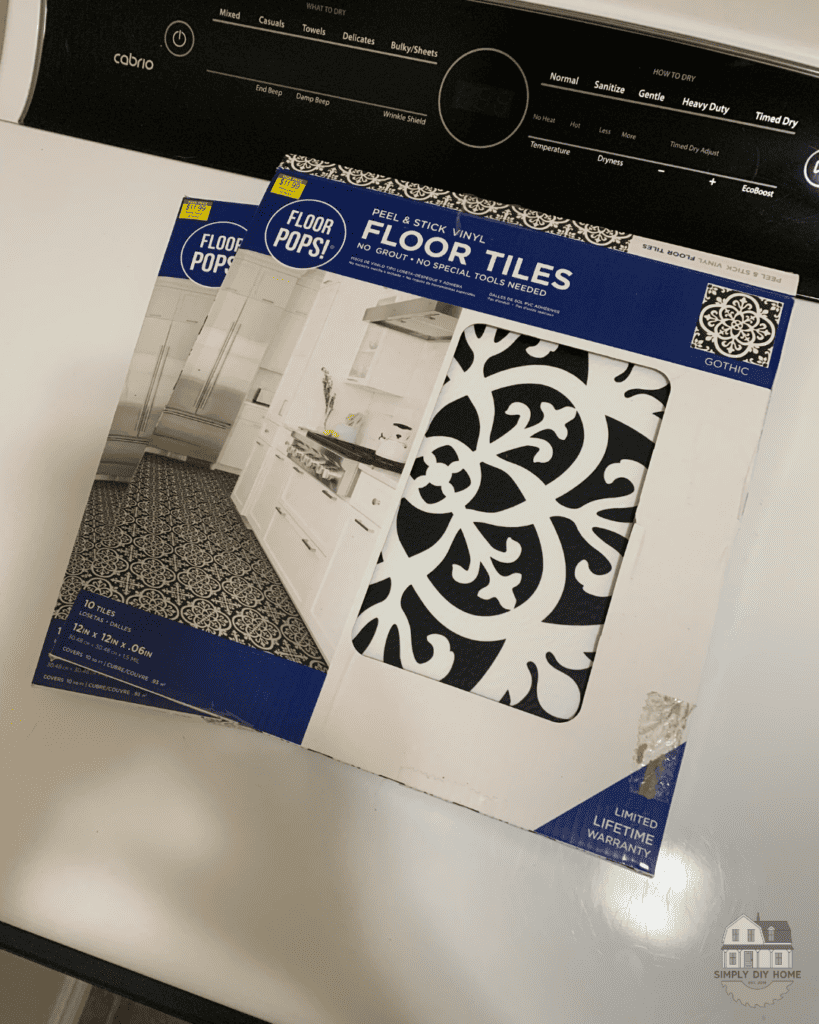
At the time of this project I had purchased 3 of these boxes. I picked them up at Hobby Lobby for $12 a box. I already had the spray adhesive and brad nails on hand so the peel and stick backsplash only was $36 for the 9 foot ceilings I had in our laundry room!
I’m not sure Hobby Lobby still sells these tiles but I found ones that are similar from Amazon for the same price!
How To Install Peel + Stick Tile Backsplash
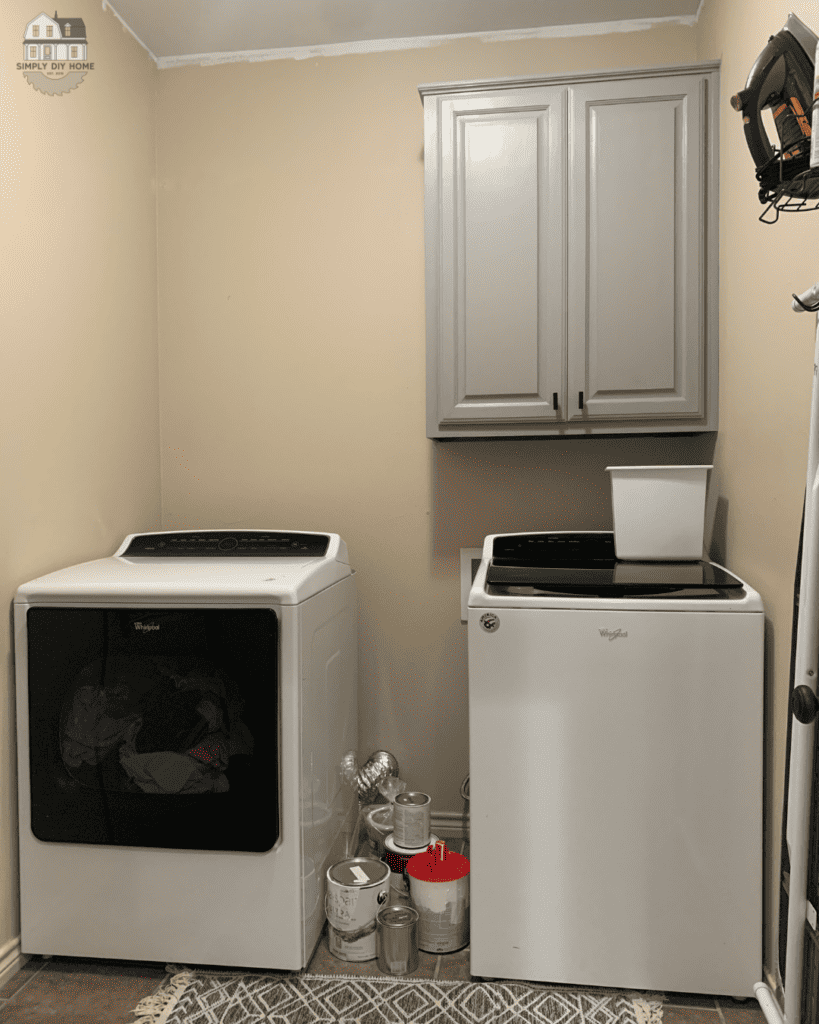
Clean And Prep The Wall
Prior to beginning, I cleaned all the walls thoroughly using soapy water. It’s crucial to have a pristine surface when applying peel-and-stick materials. If you have any major imperfections like big gauges or dents you should fill those with spackle and prime over it before beginning.
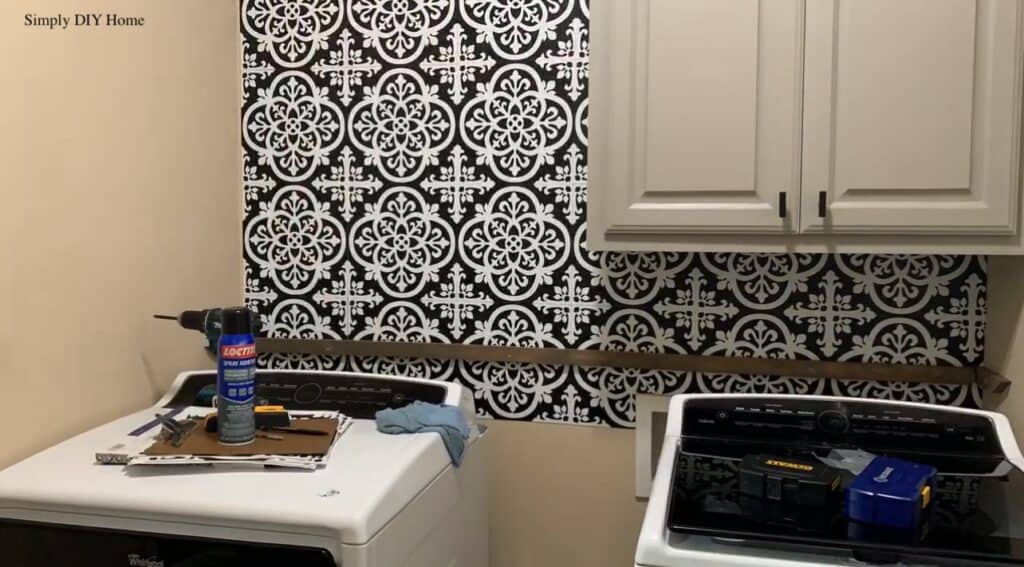
Apply Tiles To The Wall
Our Texas home had a slight texture to it’s walls so to make the peel & stick tiles stick better I used this spray adhesive and brad nails for extra support. When placing your first tile on the wall make sure you use your level and find a level place to start out.
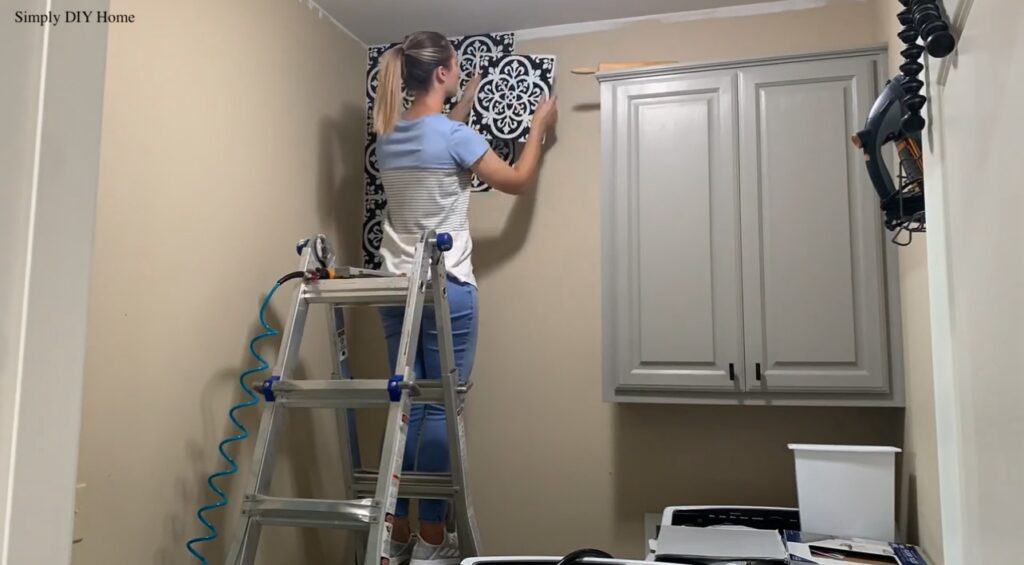
Not all houses, well most houses don’t have perfectly straight walls. So instead of starting perfectly flush against the wall with your first tile you might have to space it off the wall a bit. Don’t worry any space that’s between the wall and tile will be covered up with a trim piece in the end.
When applying the tiles I would take the spray adhesive and spray the wall and just a light coat directly onto the back of the tile. Once you get it on the wall take your nail gun and shoot a nail into each corner but at an angle. This gives the nails something better to hold onto.
If you have to cut any of the tiles like I did, use a utility knife, ruler and cutting board to score your tiles. Then, lightly bend where you scored the tile and it should easily snap in two.

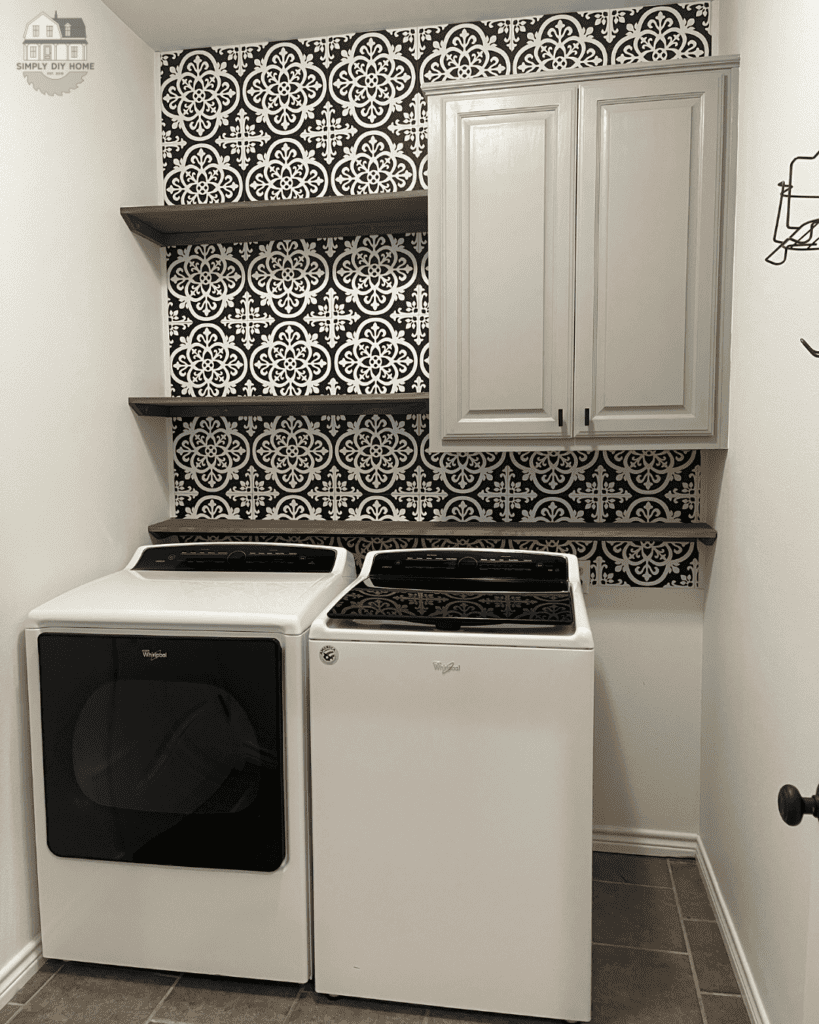
Add Shelves For More Storage
Once, all my tiles were up I decided I wanted to add open shelving to our laundry room. I chose a select pine 1×6 for the bottom shelf and select pine 1×8’s for the top shelves. First thing I did once I got home was give the wood a good sanding to open up the pores of the wood so it will take the stain better.
For my particular laundry room I chose the color Briarsmoke for the stain color. Applying a pre-stain conditioner first and then the stain after is something I highly recommend.
Pre-stain conditioner is something I always have on hand! A wood conditioner serves a crucial role in the staining process by preparing the wood surface to receive stain more evenly. Wood, especially softwoods like pine, have varying levels of porosity, which can lead to uneven stain absorption and blotching.
After, the shelves were dry it was time to hang them. There are many ways you could go about this but I chose to use 1×2’s for braces. My husband took his stud finder and drilled screws into the 1×2’s to make sure they were secured to the walls.
If you can’t find any studs to hang your shelves you should use wall anchors instead. You don’t want your shelves to come crashing down after all your hard work.
With the braces installed we just set the shelves directly on top and took the brad nailer to nail a few nails down into the 1x2s.
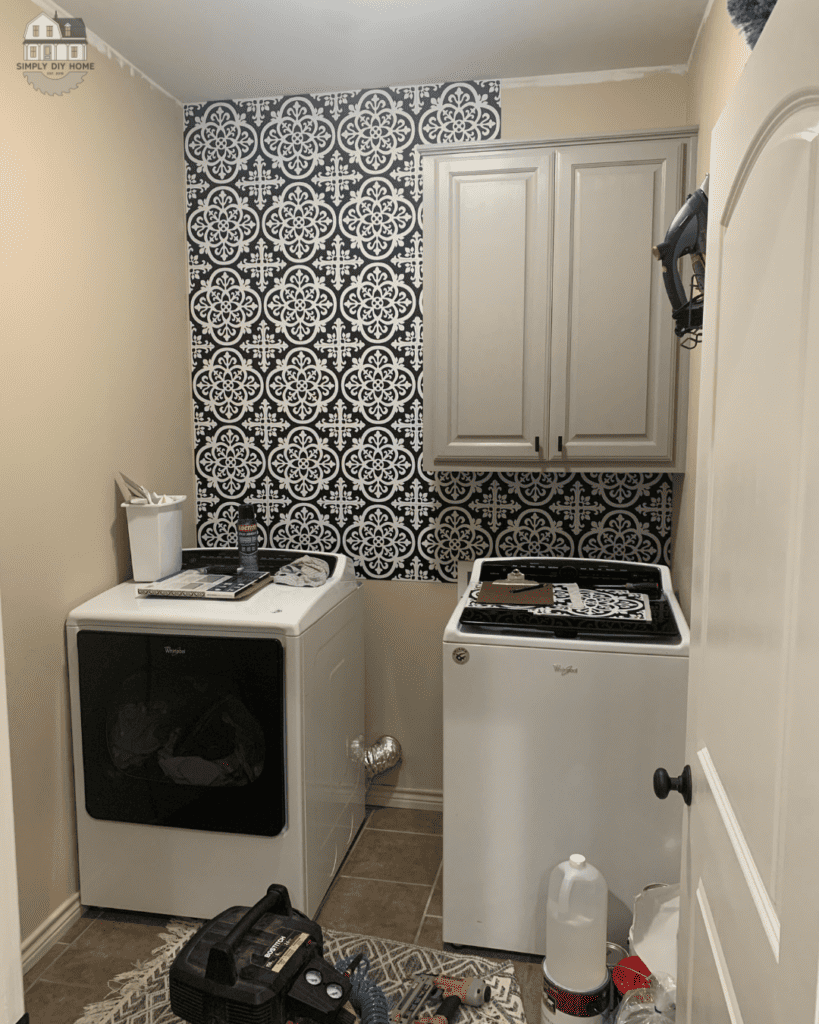
Adding Trim To Peel & Stick Tile
Last step was to add quarter round trim to the outer edges of the tile backsplash. Since our walls weren’t straight I spaced the tiles off the wall to get a straight line. To cover up that small gap I cut and installed the quarter round to the outer edge and then paint it to match the wall color!
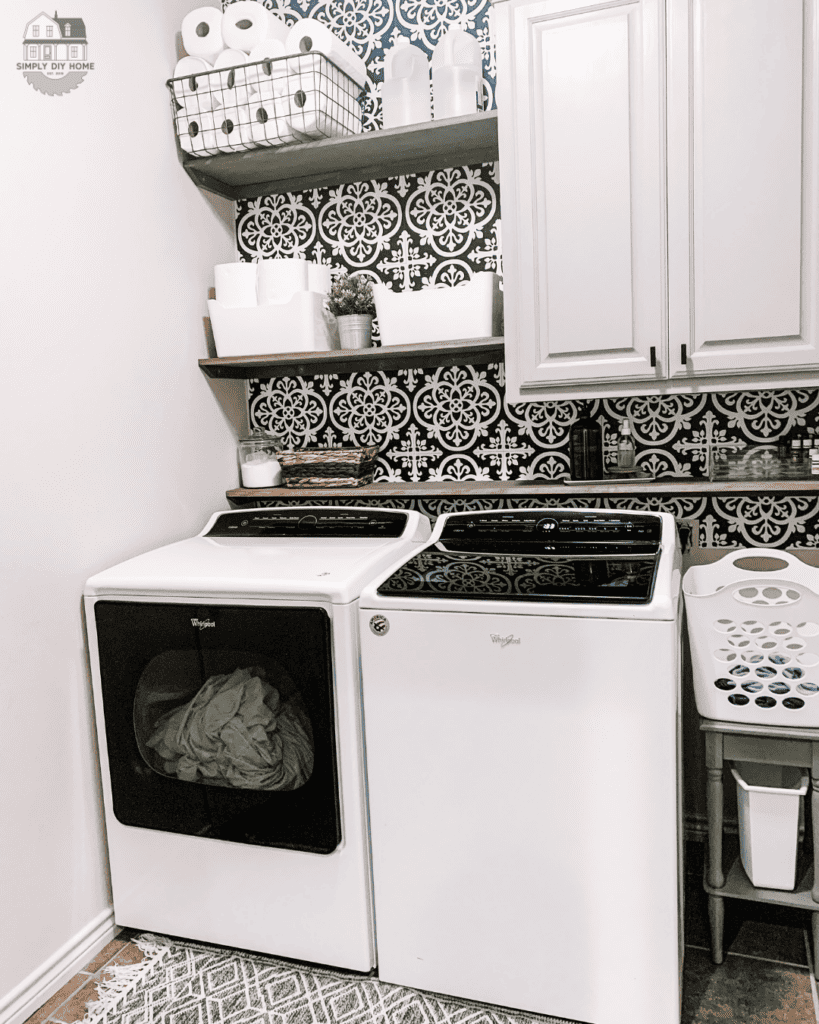
I was and still am so proud of this laundry room! I miss this house all the time and wish my current laundry room was half as cute as this one was. If you decide to tackle this project or have any questions I didn’t answer feel free to email me at [email protected] or DM over on Instagram!
Happy Building!