
This vertical strawberry tower is a great beginner project for a first time DIYer or if it’s your first time gardening. Whether you’re perennial plants, herbs or strawberries this is how to build a DIY raised garden planter, an easy & inexpensive option.
Earlier this week I was searching Pinterest for DIY tiered strawberry planter ideas.
Upon discovering the designs for a DIY strawberry tower, I was immediately drawn to the idea. It appeared to be a straightforward project for beginners, and offering an excellent opportunity to enhance my woodworking abilities.
For beginner gardeners looking for a rewarding DIY project, a vertical garden planter is an excellent choice, and that’s why I decided on strawberries! Strawberries not only offer a tasty yield but also flourish in a vertical environment, growing rapidly. It’s advisable to cultivate several strawberry plants to ensure a decent harvest.
In this guide, I will disclose the expenses associated with this project, along with valuable insights gained (including a few mishaps) to equip you with the knowledge needed to construct your own.
[AFFILIATE LINKS ARE PROVIDED BELOW FOR CONVENIENCE. FOR MORE INFORMATION SEE MY DISCLOSURE HERE.]
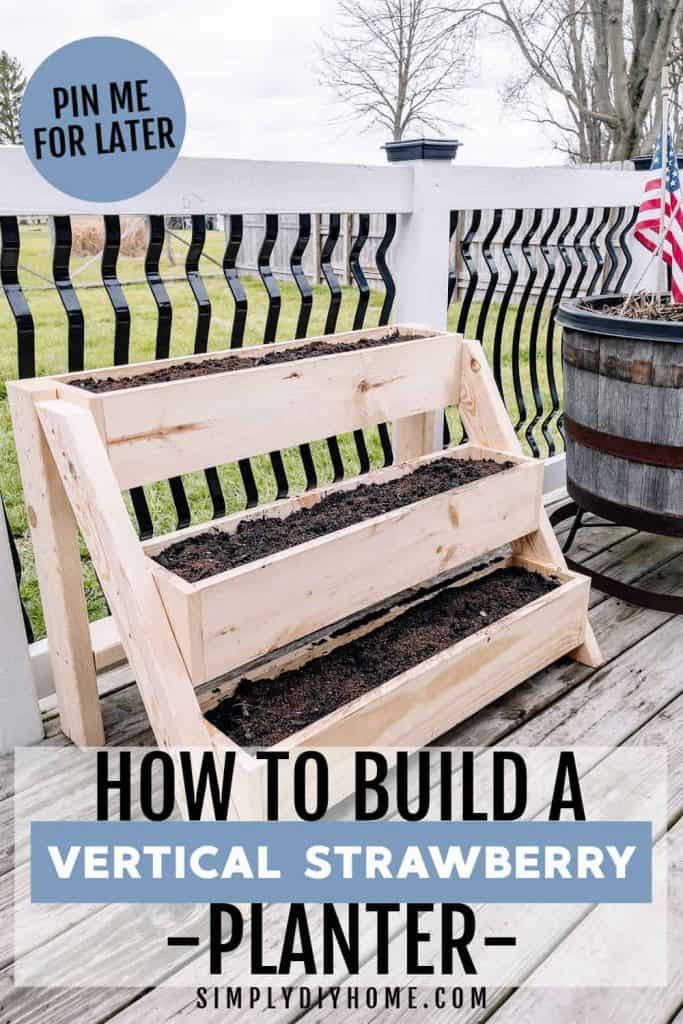
This DIY vertical planter is ideally suited to accommodate a generous number of strawberry plants, with space for about 30 in total. That equates to 10 plants per tier, spaced adequately to ensure each plant has room to flourish and thrive.
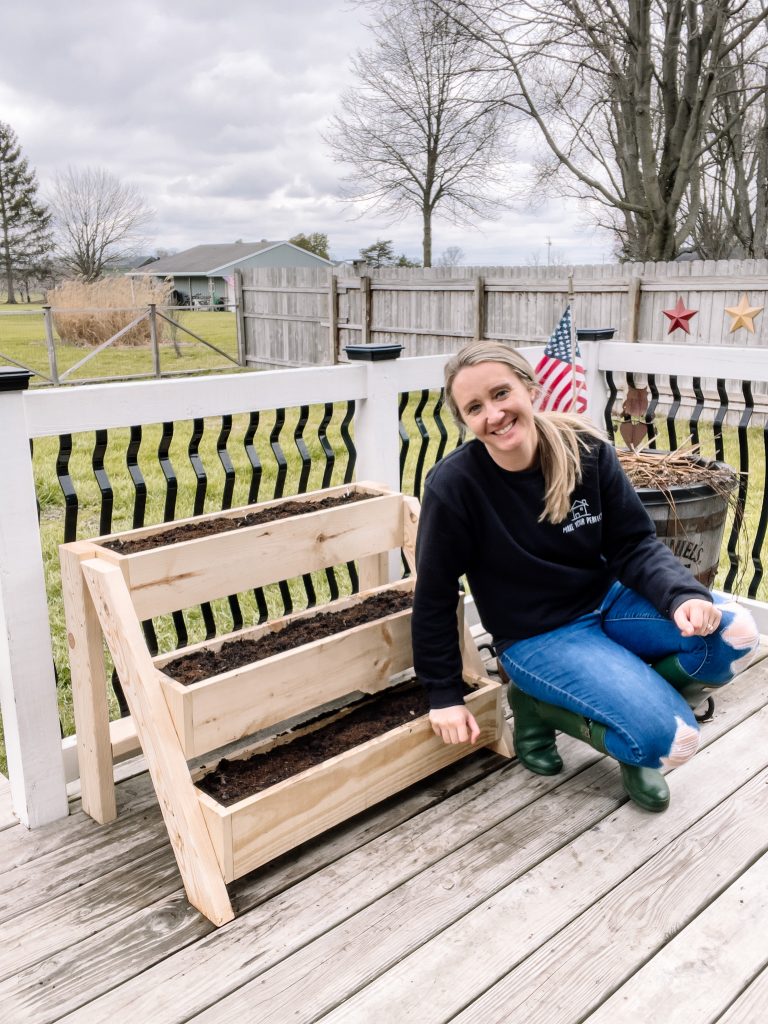
The image up above illustrates the size of the vertical garden planter, providing a clear perspective on its capacity for hosting lots of strawberry plants!
Supplies & Tools
- 1x6x8 Cedar or Redwood Board (4)
- 2x4x8 (2)
- Exterior Grade Wood Sealer– Don’t skip this step if you are buying anything other than cedar boards.
- Strawberry Plants– This planter can hold 30 plants.
- Raised Garden Bed Soil (1)
- Clamps– Clamps are life savers when DIYing.
- Exterior Screws– These are seriously the best.
- Drill
- Nail Gun-OPTIONAL
- Wood glue
- Miter Saw
- Measuring tape
- Pencil
- Kreg jig & Kreg jig Screws– OPTIONAL- This is how we assembled our boxes.
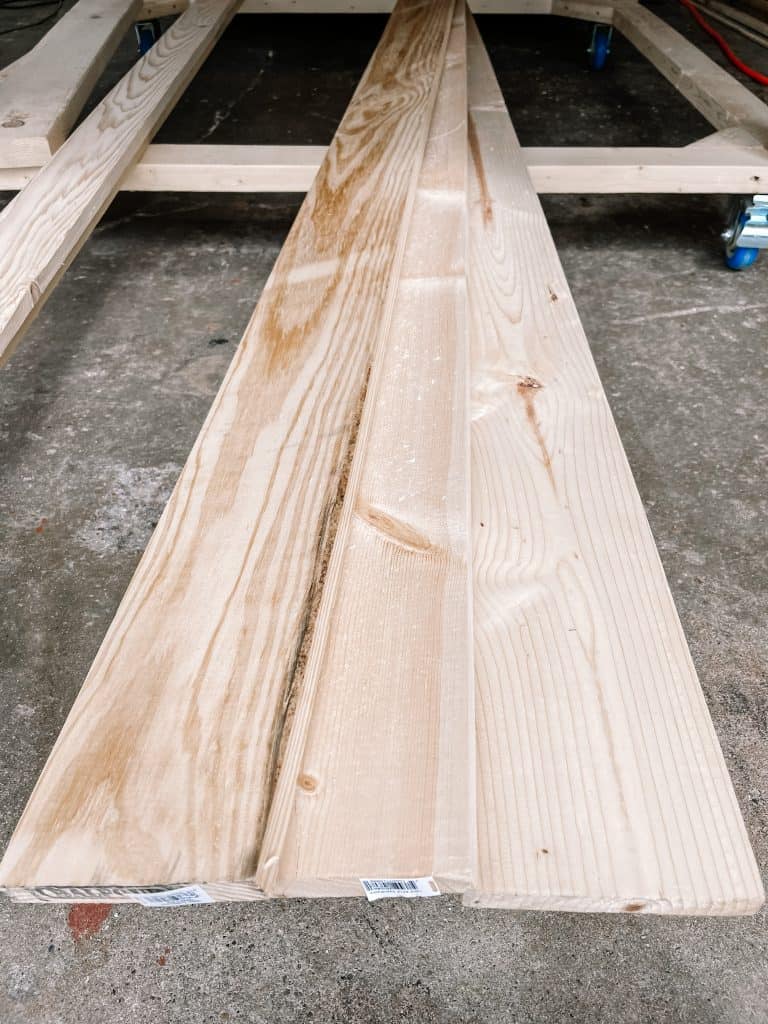
Choosing The Right Wood
The best way to have your planter last you for seasons to come is to pick the correct wood. The most durable wood for a project like this would be REDWOOD or CEDAR wood.
Pine is a cheaper alternative but won’t last you nearly as long. It is an inexpensive soft wood that you can use inside or outside the home. Should you opt for pine as your planter material, it’s important to understand that proper care includes sealing the wood with an exterior grade wood sealer.
Now do as I say, not as I do! I skipped this step. I actually bought the sealer from the hardware store but was too impatient to do it. Let’s say I got excited and jumped straight to planting our strawberry plants. (FYI-I am coming back and updating this post because after a year of using our planter the pine wood did not survive. I highly recommend do not use pine wood unless you take the time to seal it properly!)
Cedar is the route I wish I would have went with. Cedar is naturally insect-resistant, helping protect your plants from bugs. It doesn’t rot as quickly & it holds up to elements. But, cedar comes with a bigger price tag.
The cost of wood for this project using pine 8 foot boards and 2×4’s was roughly $57. That didn’t include the sealant, strawberries, and dirt. I will do a price break down at the end of this post!
DIY Raised Garden Planter CUT LIST
Don’t worry friend!! If you want the same measurements for your DIY planter as the one up above I have done all the hard work for you. You can download the FREE cutting list down below!
DIY Wooden Strawberry Planter Instructions
I won’t dive too deep into the specifics of cutting and assembling this DIY planter here.
However, for those interested in a visual step-by-step guidance, I’ll provide a link to my Instagram stories HERE. I’m keen on sharing as much as possible through my stories, understanding that, like many others, I too find video demonstrations incredibly useful for visual learners!
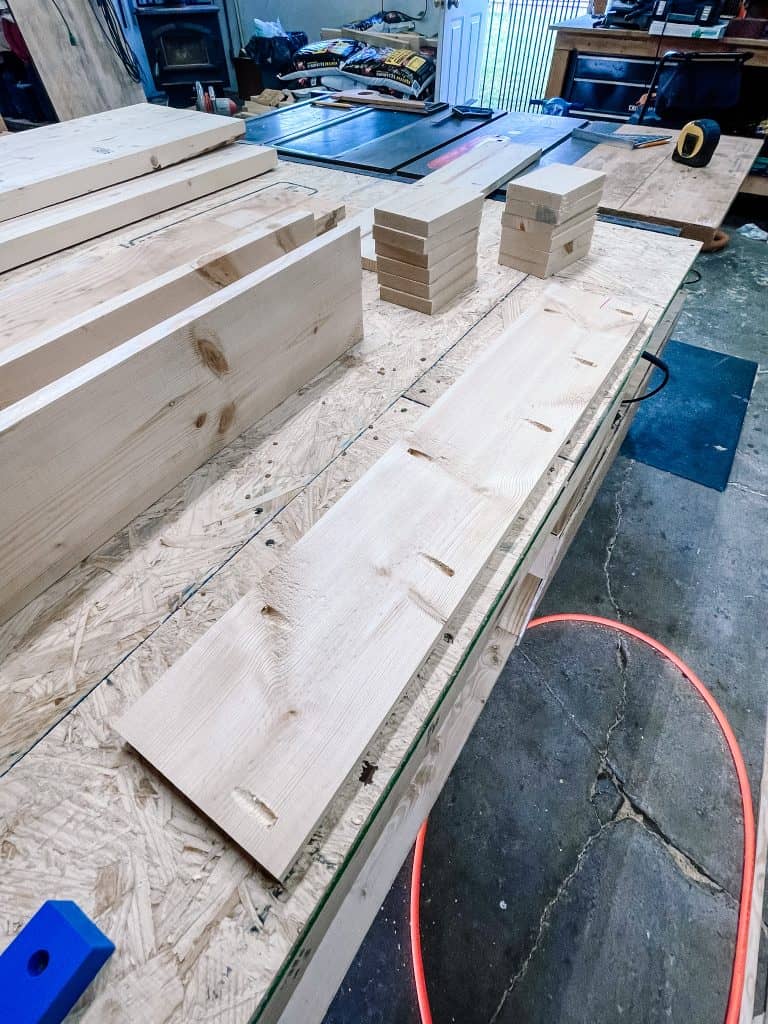
As far as cutting the wood we used our miter saw. If your going to be doing DIYs & know it’s something that you love I 100% recommend getting a miter saw. Check your local facebook group, Walmart or look out for sales at Lowe’s or Home Depot! This is the MITER SAW we have and if you are looking to go more high end I will say we don’t regret this brand one bit!!
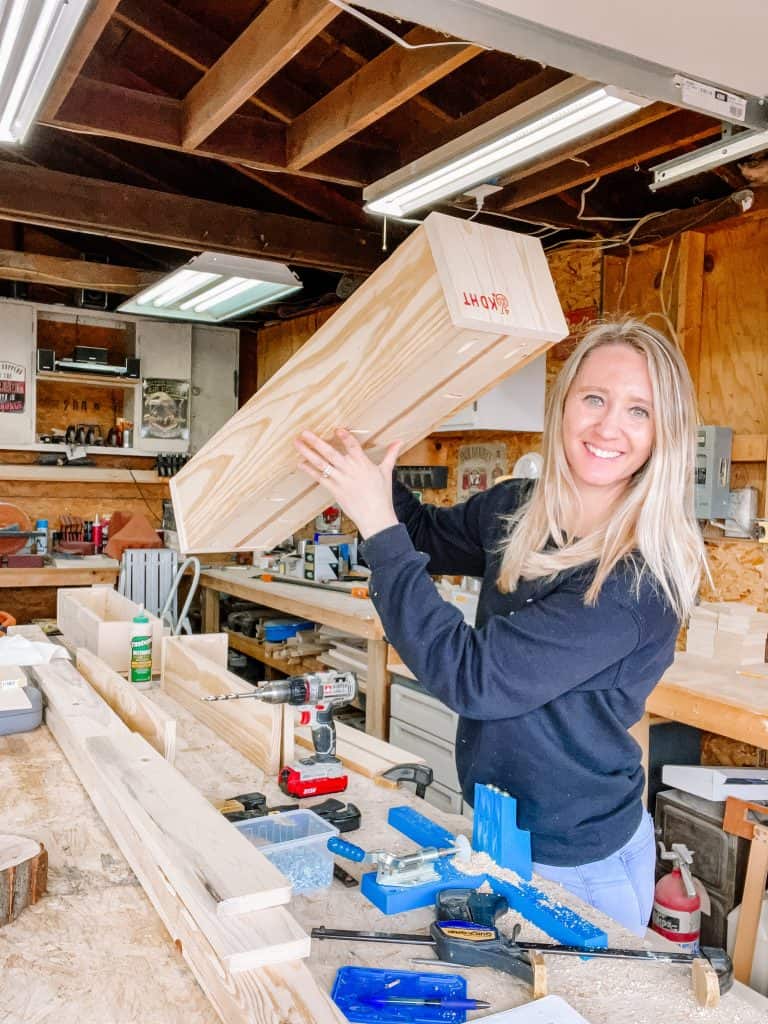
Assembling The Garden Boxes
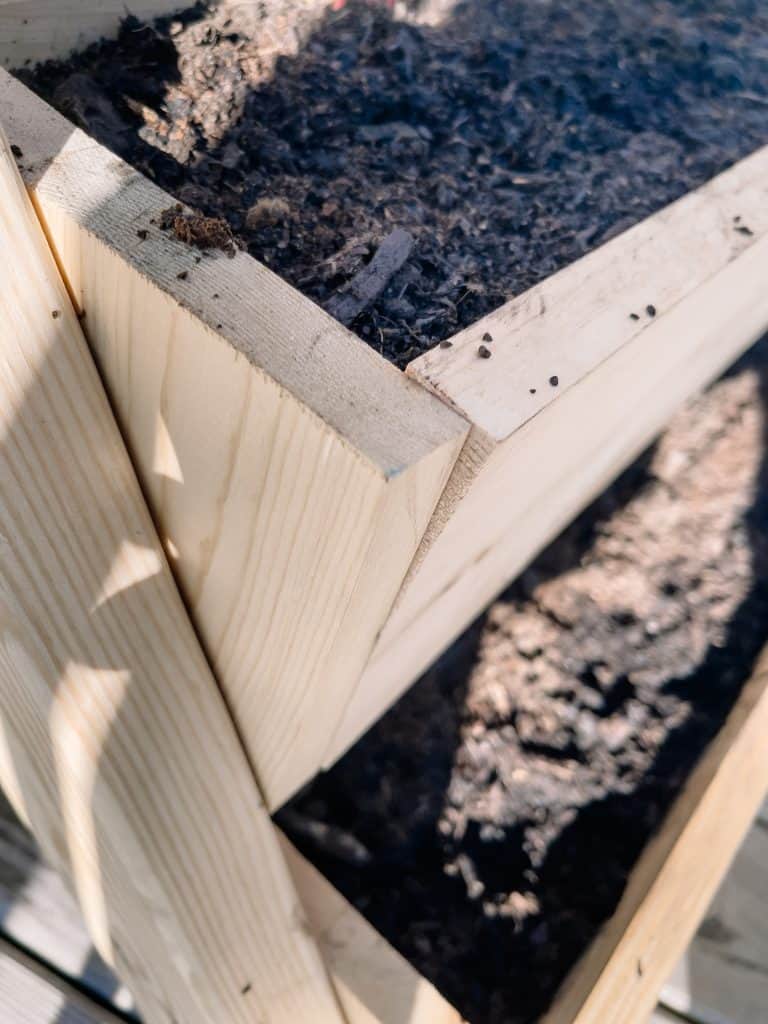
Assembling the boxes is pretty self explanatory. You have 3 sides that are 30″ and the two end pieces are 7″. To assemble the box planter pieces together we chose to use wood glue, a Kreg jig & Kreg screws. This is totally optional & you don’t need a Kreg jig to make this planter.
Other options are a nail gun with exterior nails, the classic hammer and nails or if you have a screw driver I would recommend exterior screws like these ones.
For the most part the planter boxes are held together by the pocket holes and screws. But to attach the support legs we used these exterior screws that I highly recommend by Power Pro Hardware! They don’t require pre-drilled holes & really hold up and do the job!
Mistakes I Made Along The Way
Now for the part where I tell you all the things that I would have done differently if I had known better.
- Wheels– You’re probably thinking what?!? Wheels?? Yes, if I had known better I would have installed some caster wheels to this planter. Since I decided to plant strawberries they need a minimum of 8 hours a day of full sun. For our situation at my parents house I needed to move them a few times a day to reach the sun. This planter is not the lightest & gets a little heavy once you add in the dirt, water and plants.
- Drill Small Holes– With most plants you need drain holes. This wasn’t something I thought of in the building process. So after I filled the DIY raised garden planter I had the afterthought.
- Sealing– I mentioned this earlier. I wish I would have taken the time to seal the wood before planting.
- Placement of Screws– When assembling our boxes I made the pocket holes more in the center of the board and not so much on the far edges of the boards. We used quite a bit of clamps to screw the boxes together but in the end once they had been out in the elements they start to warp just a little bit. Since I failed to put screws at the ends of the boards those tight corners are no longer tight.
UPDATE: This planter with the pine wood only lasted about one season. (remember I never sealed it) Next time I go to build this planter I will most definitely be using a redwood or cedar wood. As for the design, it was great! We got loads of strawberries and i think this was perfect for vertical growing.
Final Cost
Final cost of this vertical gardening system came out to be about $98. That excludes screws and tools to perform the build. The pine boards & 2×4’s came in at roughly $57. The wood sealant, dirt and new plants came out to be about $40. Less than $100 to me was well worth it. Especially knowing I built it and that now all I have to do is keep these strawberry plants alive!
If you build this DIY raised garden planter please send me a photo on Instagram or email I would love to see what you are building and growing! Check out my Instagram reel on my Instagram page for a quick summary of this build! See you in the next build!!
Frequently Asked Questions
Water your strawberries whenever the top inch of soil feels dry to the touch, ensuring consistent moisture without overwatering.
While Cedar and Redwood are preferred for their durability and resistance to rot, Pine can be used if sealed properly. However, it may not last as long.
Like stated above I used Pine and I wish I would have went with cedar!
Absolutely! This versatile design can accommodate a variety of plants, making it a great addition to any garden.
Plant strawberries in early spring or fall, depending on your climate, to ensure they have enough time to establish before the growing season.
Strawberries are perennial, but their productivity can decline after 2-3 years. Plan to replace older plants with new ones to maintain a vibrant, productive vertical garden.

[Safety is of great importance when working on DIY projects. Always follow proper safety guidelines, wear appropriate personal protective equipment, and adhere to local building codes and regulations. READ MY FULL DISCLAIMER HERE.]