A DIY floating wood shelf is one of my absolute favorite, go to, decor staples. Floating shelves are a beautiful way to customize your space. From custom lengths to staining or painting them, there are endless options to customize.
They’re also great if you’re indecisive like me when it comes to hanging home decor on the walls!

I haven’t talked about our Texas house to much here on the blog but, it was what I considered a fixer upper. Not a tear the walls down kind of fixer upper but more like an everything in this house is off white/yellow kind of fixer upper.
That house was not our forever home, we bought it knowing we would only be living there for 3-4 years. So everything we did in that home I had resale in mind.

So that leads me to the DIY wood shelves. Knowing that we had to sell our house in 2-3 years I wanted to put minimal nail holes in the walls. The previous owners did enough of that. The great thing about the long wall shelves were I could swap out different pieces of decor any time without adding new holes in the wall.
In our Texas home we had a rather large living room with 12 foot ceilings, so picking the right decor for the walls had been a challenge.
I love family photos and like to display them but, with such high ceilings my picture frames would just get lost in all the empty space.That’s where the DIY floating shelves came in handy! With a easy diy shelf I could layer the frames and not only display my family photos but it would add depth to the display instead of just hanging them on the wall.
Anyone can make a wall shelf, it is honestly one of the most simple DIY projects we have done by far.

Floating Shelf Supplies & Tools
[AFFILIATE LINKS ARE PROVIDED BELOW FOR CONVENIENCE. FOR MORE INFORMATION SEE MY DISCLOSURE HERE.]
Supplies Needed
- (1) 1×2 Whiteboard or Select Pine Boards
- (2) 1×4 Whiteboard or Select Pine Boards
- Wood Glue
- Wood Filler
- Minwax Pre-Stain
- Paint OR Stain Minwax Weathered Oak & Minwax Provincial
- Rubber gloves
- Minwax Wipe On Poly [Optional]
Tools Needed
- Kreg Jig Pocket Hole System
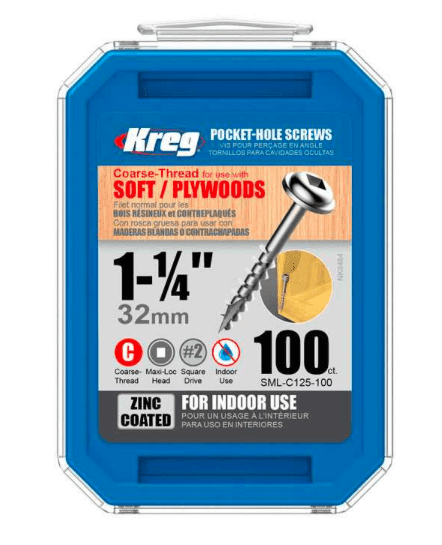
- Kreg Jig Pocket Hole Screws 1 1/4″ Coarse-Thread
- Drill
- Nail Gun & 1″ or 1 1/2″ Finish Nails
- Countersink drill bit
- Stud finder
- Level
- Tape Measure
- Lint Free Rag for Applying Stain
- Orbital sander
- 2″ drywall screws
- Drywall Anchors
There are many ways to assemble wood shelves. Not all the tools are necessary! My rule of thumb is to at least use two of the methods for safety reasons. An example would be pocket screws & using your nail gun for added support to assure the shelf is well made.
Step-By-Step Tutorial On Building A Floating Wood Shelf
Measure, Cut & Prep Wood Boards
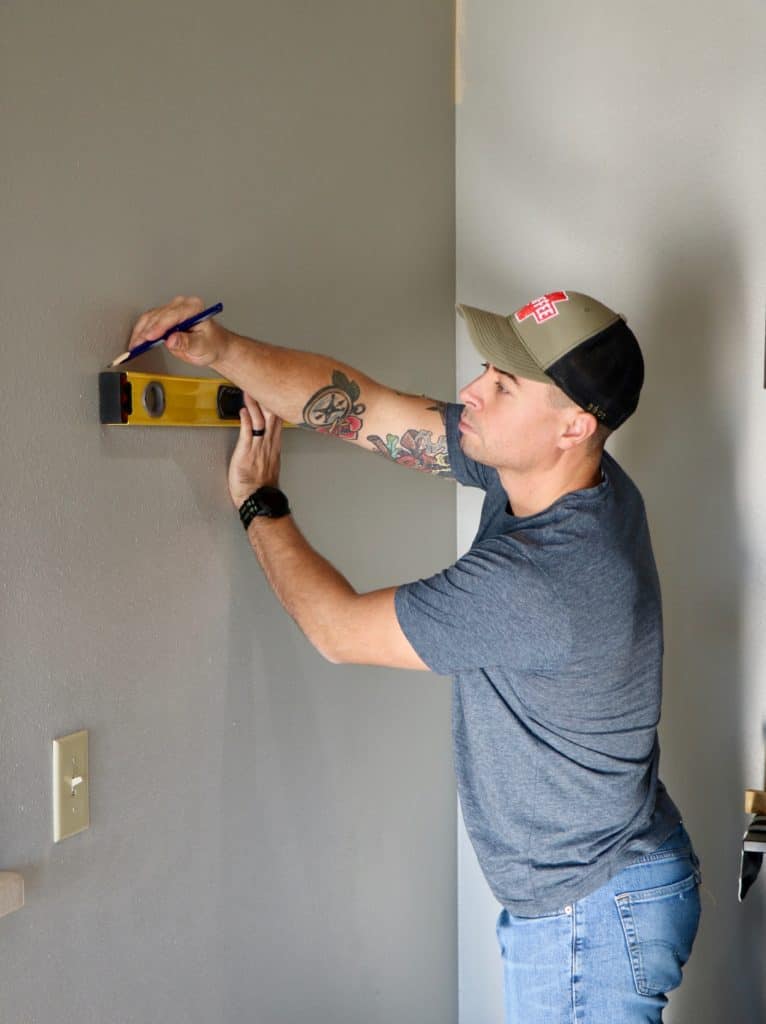
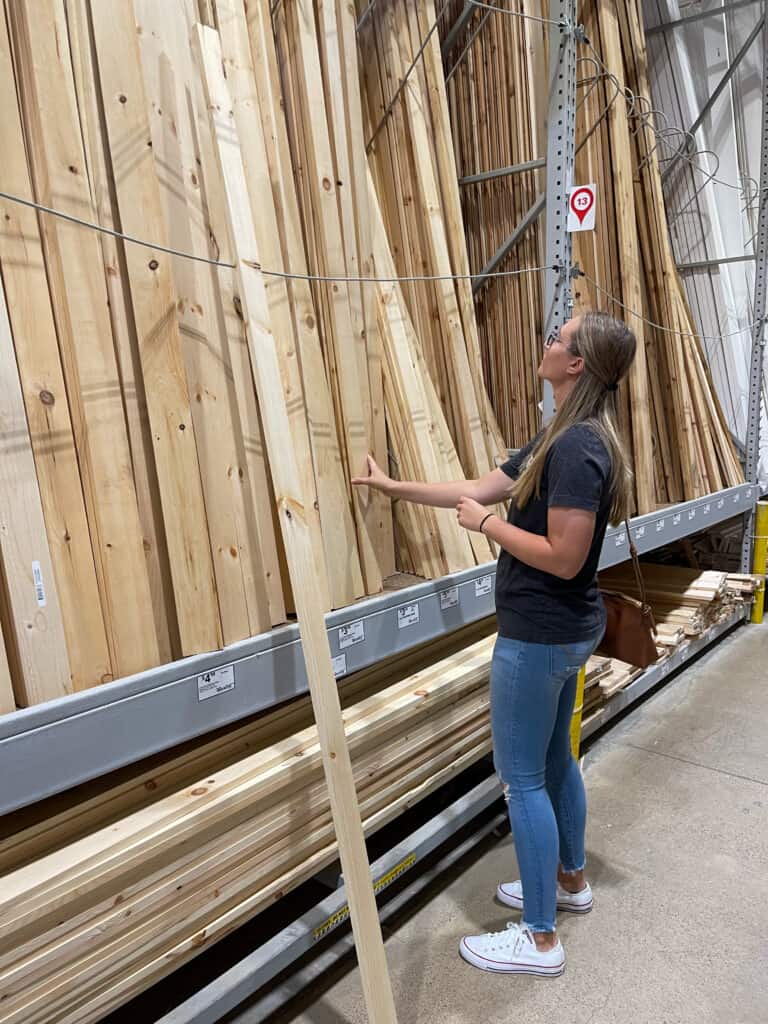
First you want to measure your space, and determine how long you want your shelf. For our particular project we only wanted the shelf to be 4 feet long. If you don’t have a miter saw or circular saw you can actually ask your hardware store like Home Depot or Lowe’s to cut the boards for you.
After your boards are to length you need to sand your boards down with at least 220 grit sandpaper.
How To Assemble A Floating Shelf
This is where we used our Kreg Jig. If you don’t have one that’s perfectly fine you can still do this project without one and just pre-drill pilot holes and use wood screws to attach everything.
For us having a Kreg Jig to create pocket holes is essential because, we do so many projects and this tool is one of our most used. It makes our lives so much easier when building furniture. Now, this isn’t our first picture ledge and along the way we have made mistakes and kind of mastered where we like the pocket holes to be.
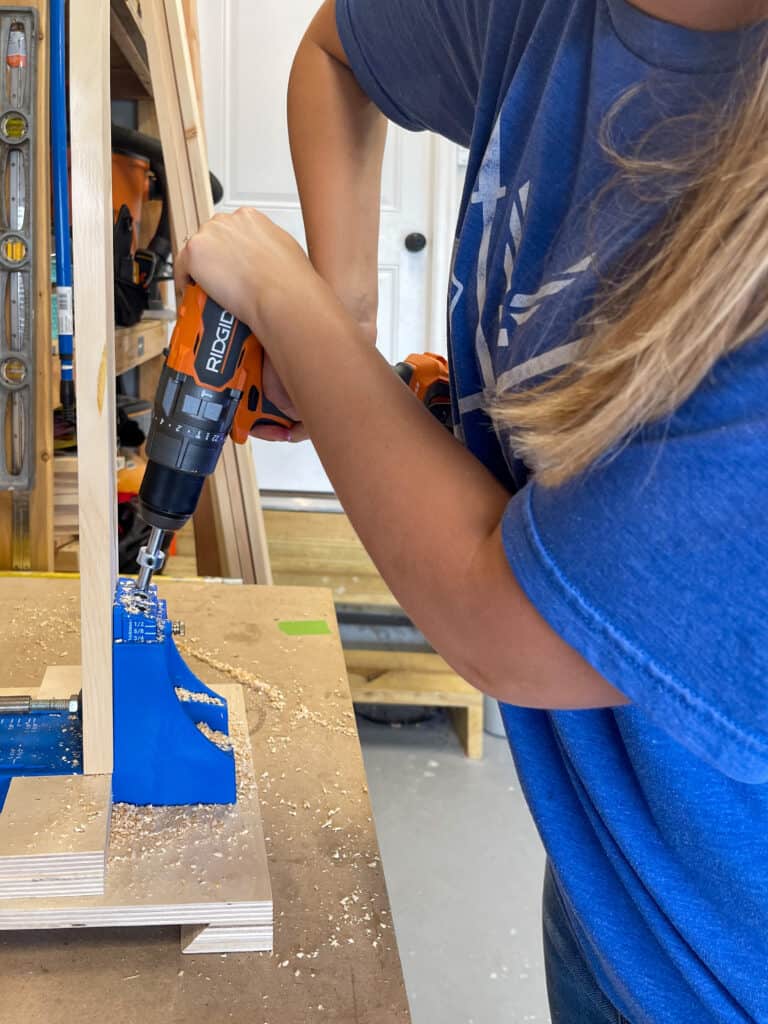
We use to put pocket holes on the bottom piece of wood to attach the 1×2 (front board) to the 1×4 (bottom board).
But, then we soon realized if the shelf was up higher you could easily see the pocket holes from underneath. So we decided this time around we were going to do the pocket holes on the top side of the shelf!
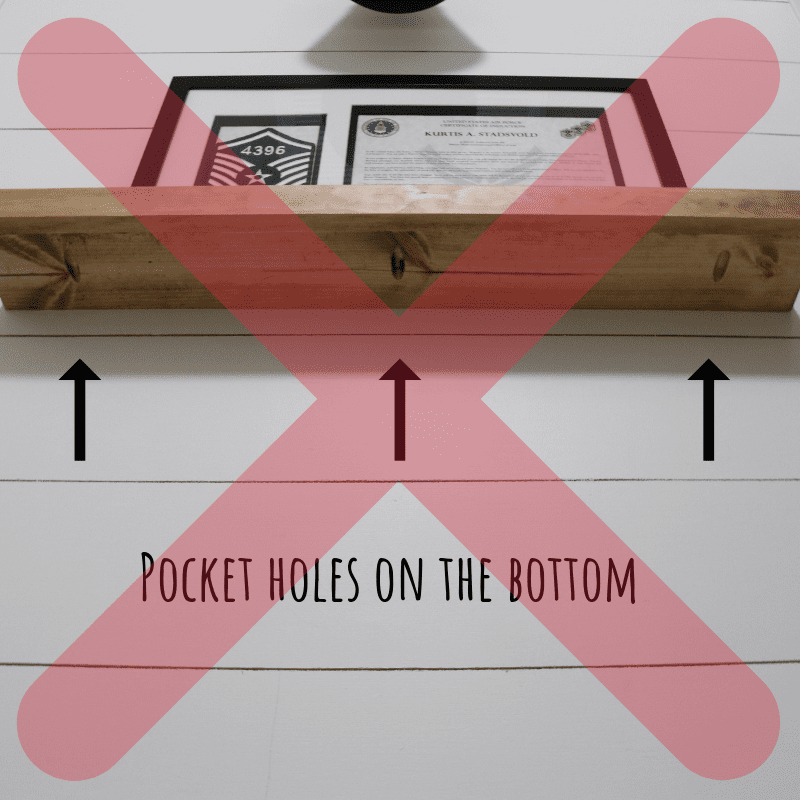
With them being on the top of the shelf where you put your frames they weren’t visible if mounted higher. With the frames being on the shelf it would hide any chance of seeing the pocket holes at all.

So once you have the pocket holes drilled you are going to attach your 1×2 front board to your 1×4 bottom board. Then you will need to take your last 1×4 (your back board) and make pocket holes on the back side of it so it’s able to be joined to the bottom board.
This next step is super simple and that is to join the boards together using the correct Kreg Jig screws. We decided to go with the Kreg Jig 1 1/4″ Coarse-Thread screws. They are made for soft woods/plywoods.
For additional support I always suggest using wood glue and even maybe adding a few finish nails to the shelf. I know most of you won’t be adding to much weight to the shelf but incase you do it’s better to be safe than sorry.
Staining New Wood Shelves
The FINAL step before hanging that masterpiece up on your wall is to stain or paint your DIY picture shelf. I have chosen to stain our picture ledge using one of my go-to stain combos Minwax Weathered Oak & Minwax Provincial. Another one of my favorite stain combos you can see is where I built our fireplace mantle. They are both equally my favorites!
I love the contrast that a stained shelf gives a blank wall. Adding warm wood tones to a space can make it feel inviting like you have brought a piece of nature into your home.
When staining your picture shelf be sure to apply pre-stain before hand. The purpose of pre-stain is to prepare the wood for staining by partially sealing the wood and evening out its natural color variations. You will get a more uniform and consistent look once the stain is applied.
Essentially pre-stain will make your wood look less blotchy!

How To Mount A Shelf
Mounting a shelf is actually pretty simple. First, you’ll want to gather all the necessary tools and materials, which include a level, a drill, screws, wall anchors, and the shelf itself. Then, determine where you want to mount the shelf. Next, using the level to mark where the holes for the screws will go.
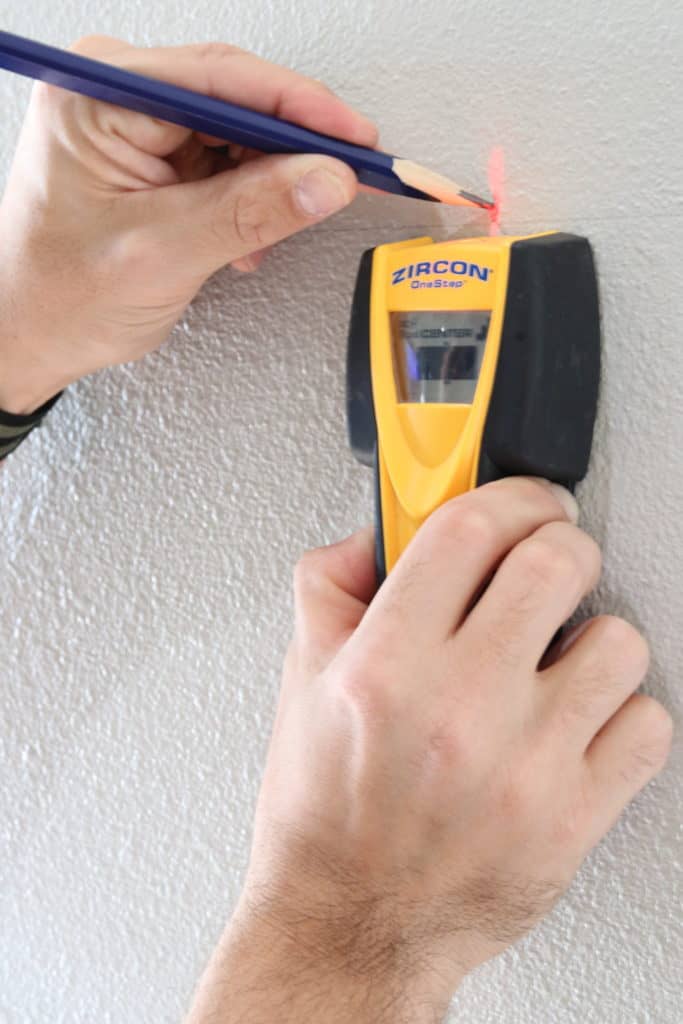
Use your stud finder to see if you can hit any of the studs behind your wall. If you can’t find any studs make sure you use wall anchors to secure it to the wall. We took a countersink drill bit and pre drilled our holes so they would lay flush with the wood. Then, next you take 2″ drywall screws to mount the shelf to the wall!
And voila, you now have a perfectly mounted DIY wood shelf!
I hope this tutorial was simple, easy & helpful to accomplishing your DIY picture shelf! If you used my tutorial please send me a picture of your picture shelf styled to my instagram or email. I would love to see how yours turned out!

Definitely saving this for future reference when we move into a real house! Hanging frames is a bit intimidating, but this is a great way to display photos and other decor without the commitment.
Exactly! I’m glad this was helpful!
Beautiful! Now I just need help styling the thing!
Just start throwing stuff up there and maybe you will get lucky and it will look good. To be honest that’s what I did here and I love it!
I LOVE this look. I really need to figure out how to hang things on my weird plaster walls.
Yeah plaster is no fun 🙈
Great tips! Can’t wait to see more! I love diy home projects.
Thanks! They are my favorite!
this is cute. if i wasnt worried about damaging my rentals walls id definitely try
thank you! i love the detail of a photo ledge! this one looks so doable!
I’m glad you like it!
This is seriously beautiful! I had my eye on some similar ones at pottery barn, but this will be so much cheaper! Love them, you guys did great!
Thank you! And these look just like the pottery barn ones!
I love to do diy home decor. My hubby usually helps as I have a phobia of power tools lol. My fave is pallet pieces. I have lots around here. This is really cool looking, I love it.
Pallet wood is fun to play with!
I will have to send this to my husband as a hint to start building us a diy shelf! That looks beautiful and your decor complements each other so well!
Thank you so much!
I LOVE DIY projects! This came out so nice! Thanks for sharing.
DIYs are so fun!
This is soooo cuuuute! and it doesn’t look super hard. I’m not all that handy but I think even I can handle this one. I love that you broke it down with pictures. It makes it fool proof for me. Thank you!
Your welcome! I’m a visual learner so all the pictures help a ton when learning to do something. 😀
These are so cute and look so easy to make!
Thanks! They are super simple!
Great post and project! Now I totally want to try this in our house!
You should do it! It’s super easy! 😀
That’s a really good idea. I want to add pictures of us around the house but I don’t like the singular scattered look. The way you group them on the shelf is really pretty.
Thank you! I love how I can layer them with the shelf!
That shelf looks so pretty! Might have to start working on one of these for my office! Thanks for the idea and all the steps to get it done quickly!
Thank you! And this shelf would do great in an office!
So easy! That my his and could even do it! Hahaha
😂😂
This is great! You broke it down so well, it actually looks doable!
Awe thanks so much! I’m a visual learner!
This is so cute, Kristen! I love the touch of rustic it adds!
Thank you! Wood tones are my favorite!
I love this! Pinning is so I can make my husband make it for me!
Thanks! And yay! I would love to see a picture of how it when you do! 👍🏻
These are stunning and easy! I had ones similar built in my old house, never thought I could do it myself.
They really are easy! That’s why I love them so much!
So neat. I love the step by step instructions with the pictures. I’m a visual person, so being able to see what your talking about helps a lot. Great job 💕
Thanks so much! I’m also a visual person so I wanted to do as many pictures as possible!