Whether you are installing new floors or adding an accent wall to your home I am going to walk you through how to remove and reinstall your existing quarter round and trim.
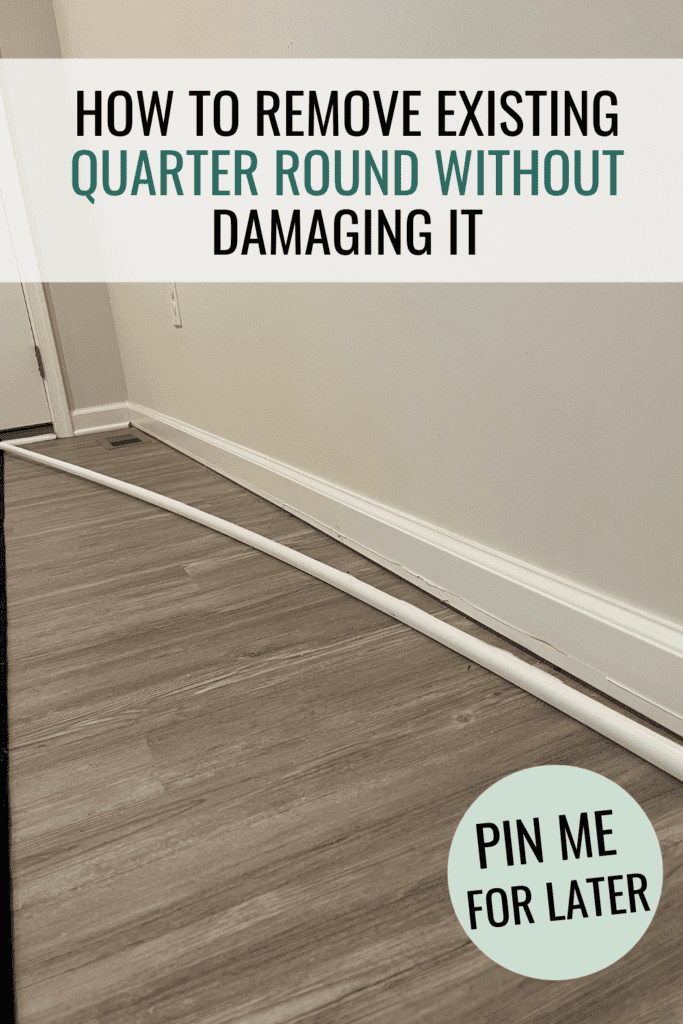
With our upcoming bathroom remodel & an accent wall to do in our neighbors house I will be removing and re-installing some quarter round. I thought it would be a great time to share just how I remove the trim without damaging it or the wall.
Removing quarter round or floor trim doesn’t have to be a daunting task. It’s rather quite easy with the correct tools, patience and technique you will succeed.
Do you need quarter round with baseboards?-Are they necessary?
Quarter round is not necessary with baseboards, but it can serve a practical purpose and enhance the look of your finished project.
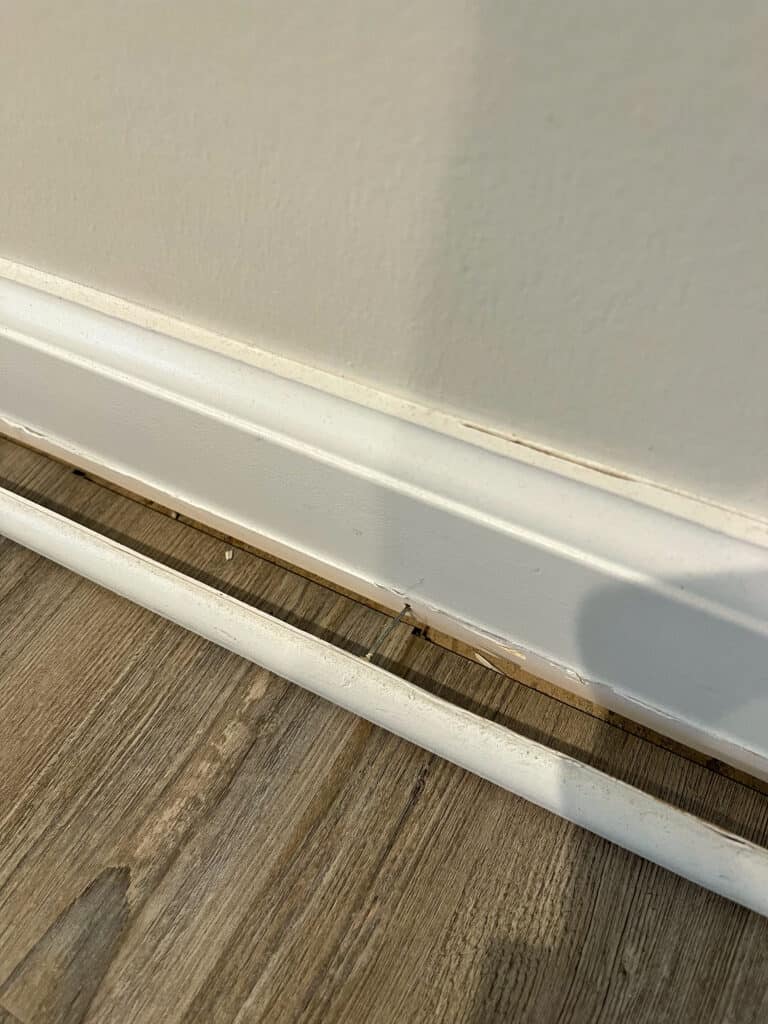
Quarter round is a type of molding that is used to cover the gap between the baseboard and the floor. It can help hide imperfections in the flooring, such as gaps. And add a more polished high end look to your baseboards.
Ultimately, whether or not you choose to use quarter round with your baseboards is a matter of personal preference. If you have a flawless flooring install and don’t mind the look of a small gap between the baseboard and the floor, you may not need to use quarter round.
However, when we bought our Texas home there was no quarter round in the house. I personally felt it didn’t look finished and it gave more opportunity for dust, dog hair and water from mopping to seap under our baseboards.
What can I use instead of quarter round?
If you don’t want to use quarter round on your project there are quite a few alternative choices. Some of my favorites are:
Supplies needed to remove quarter round + trim
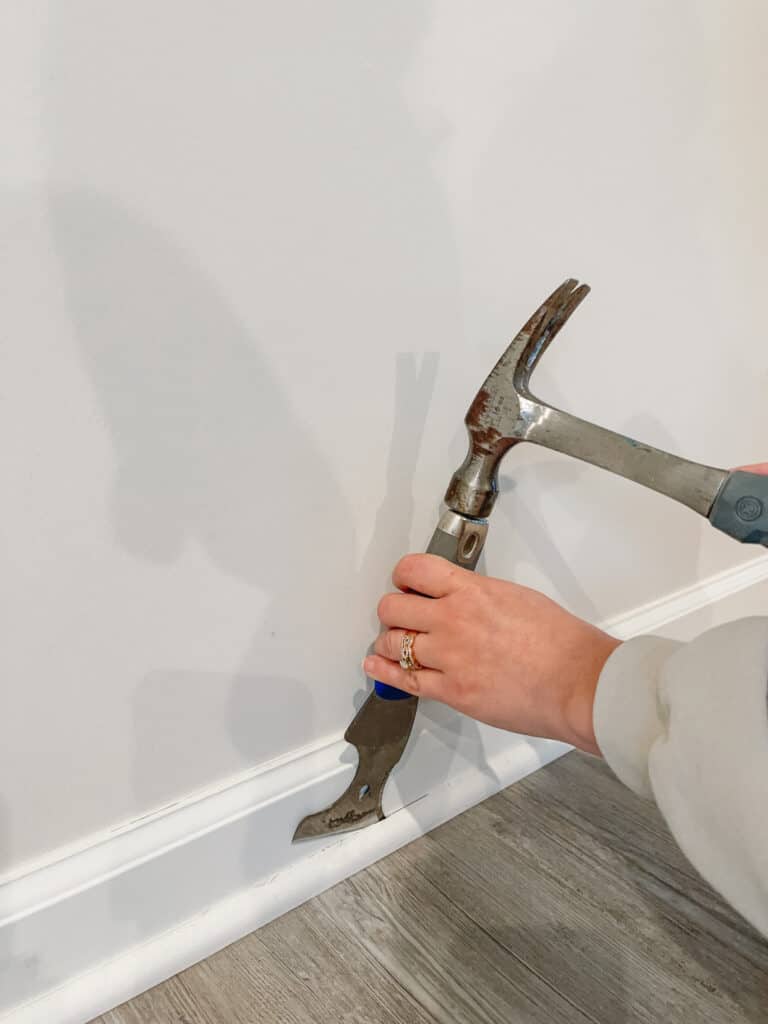
Below are the 4 tools that you need for removing your quarter round and trim. If you don’t have a trim puller you will see that I am using a metal drywall spatula. Sometimes you have to work with what you have, and I honestly would be happier with a trim puller.
Adding that to my Amazon cart right now!
[AFFILIATE LINKS ARE PROVIDED BELOW FOR CONVENIENCE. FOR MORE INFORMATION SEE MY DISCLOSURE HERE.]
Tools Recommended
How to remove quarter round without damaging it
Step 1- Score the caulk & look for finish nails
Taking your utility knife carefully score the caulk on the top of your quarter round. If you’re going to try to reuse your existing quarter round be careful not to cut it. I have done this many times.
Step 2- Pull trim away from the wall starting at the nails
Once you have cut the caulk, try and locate your finish nails in the quarter round. Sometimes they aren’t so easy to find and you have to stick your trim puller in between the quarter round and the trim to seperate them. I try to pull as close to the finish nails as possible to prevent snapping the wood.
When sliding your trim puller behind the quarter round use your hammer to lightly tap it so it’s flush with the trim. Repeat these steps for the wall trim too if you are removing.
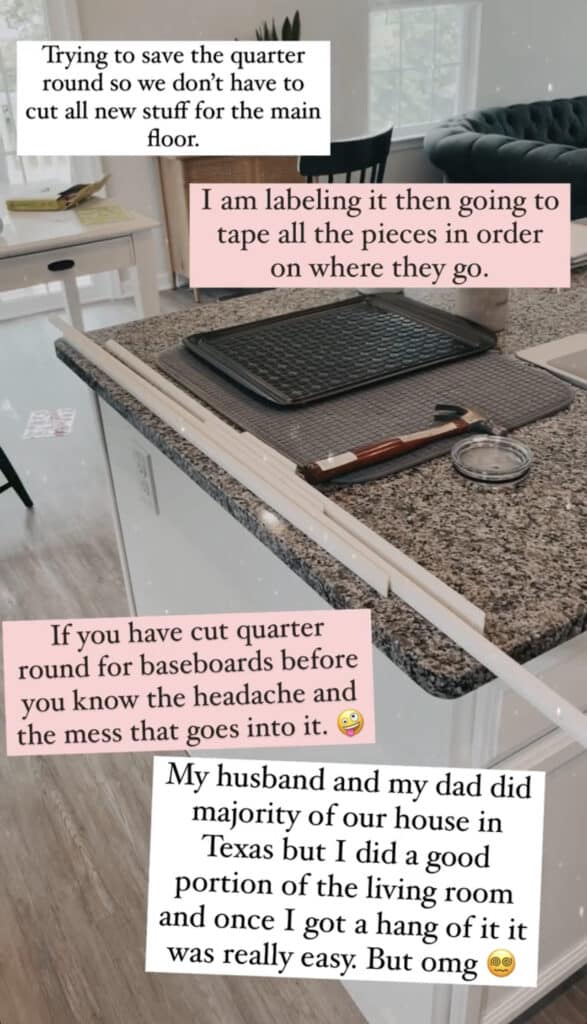
Step 3- Labeling your trim pieces
If you plan to reuse your trim pieces always label them on the backside so you know exactly where they go. Using painters tape to tape bundles of trim together works well if you are removing trim from a bigger room.
The image below is when we did our whole main floor with new flooring and I pulled up all the quarter round and labeled it to reuse.
Step 4- Removing nails
Sometimes when you pull the quarter round off you will have some finish nails that are stuck in your trim. Take your pliers and pull straight back. If that doesn’t do the job, many times I have to go from side to side to loosen them up.
How to remove floor trim without breaking it
The directions for removing your trim is pretty easy but, there can definitely be some difficulties. Listed below are my best tips for removing trim with minimal to no damage.
Tips
- If you’re having trouble pulling your trim off, don’t force it! Go back and re-score the caulk and slide your trim puller in again. Forcing it will most likely end in you snapping it in half.
- Another tool that isn’t necessary but great to have on hand for all kinds of projects would be an oscillating tool. The first accent wall I did in our new construction home had some major finish nails in the baseboard. For the life of me I couldn’t remove them. Which resulted in me using our oscillating tool to cut the nails instead of prying them out of the wall.
- Lastly, don’t be like me, invest in a trim puller. I have used one before and it’s night and day compared to the metal drywall spatula! It gives you more leverage and you don’t have to be as careful.
How to install existing quarter round & trim
To reinstall your existing trim use a 16 gauge or 18 gauge brad nailer. For the lighter stuff use a pin nailer if you have one available. I recently got a this pin nailer for Christmas and it is a game changer for smaller woodworking pieces. They shoot 23 gauge headless nails and there is virtually no hole to fill.
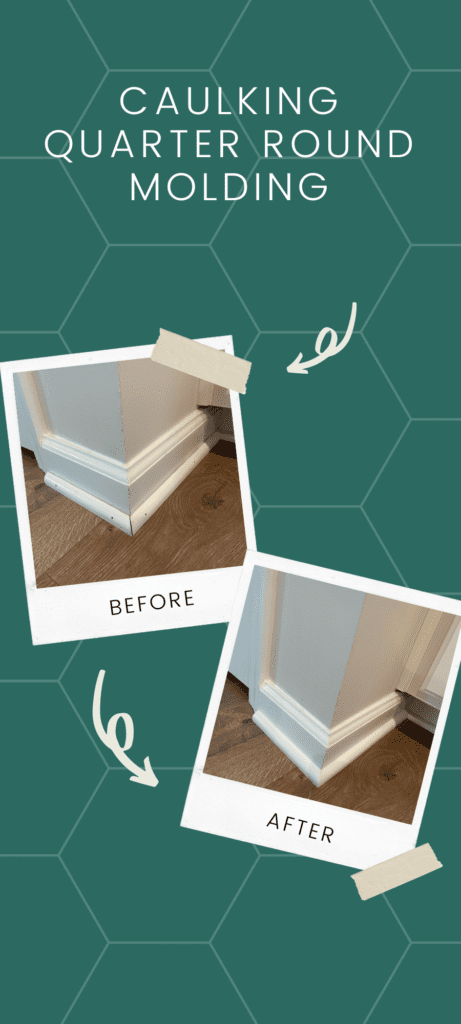
Once all trim is nailed in caulk all the seams. Down below you can see the difference between caulking your seams and not caulking.