
A DIY blanket ladder is a great beginner DIY project. Very few tools are needed & it’s easy on the pocket book. Not only that but it’s a functional piece of decor with a low price tag. Of course you can head to Kirkland’s, Hobby Lobby or even Target to snag one but trust me after this DIY build you will have the feeling of accomplishment and become DIY obsessed!
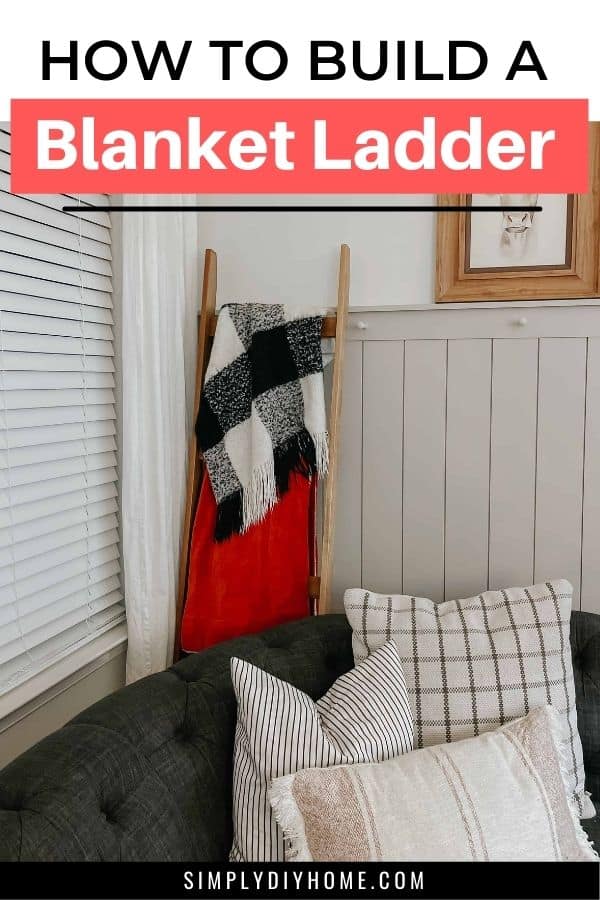
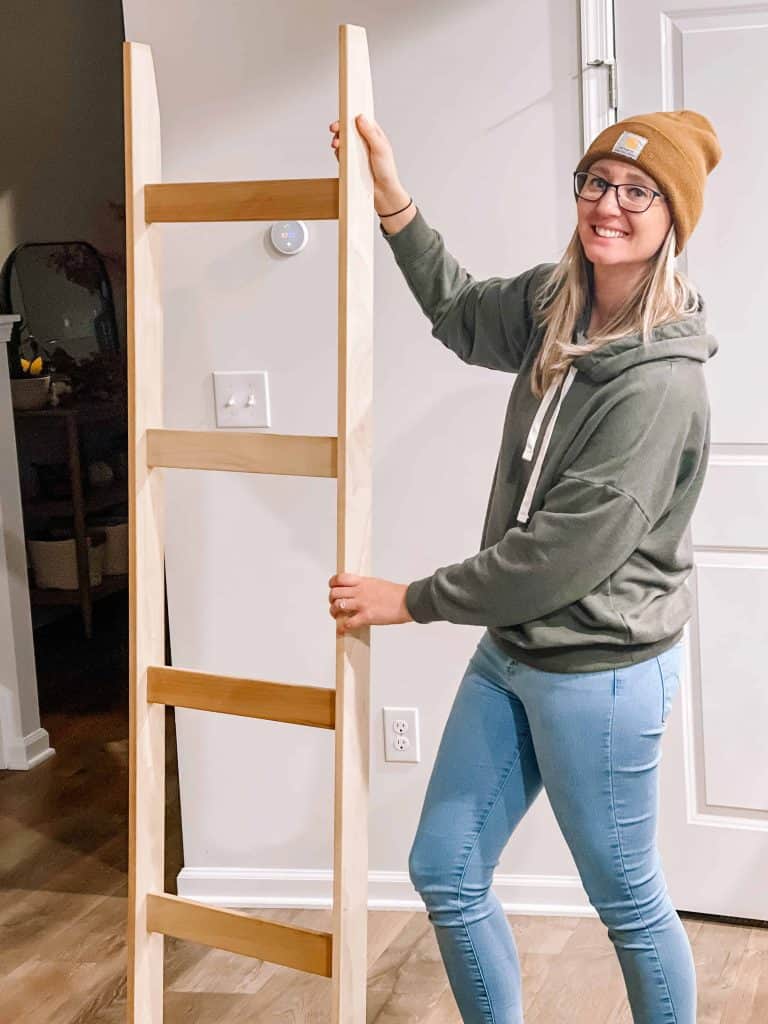
Easy DIY Blanket Ladder for Beginners
If you’re like me you have a ton of throw blankets. Cozy blankets are the way to my heart! With that being said there comes a need for blanket storage. I’ve maxed out the basket storage for blankets in our living room, so I thought it was time for a blanket ladder!
I’ve always wanted one of these and now is the perfect time in our life to have one. The kids are a little older and know better to NOT use it as a real ladder. If you have toddlers you can probably relate!?
A DIY blanket ladder is a great weekend project. It takes minimal supplies and tools to create a functional but yet super cute piece of decor. There are tons of ways you can customize and build your own blanket ladder. From the type of wood, to the color paint or stain you chose. Even the way you assemble your ladder and the dimensions you pick to fit your space.
Materials & Tools
- (3) 1x3x8 Select Pine
- Kreg Jig 1 1/4” Wood Screws
- Stain Color (I used a Combination of Minwax Early American & Varathane Briarsmoke)
- Pre-Stain Wood Conditioner
- Kreg Jig Hole Jig System (We have the K4 Jig but the new 720 Pro is a dream)
- Cordless Drill
- Miter Saw
- Orbit Sander
- 120 Grit Sandpaper
- 220 Grit Sandpaper
- Rubber Gloves
- Shop Rags
- Speed Square
- Tape Measure
- Pencil
- Wood Glue (Optional for this project)
- Cordless Router (Optional if you like to be fancy! I’ll be honest my dad did this part, I don’t actually own one but it’s on my list)
If you’re starting out and still building your tool collection check out my Must-Have Power Tools for Home DIY.
[AFFILIATE LINKS ARE PROVIDED BELOW FOR CONVENIENCE. FOR MORE INFORMATION SEE MY DISCLOSURE HERE.]
Total Cost of DIY Wooden Blanket Ladder
The total cost of building your DIY blanket ladder can depending on a lot of things. If you have done projects before you probably have a lot of these materials laying around like I did. I only had to go buy the 1x3x8’s which ran me about $25 at the time. I used stain and screws that I already had in our garage.
Depending on wood prices it could be cheaper or more expensive for wood. If you wanted to go the cheapest route 2×4’s would be another option I would look into if you wanted a more rustic ladder.
DIY Blanket Ladder Measurements & Cuts
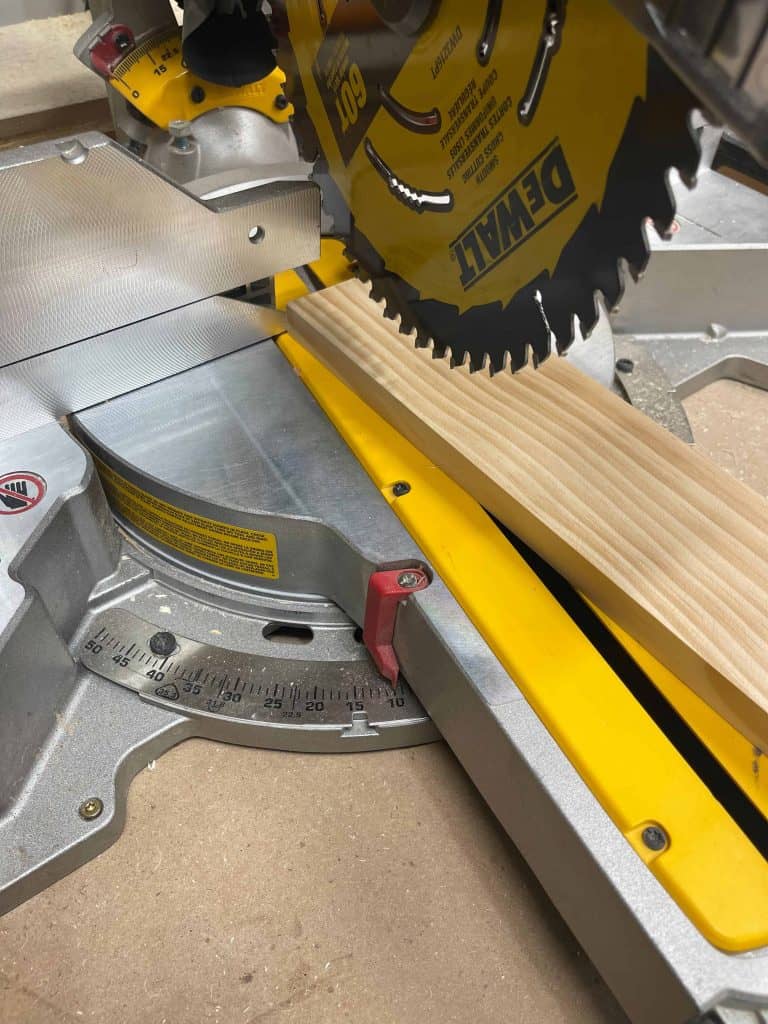
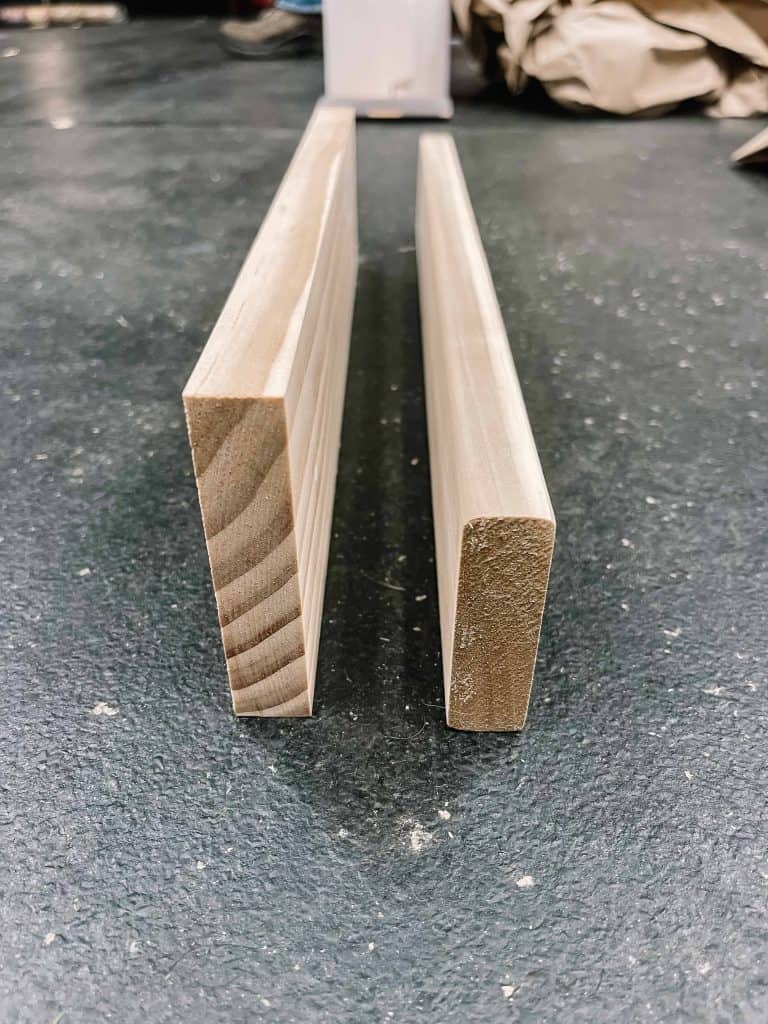
We started out by cutting the boards to 6 feet. Keep in mind all of this is preference to what you want in a blanket ladder. If you need yours to be taller than go taller. For the bottom of the board we wanted it to slanted a little so it set flat on the floor. So we figured out that a 10 degree angle worked best for that.
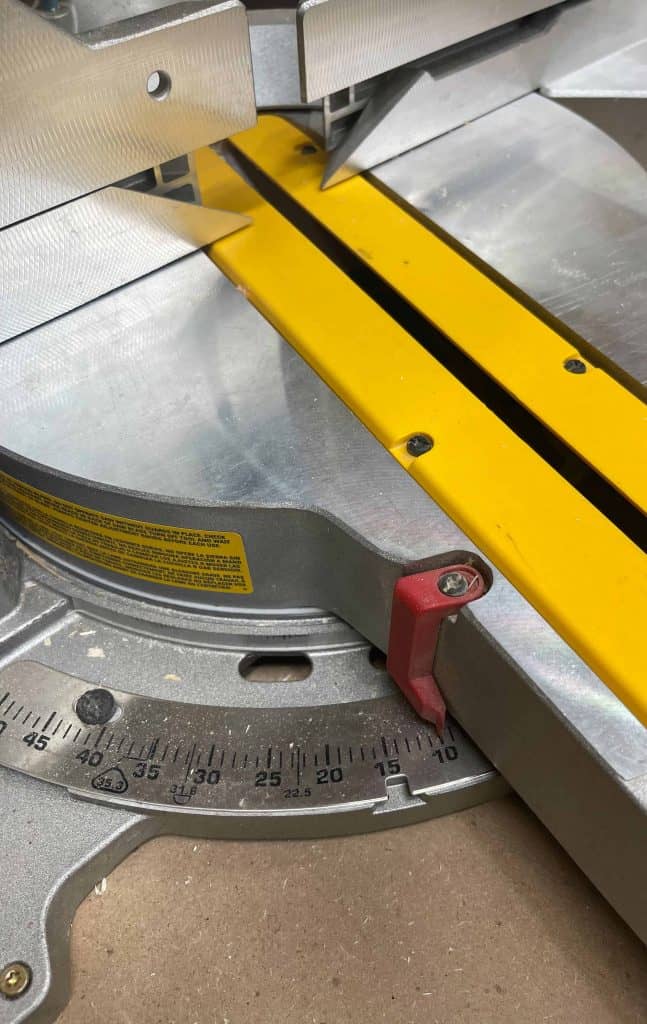
If your using a miter saw like we did this is super simple. Just unlock the miter saw and click it in place to 10 degrees. If you don’t own a miter saw and have a circular saw then you will need a speed square. (This one from Amazon will get the job done) I use my speed square for almost every project so it’s money well spent. When I’m not finding angles with it I use the straight edge to get a clear straight line for cutting.
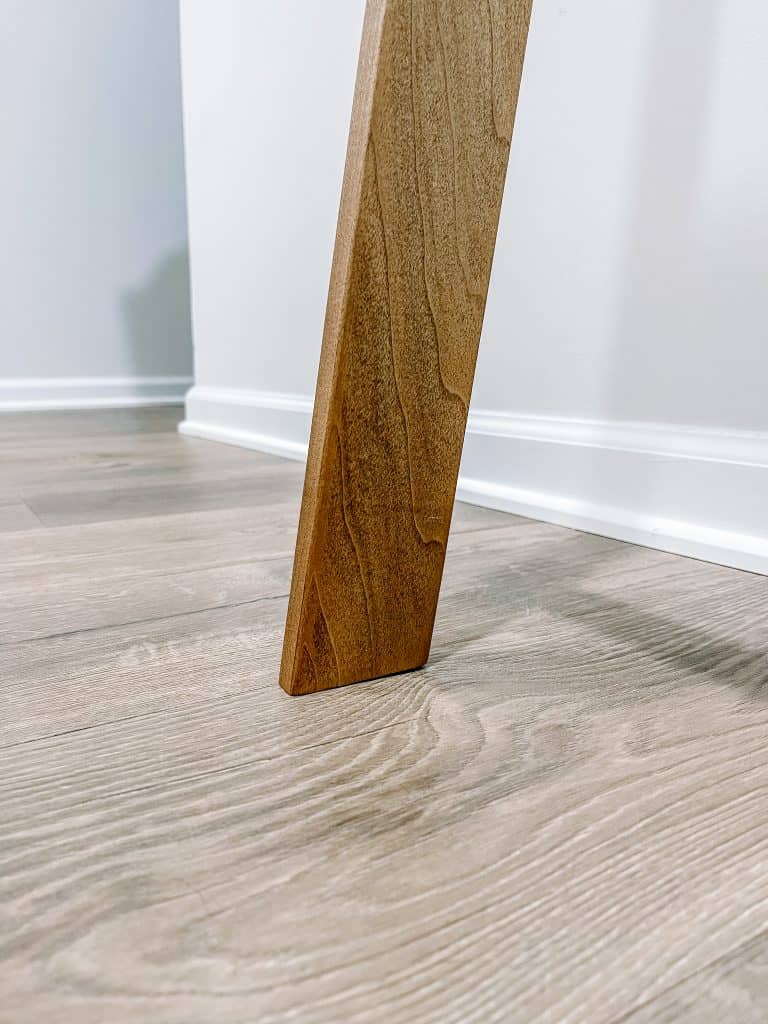
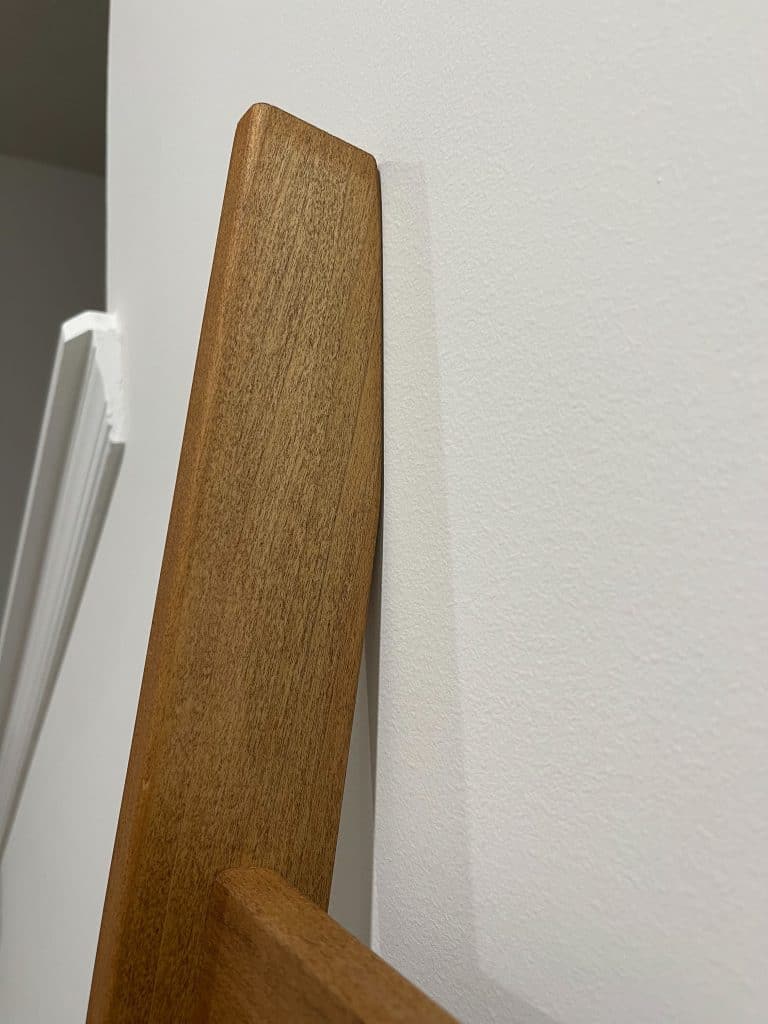
Pro Tip- For the tops of the board we wanted it to lean flat against the wall just like the bottoms of the board. To do this you have to cut the top board at a 10 degree slight angle but vertical instead of horizontal. This is totally OPTIONAL but it does give it a nice professional touch. I don’t see many people do this to their DIY blanket ladders it’s just something extra that makes it more custom looking.
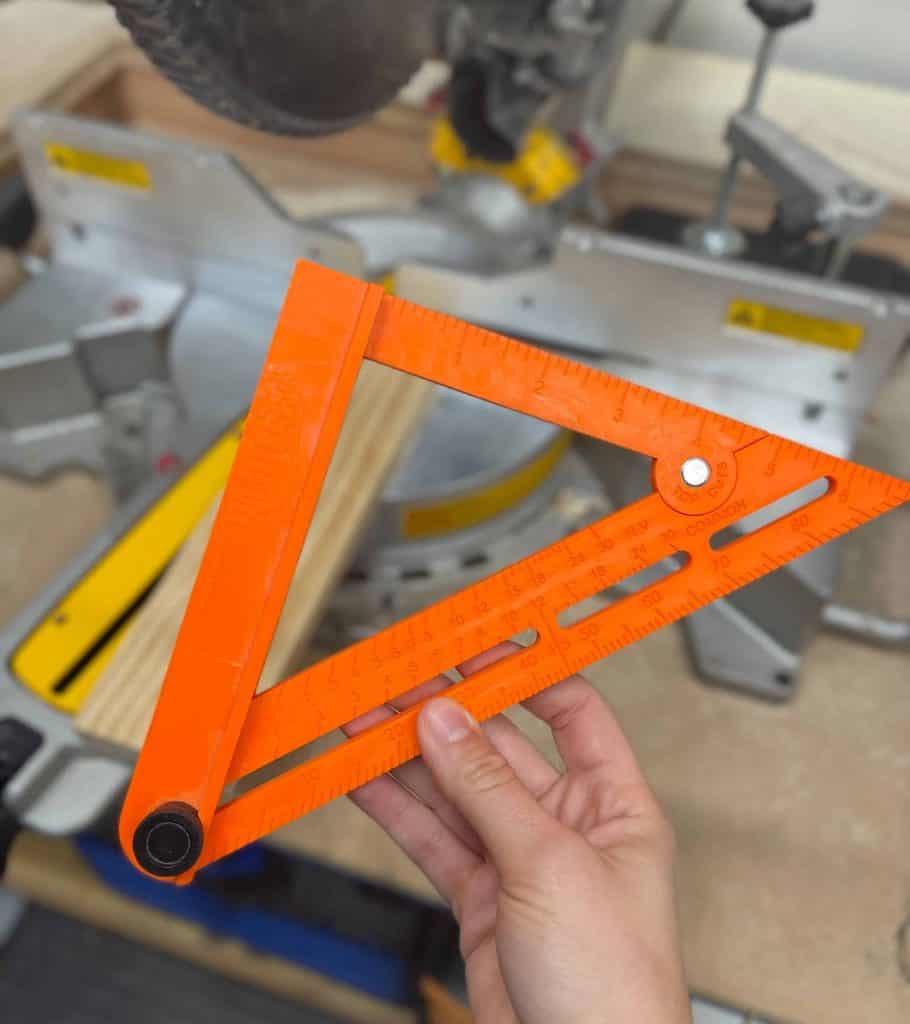
This can be done on a circular saw or miter box also. You will just need that speed square or square head angle protractor. (My husband swears by his protractor, it has come in handy many times.) Either way you go I would suggest having two people for this part since the board you’re cutting is so long. Safety is a big part of DIY and you always want to make sure you are being safe when performing any project!
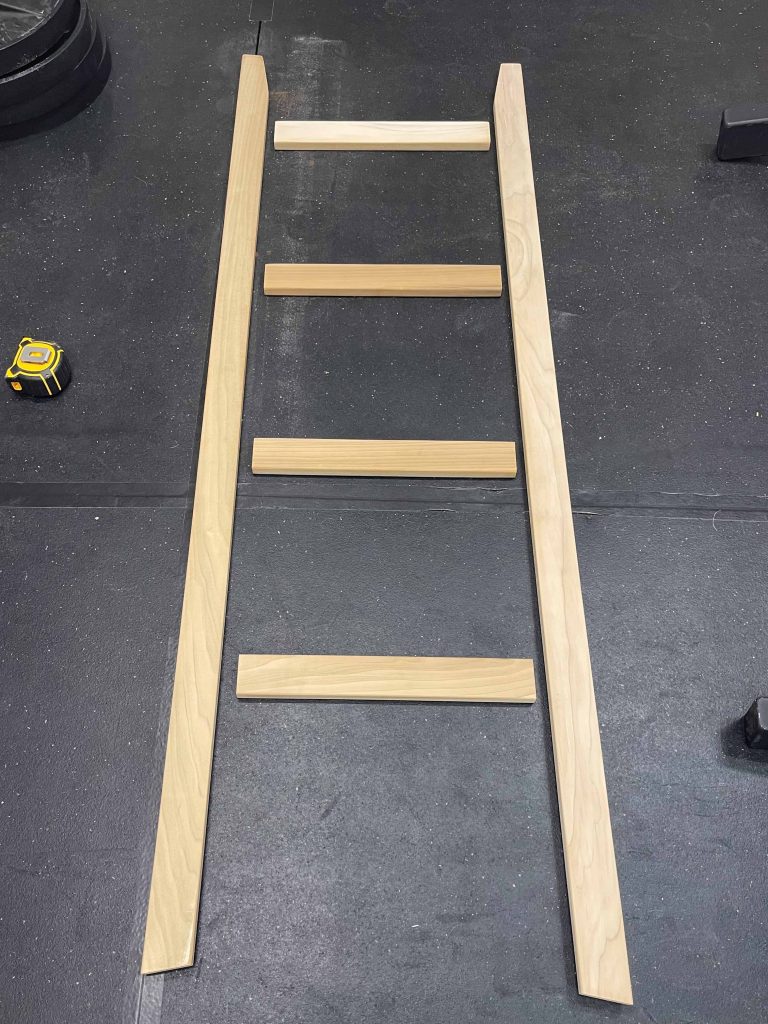
The pieces of wood for the rungs we chose to stick with the same 1×3 instead of a round dowel rod. With each rung at 17 inches long we cut 4 total for our blanket ladder. Once again you can measure and cut your rungs whatever length you desire.
Determining Spacing Between Ladder Rungs
To determine the spacing between rungs I laid all my boards out on the floor and eyeballed where I wanted my rung placement. Once I had an estimate of where I wanted them I got my tape measure and adjusted them so they were evenly spaced. The first rung ended up coming 8 1/2 inches down from the top of the ladder. Each board after that I spaced 13 inches apart with the last board being 14 1/2 inches from the bottom of the ladder legs. You could do 5 or 6 rungs instead if you wanted them closer together.
The Easy Way To Attach Ladder Rungs
You have many options to attaching your rungs. The first one we will go over is the one I chose to do. Pocket hole screws are sturdy and as I mentioned before I suspect my children will attempt to climb this ladder. You will need a Kreg Jig system and Kreg Jig screws to get started. It’s pretty self explanatory as for drilling pocket holes. Your Kreg Jig system should come with everything you need. You will want to make sure you adjust your drill bit that came with your kit to the width of your wood. If your using a 1×3 then adjust your markers to 3/4.
Once you have all your settings to the correct wood depth you have two choices. You can either drill one pocket hole on each end of the rung or two on each side. I went a little overboard and did 4 total pocket holes for each rung.
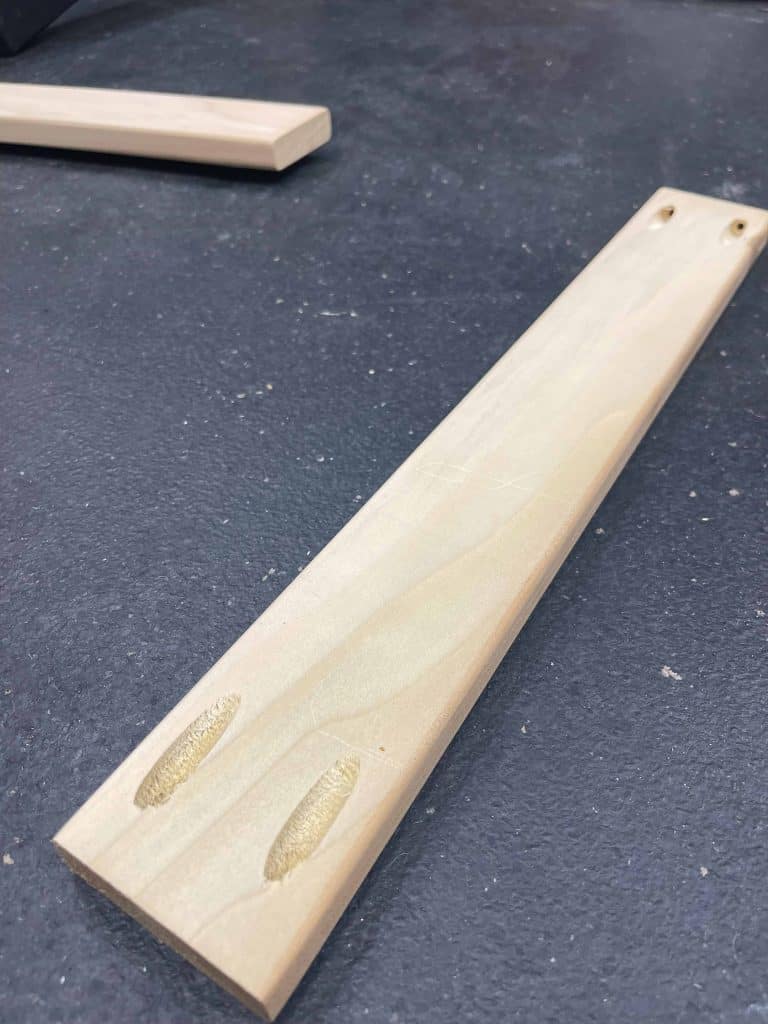
In the picture below you will see I chose to assemble the rungs vertically not horizontal. I felt like the blankets would look better and stay on better with the rungs installed this way.
Other options for attaching the rungs to your DIY blanket ladder are using screws, brad nails and just a little bit of wood glue. It’s never a bad idea to apply wood glue with all those options. They say wood glue is stronger than nails.
Sanding & Staining your DIY Blanket Ladder
If you have never sanded before this is a pretty easy sanding project. You don’t even have to have an orbital sander. A sand block will get the job done if you prefer that. I was going for a more finished look so I chose to sand with 120 and then ended with 220 grit sandpaper.
When looking at sandpaper grit numbers the higher the number the more FINE the sandpaper. 180 and up is more for finishing work and will make your wood feel softer. The lower the number the more coarse your sandpaper gets. 150 and lower are more for removing of rough material, stain and leveling the surface.
Pro Tip- Remember that router I mentioned in the supplies & tools list? This is where that comes in. We chose to router all the edges of our wood to give a rounded look instead of the sharp edge that a piece of wood naturally has. This is not necessary at all but just one of those finishing touches that gives it a more custom look.
When staining your ladder make sure to use a Pre-Stain Wood Conditioner. Some people roll their eyes and say this is unnecessary but believe me it helps a ton. Wood conditioner prevents streaks and blotches on the surface of the wood. Making a more uniform stain application. If you’re going to be using a soft and porous wood like pine then this is very important.
My go to favorite stain combo in our current home is Minwax Early American & a very light application of Varathane Briarsmoke. I love this combo it matches our floors almost identically. After staining our DIY blanket ladder I sprayed the ladder with Minwax polyurethane in the finish clear satin.
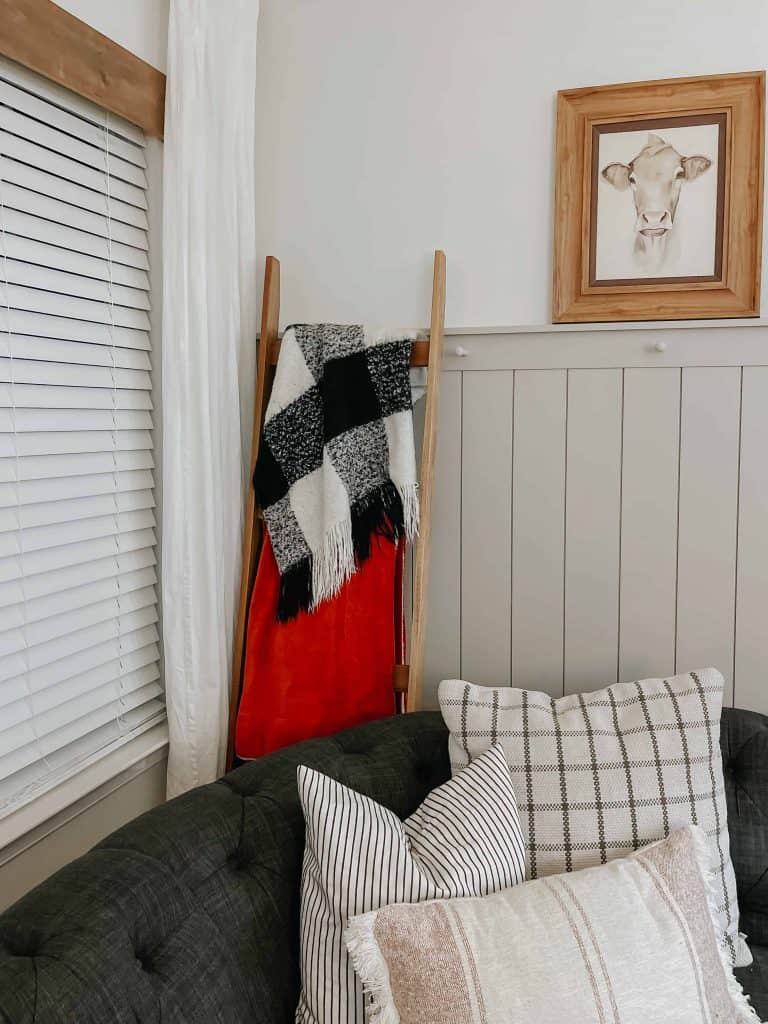
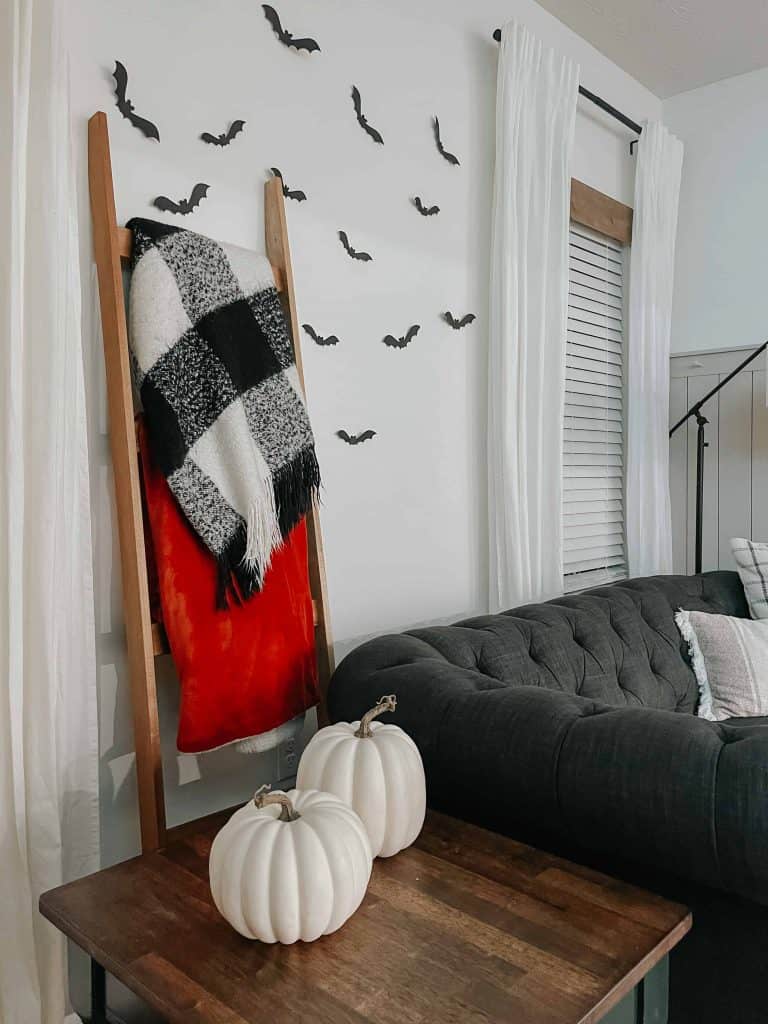
How to Style a Blanket Ladder
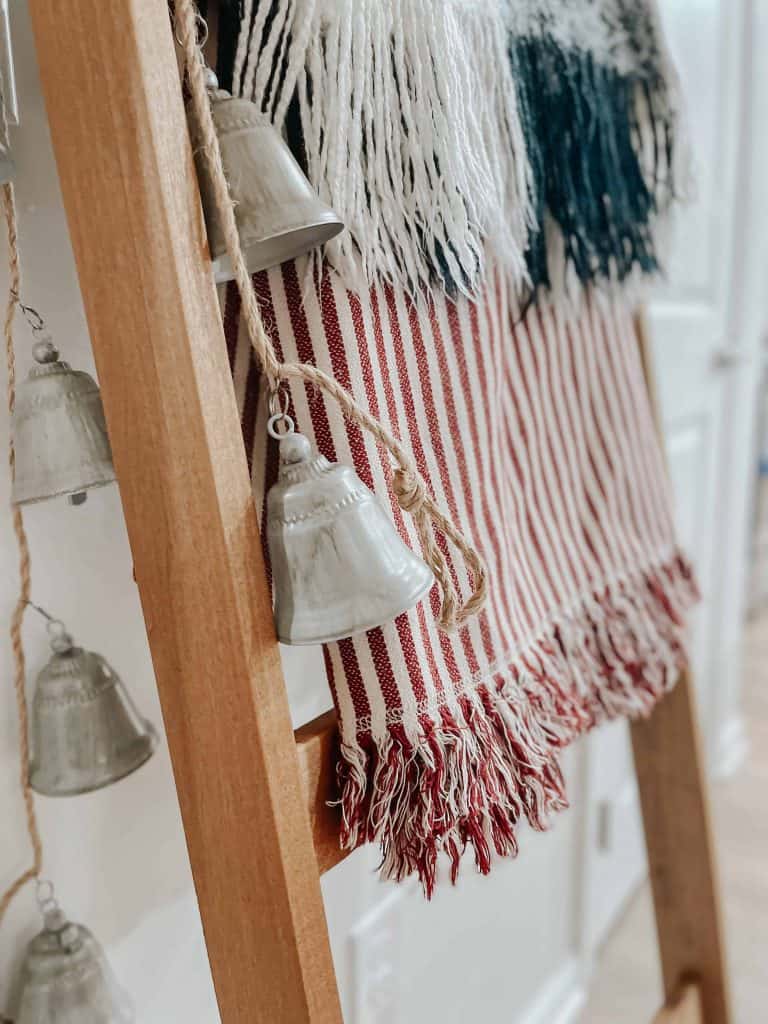
A blanket ladder can be a fun piece to decorate for the holidays. You can string twinkle lights on it for Christmas or some jingle bells like I did! If you end up building this DIY blanket ladder I would love to see your pictures. Email me, send me a direct message on Pinterest or Instagram.
I love styling our new blanket rack for every season. Adding these silver bells from Hobby Lobby that were 50% off for Christmas time. Or this orange blanket with the bats, pumpkins and skelton are a Halloween must.


One Comment