Whether you’re a seasoned woodworker or a DIY enthusiast, this blog post is your guide to mastering the techniques of wood staining. In this article, I will go over the basics of staining and share my go-to stain combo!
Everyone has a favorite stain color. Some people prefer one single stain, or some, like me prefer a combination of two stains mixed together! Staining wood is a great beginner DIY project to tackle and I think just about everyone can do it with the correct information.
This guide will get you started on the right path to staining your own projects. And at the very end I will share my go-to stain combo that I get asked about all the time! Happy staining!
[AFFILIATE LINKS ARE PROVIDED BELOW FOR CONVENIENCE. FOR MORE INFORMATION SEE MY DISCLOSURE HERE.]
Tools & Shopping List
Recommended Tools:
- Paint Can Opener
- Palm Sander
Shopping List:
- Stain Of Choice
- Pre-Stain Conditioner
- Sealer Of Choice
- Sandpaper Or Sand Blocks (80, 100, 120, 150, 200 grit)
- Tack Cloth
- Stir Stick
- Rag
- Gloves
- Brush or Foam Applicator
How To Stain Wood
Staining wood is like giving it a magical makeover! It makes the wood look even more beautiful by bringing out its natural patterns and adding cool details.
Whether you want to make an old piece of furniture look new again or add some fancy touches to a new project, staining is an amazing and creative way to make your wood look just the way you want it.
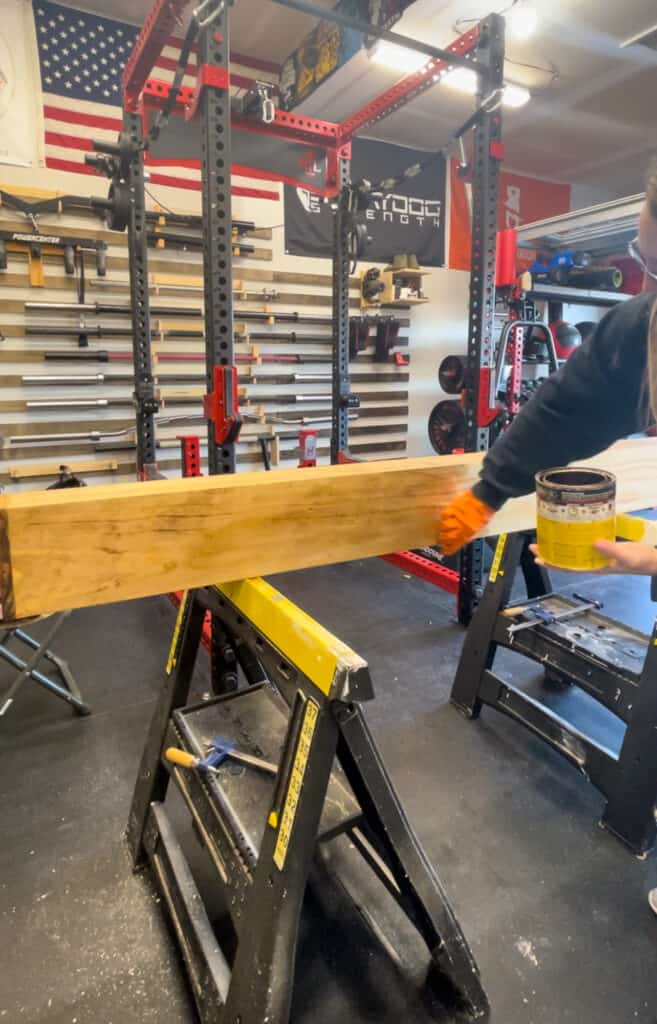
Sand Wood
Sanding wood is a crucial step in preparing it for staining, as it helps create a smooth and even surface that allows the stain to penetrate uniformly. No matter what you hear from your neighbor or your neighbor’s neighbor never skip sanding!
Here’s are some tips and a general guide on how to sand wood for stain preparation:
- Select the Right Sandpaper Grit:
- Begin with coarse-grit sandpaper (around 80-100 grit) to remove any rough surfaces, scratches, or uneven spots.
- Progressively move to finer grits (120, 150, and 220 grit) to achieve a smoother finish.
- Prepare the Wood Surface:
- If working with a previously finished piece, strip off any existing paint, varnish, or finish using appropriate paint strippers or sanding methods.
- Clean the Wood:
- After sanding with each grit, clean the wood surface thoroughly to remove dust and debris. A vacuum or a tack cloth can be useful for this.
- Sand in the Direction of the Grain:
- Always sand in the direction of the wood grain to avoid creating visible scratches that may show through the stain.
- Check for Smoothness:
- Run your hands over the wood surface to feel for any rough spots. Continue sanding until the entire surface feels smooth and consistent.
- Remove Sanding Residue:
- Wipe down the wood with a damp cloth to remove any remaining sanding residue. Allow the wood to dry completely before proceeding to staining.

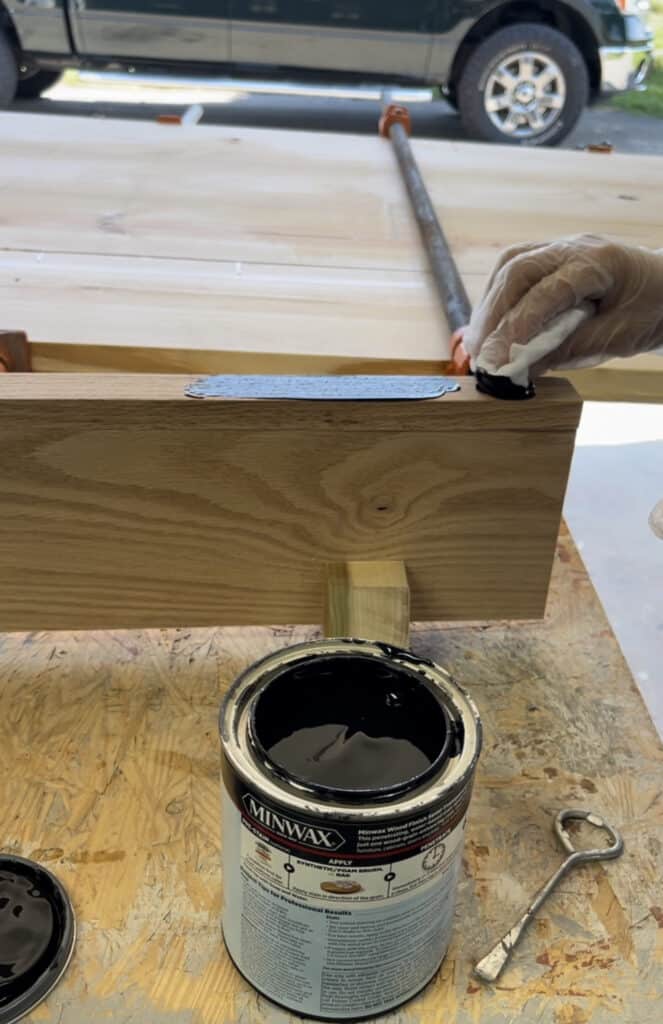
Prep With A Pre-Stain Wood Conditioner
Don’t skip this step! By now I hope you can see a recurring theme! There are a lot of necessary steps to staining and it’s important you don’t skip any of them.
After you have sanded it’s time for a pre-stain conditioner. This step is preparing your wood for staining, especially when working with porous woods. The conditioner is designed to penetrate the wood, partially sealing the pores and creating a more uniform surface.
This helps prevent the stain from being absorbed too quickly in certain areas, resulting in a blotchy appearance. By using a wood conditioner, you enhance the wood’s ability to take in the stain consistently. The conditioner is essentially working like a primer before the stain.
Here’s some tips and a guide on how to prep your wood with a pre-stain conditioner:
- Select the Right Conditioner:
- Choose a pre-stain wood conditioner that is compatible with the type of stain you plan to use. Some conditioners are specifically designed for oil-based stains, while others work well with water-based stains.
- Stir the Conditioner:
- Thoroughly stir the pre-stain conditioner before applying it. Some conditioners may settle, and mixing ensures uniform application.
- Apply the Conditioner:
- Using a brush, rag, or foam applicator, apply an even coat of the pre-stain conditioner to the wood surface. Ensure complete coverage, but avoid over-saturating the wood.
- Wait for Absorption:
- Allow the conditioner to penetrate the wood for the recommended time specified on the product label. This usually ranges from 5 to 15 minutes.
- Wipe off Excess:
- After the absorption period, gently wipe off any excess conditioner with a clean, lint-free cloth. This step is crucial to prevent the conditioner from interfering with the stain application.
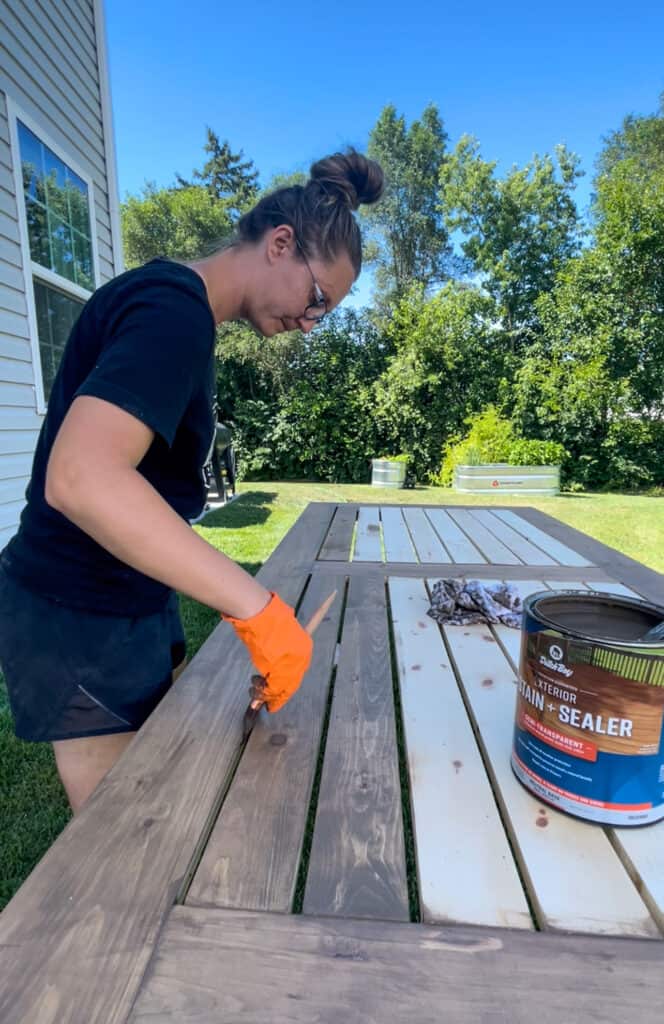
Apply Stain
Now that you have sanded and prepped your wood, you are ready to stain!
- Choose the Right Stain:
- Select a wood stain that suits your project. Consider the type of wood, your desired color, and whether you prefer oil-based or water-based stains.
- Stir the Stain:
- Thoroughly stir the stain to ensure an even distribution of color. Some stains may settle, so mixing is essential.
- Apply the Stain:
- Using a brush, rag, or foam applicator, apply the stain evenly, following the direction of the wood grain. Work in manageable sections to avoid drying lines.
- Allow Penetration Time:
- Let the stain penetrate the wood for the recommended time specified on the product label. This time may vary depending on the type of stain used.
- Wipe Off Excess Stain:
- After the penetration time, use a clean, lint-free rag to wipe off any excess stain. Wipe in the direction of the wood grain to prevent streaking.
- Optional: Apply Multiple Coats:
- If a deeper color is desired, allow the first coat to dry completely and then apply additional coats, repeating the process until you achieve the desired hue.
Apply Sealer
When choosing a sealer, consider the type of stain you used and the specific requirements of your project. There are various types of sealers available, including but not limited to polyurethane and polycrylic.
Each sealer has its own characteristics and application methods. Some pros to sealing your wood are:
- Protection: A sealer adds a protective layer to the stained wood, shielding it from moisture, dirt, and other environmental elements. This helps to prevent the wood from warping, cracking, or deteriorating over time.
- Enhanced Durability: The sealer enhances the durability of the stained surface, making it more resistant to wear and tear. This is particularly important for high-traffic areas or furniture that may be subjected to regular use. Cough, cough…kids, need I say more!
- Smooth Finish: Sealers can contribute to a smoother surface texture, adding a final touch of refinement to the wood.
- UV Protection: Some sealers offer UV protection, preventing the stained wood from fading or discoloration over time when exposed to sunlight.
To apply your choice of sealer you are going to paint it on just like you would paint. Make sure you apply thin coats, and lightly sand in between coats. Follow the grain when applying and allow for correct dry times so that it cures correctly!
My Favorite Stain Combo
Exploring different stain combinations can be a delightful journey in woodworking. My favorite stain combo is a harmonious blend of the rich colors, Early American and Brairsmoke.
This combination best matches my floors and the rest of my finishes throughout my home. To get the correct color I apply 1 heavy coat of Early American and 1 very light light coat of Briarsmoke.
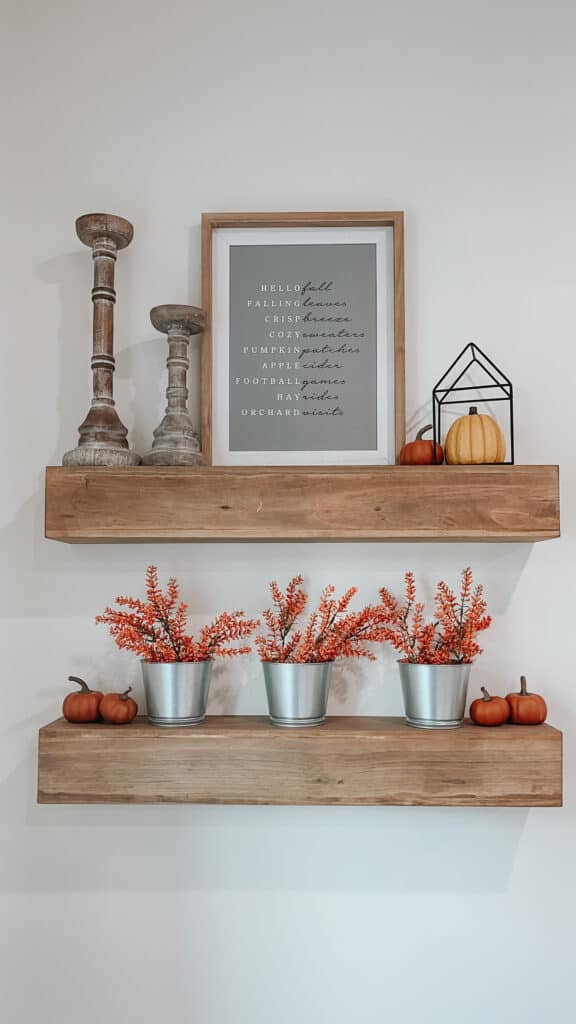
I always tell people when applying the Briarsmoke that you lightly dab it in the can, making sure it’s not too saturated. Then lightly go back-and-forth, barely touching the wood. Whatever stain gets on the wood I then will take the clean side of the rag and spread it as thin as possible over the whole piece.
My goal for this method is not to put a heavy, dark color over top of the Early American. I am just adding darker spots to my wood to make it look more weathered.
If this article helped you I would love to hear from you! DM over on Instagram or send me an email at [email protected].

[Safety is of great importance when working on DIY projects. Always follow proper safety guidelines, wear appropriate personal protective equipment, and adhere to local building codes and regulations. READ MY FULL DISCLAIMER HERE.]