
A brutally honest, unbiased review of the MusselBound Tile Mat and what you should know before using it on your tiling project.
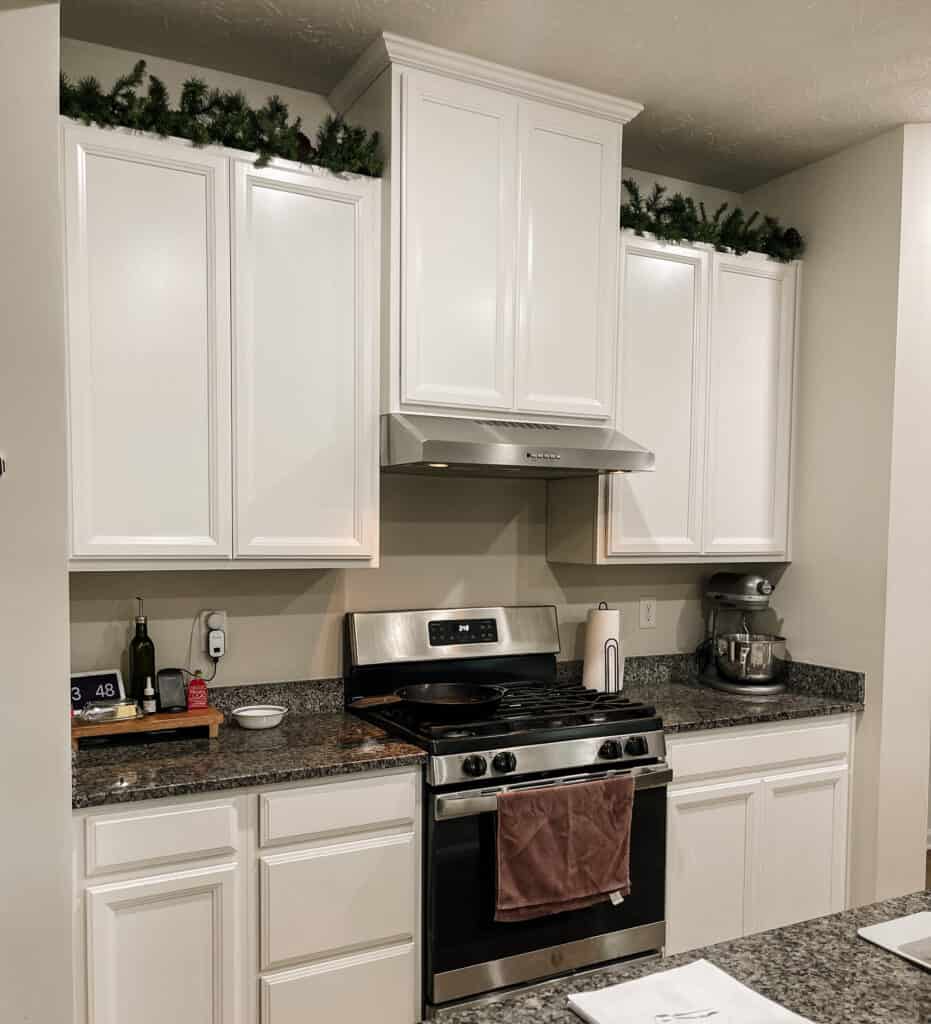
One of my to-do projects for 2022 was to add a backsplash to our kitchen. When we built the house we decided not to have the builder add a backsplash knowing good and well I could do it cheaper. As you know at the time of this post it is mid February 2023! I may be a year late on completing our backsplash but hey what can I say life happens!
[AFFILIATE LINKS ARE PROVIDED BELOW FOR CONVENIENCE. FOR MORE INFORMATION SEE MY DISCLOSURE HERE.]
What is MusselBound Adhesive Tile Mat?
Since we have around 20 square feet of space that needed a backsplash I thought it would be a great time to use MusselBound Adhesive Tile Mat. I had seen numerous Instagram accounts and Youtubers using this product over the last year.
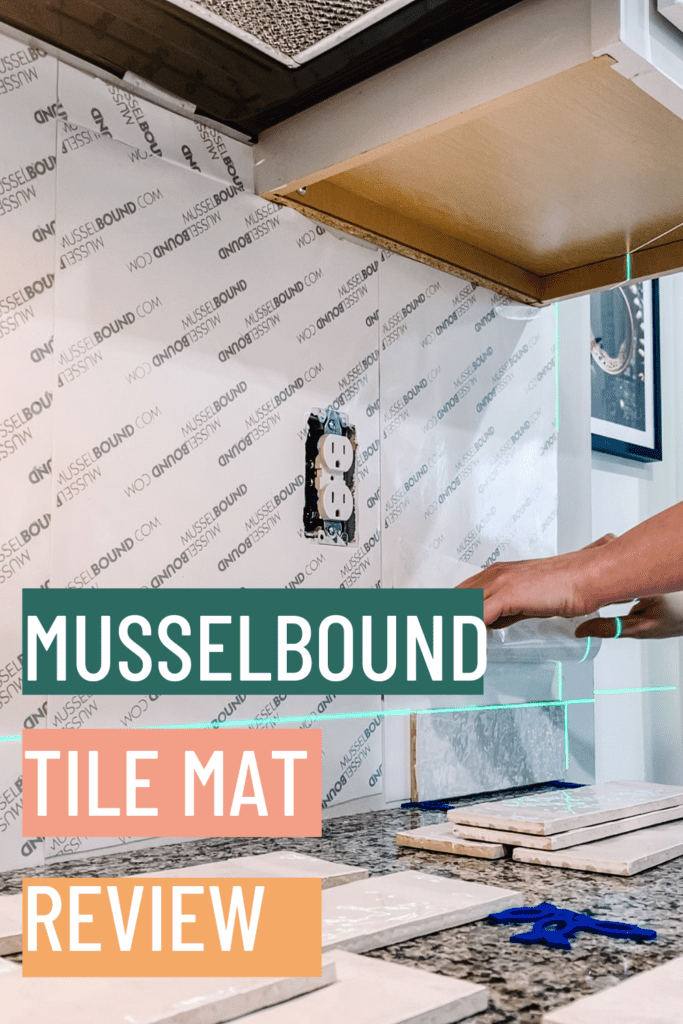
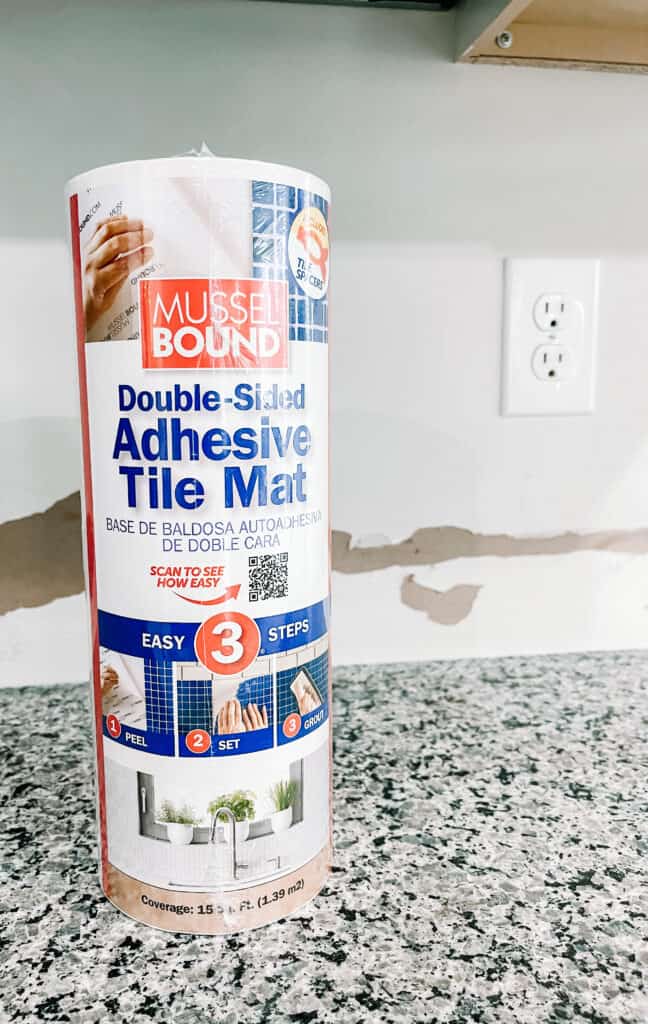
MusselBound is a double-sided adhesive mat used for tiling projects like backsplashes and shower walls. It is an alternative to using thinset mortar and is designed to make tiling projects faster, easier, and my favorite less messy! Using MusselBound is very beginner friendly and great if you’re like me trying to do projects while you have kids running around.
For me I found it easy to start and stop my tiling project to help my kids with food and homework, and not having the worry of using a mortar that might possibly dry to fast.
MusselBound Tile Mat comes in rolls and has a sticky side that is applied to the wall, and a second sticky side that the tiles adhered to. The mat can be used with a variety of tile types, like ceramic, porcelain, and natural stone. The tile mat can be used on surfaces like drywall, plywood, and cement board.
The Pros of Using MusselBound Adhesive Tile Mat
Pros Of Using MusselBound
- Easy to use: MusselBound is designed for beginners. The adhesive mat is easy to trim with a box cutter or scissors. By taking off the sticker on the backside and pressing to your wall surface you are ready to tile. The mat eliminates the need for messy thinset mortar which is the reason I went the MusselBound route.
- Saves time: Because MusselBound eliminates the need to mix and apply mortar, it can significantly speed up the tiling process. It also allows you to grout immediately after installing the tiles, without waiting for the mortar to dry. You can ideally do a tiling project in one day!
- Reduces mess: With no need to mix and apply thinset, using an adhesive mat is a cleaner option for adding a backsplash to your space.
The Cons of Using MusselBound Adhesive Tile Mat
Cons of Using MusselBound
- Expensive: MusselBound is on the higher price side when you consider the price of thinset mortar. I was so willing to try the adhesive tile mat due to me only needing to buy 2 rolls. At the time of this post you can buy the tile mat at Lowes for way less than Amazon.
- Limited repositioning: Due to the stickiness of the tile mat you are very limited on repositioning your tiles. You can reposition them, but if you accidently bump the tile to hard and press it harder on the mat you’re going to struggle. Making sure you are very careful and precise when placing each tile is super important.
- Wet tiles won’t stick: Exactly as it sounds, if you have a wet tile from using the tile saw you will have a hard time getting the tiles to adhere to the tile mat. For my backsplash I chose to use subway style tiles which required very little cuts. But, for the tiles I did have to trim, I found I needed to blow dry them for 10 minutes with a hair dryer or toss in the oven at 200 degrees for 5 minutes.
How Do You Use MusselBound?
The steps to applying and using MusselBound is very simple.
- Clean and prep the wall surface: Make sure the wall is clean, dry, and free of any debris. Sand or scrape any rough spots, and wipe the wall down with a damp cloth to remove any dust. I chose to remove the granite backsplash lip & had to scrap chunks of glue off the wall.
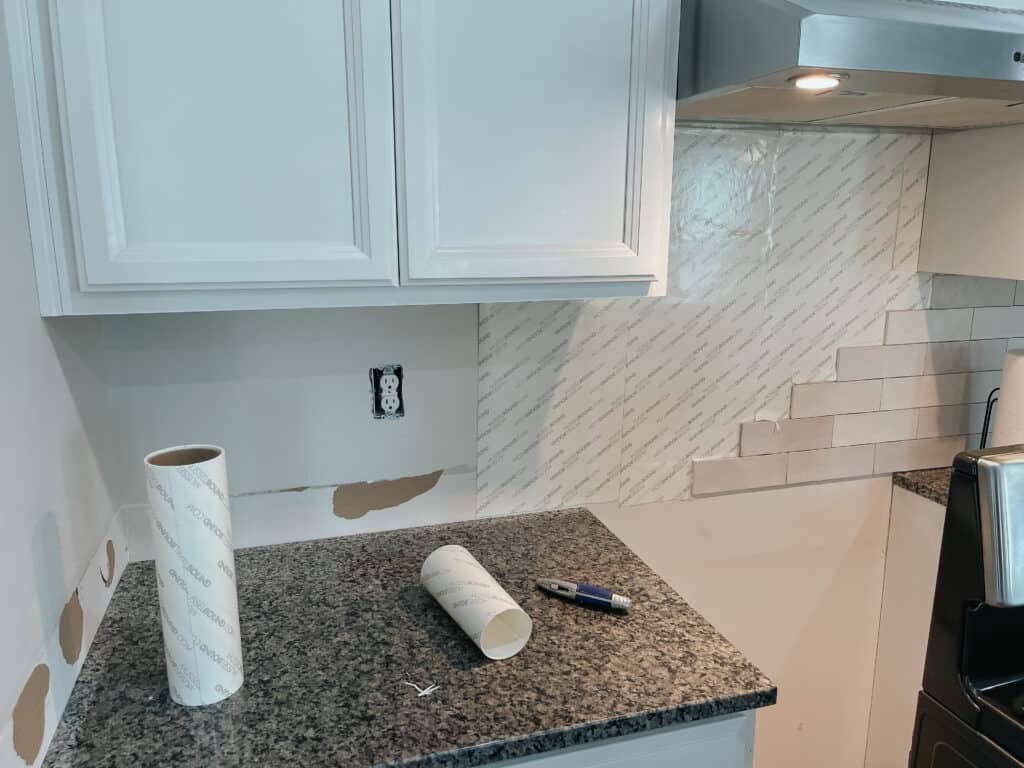
- Measure and cut the MusselBound: Measure the area you want to tile, and then cut the MusselBound mat to fit using scissors or a box cutter. I found it easier to stick the adhesive mat to the wall and trim at the bottom rather than trimming before applying. Smooth out any bubbles or wrinkles with a grout float.
- Install the tiles: Now you can install the tiles onto the MusselBound mat. Start at one corner of the backsplash and work your way across, placing each tile onto the mat and pressing it firmly in place. I liked using the grout float for pressing the tiles into place. Make sure you do not install your tiles on top of your counters. Always leave a small gap, you can fill that gap in with caulk. If desired use tile spacers (MusselBound comes with spacers) to ensure even spacing between your tiles. For our particular tiles I chose not to use spacers due to the tiles already creating a natural grout line.
- Cut tiles to fit: If you need to cut tiles to fit around electrical outlets or corners, use a tile cutter or wet saw to make the necessary cuts. Be sure to wear protective gear like goggles while cutting tile. This was my first time using a wet saw and as it was the least intimidating saw I’ve used, the tile pieces did fling off in different directions while trimming.
- Grout the tiles: After you have installed all your tiles, remove any tile spacers. You will apply grout to the gaps between the tiles. Use a grout float to push the grout into the gaps. Then wipe away the excess with a damp sponge.
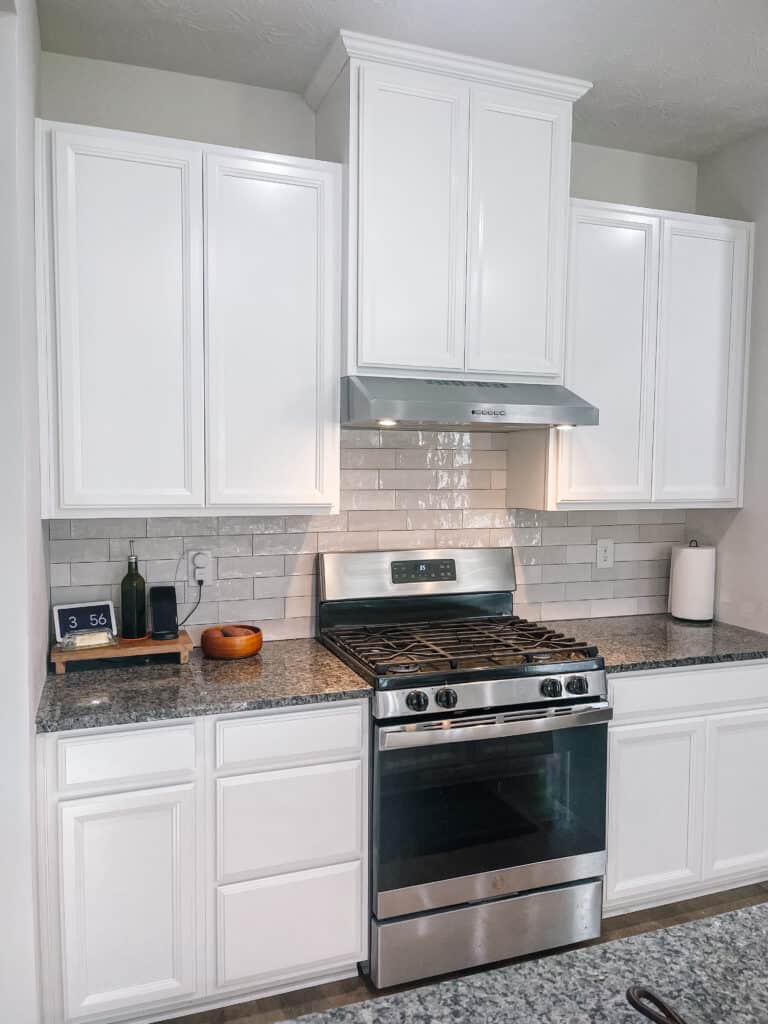
- Clean up: Let the grout dry! Once the grout is dry then use a dry cloth to buff away any haze left on the tiles.
Supplies For Tiling A Backsplash With MusselBound
Tools you’ll need
Would I use MusselBound Again?
Yes, I would most definitely use MusselBound again for a small tiling project. At one point I would love to do a overhaul on our laundry room and the thought of tiling the back wall has crossed my mind. Our laundry room is also on the smaller side and would probably only require one or two rolls.
If you have any addition questions on my experience using MusselBound Adhesive Tile Mat please feel free to reach out over on Instagram or email me at [email protected].