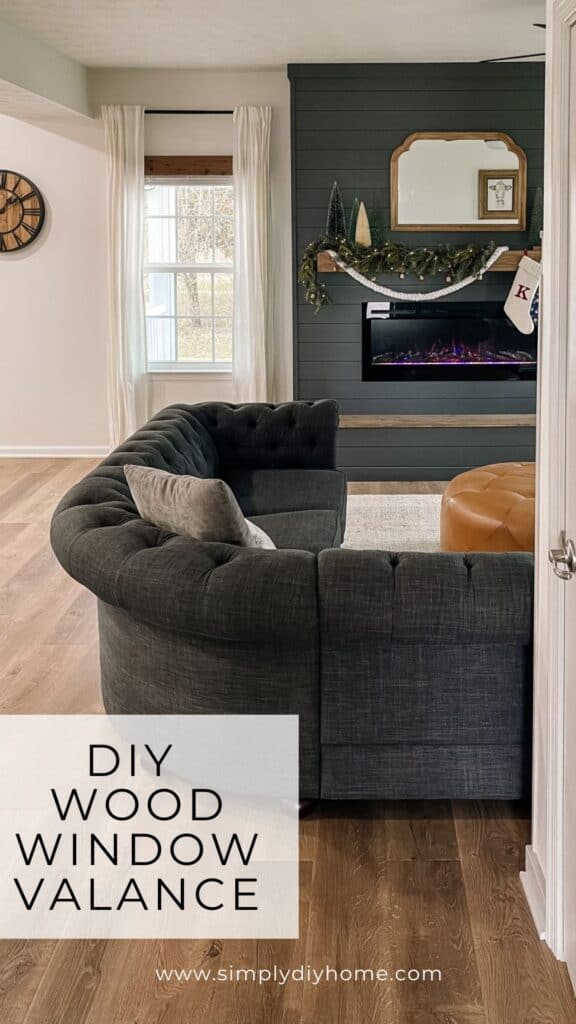
If you’re looking to add a touch of charm and character to your home’s interior then, DIY Wood Window Valances might just be the project for you.
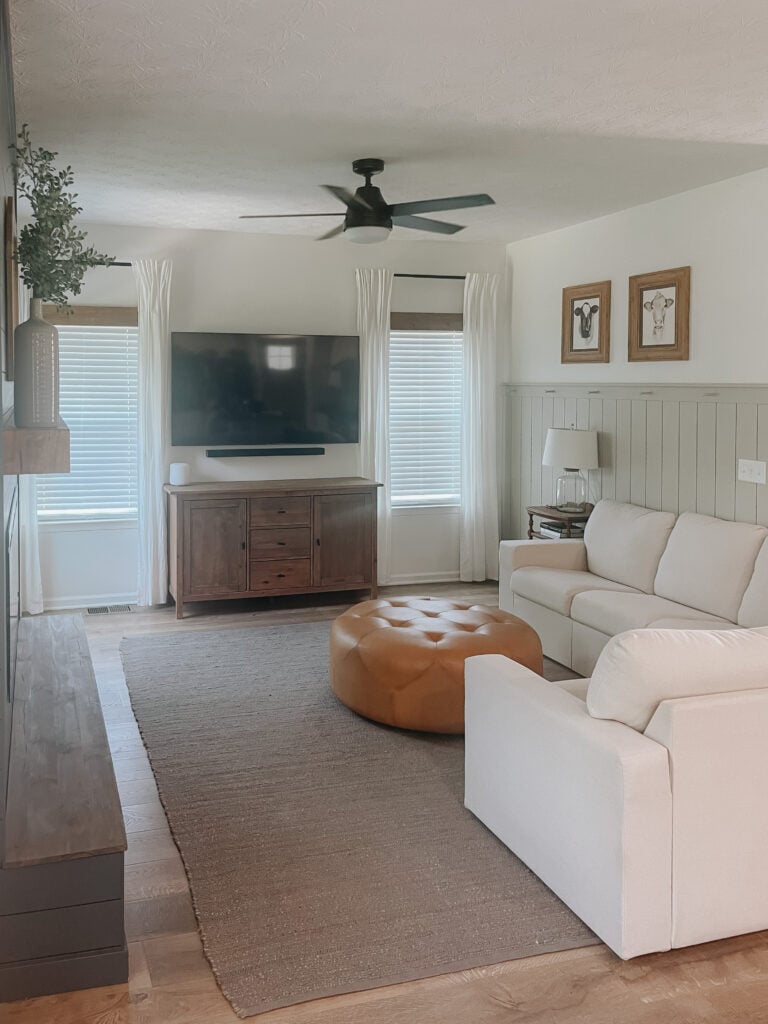
When we moved into our new home in 2021, I was excited to embark on this DIY journey to infuse some much-needed character into our living space. Our living room was a blank slate of all-white walls and a multitude of windows.
I decided to reuse our Ikea curtains that we have had for 5 years that were also white. Naturally, I wanted to add some type of wood tone and break up all the white we had going on. In this article I will walk you through the step-by-step process of how I transformed our space and added a unique touch of personality to our windows.
This will probably be one of the easiest ways to build your own wood valance. No pocket holes, wood screws or hardware required!
[AFFILIATE LINKS ARE PROVIDED BELOW FOR CONVENIENCE. FOR MORE INFORMATION SEE MY DISCLOSURE HERE.]
Wood Valance Tools & Shopping List
Recommended Tools
- Tape Measure
- Level
- Palm Sander
- Nail Gun
- Paint Can Opener
- Miter Saw
Shopping List
- Minwax Early American Stain
- Varathane Briarsmoke Stain
- Pre-Stain Conditioner
- 1x6x8 Pine Board
- 1x2x6 Pine Board
- Brad Nails 1 1/2″
- Rags
- Gloves
- 220 Grit Sandpaper
- Titebond Wood Glue
Dimensions
The final dimensions for one custom wood window valance is 38.5″ Long and 5.5″ Wide.
How To Build A DIY Wood Window Valances
Step One: Measure & Cut Wood
First thing, you are going to do is measure your window. The 1×2’s are going to be your brace pieces of wood that you secure your 1×6 too, so make sure you measure 1.5″ on either side of the window. If you’re confused about actual lumber dimensions vs nominal lumber dimensions you can read all about that in my wood size guide to better understand.
Once you have your measurements you can cut your boards down to size. I chose to go with pine boards for this project. I liked the knots of wood that shows up when you stain pine vs using poplar or oak.
Constructing the wood window valances is a straightforward process, it only requires 3 boards. Begin by taking a 1×6 board and measure it to match the width of your window, then add an extra 3 inches for the 1×2 braces. In my case, the window width measured 35.5 inches, so, with the added measurement of 3-inches for the braces, my 1×6 board was cut to a length of 38.5 inches.
Once you have that measurement you can cut your board.
The next step is to create two 1×2 braces, one for each side of your 1×6 board. It’s important to note that a 1×6 board is actually 5.5 inches wide rather than a full 6 inches. To achieve a snug fit, I opted to cut my 1×2 braces to a length of 5 inches.
Step Two: Stain Wood Pieces
Before staining your wood you need to make sure to give it a good sand with at least 220 grit sandpaper.
From my perspective, staining the wood pieces before assembly significantly simplifies this project. I relied on my well-practiced staining technique that perfectly complements our floors, creating a seamless look.
First, I started with a pre-stain conditioner. Do not skip this part of staining. Pre-stain conditioner has many benefits, including even absorption which will take away any blotch-ness when staining your piece.
After the pre-stain I apply a heavy coat of Early American by Minwax. After that’s on I go straight into appling a very very very light coat of Briarsmoke. I only want to apply Briarsmoke in small sections because, I’m trying to highlight darker areas in the wood.
You can see from the photo of our floors below how they have darker areas. I was trying to mimic the look of the floors and think I got pretty close.

Step Three: Assemble Window Valance
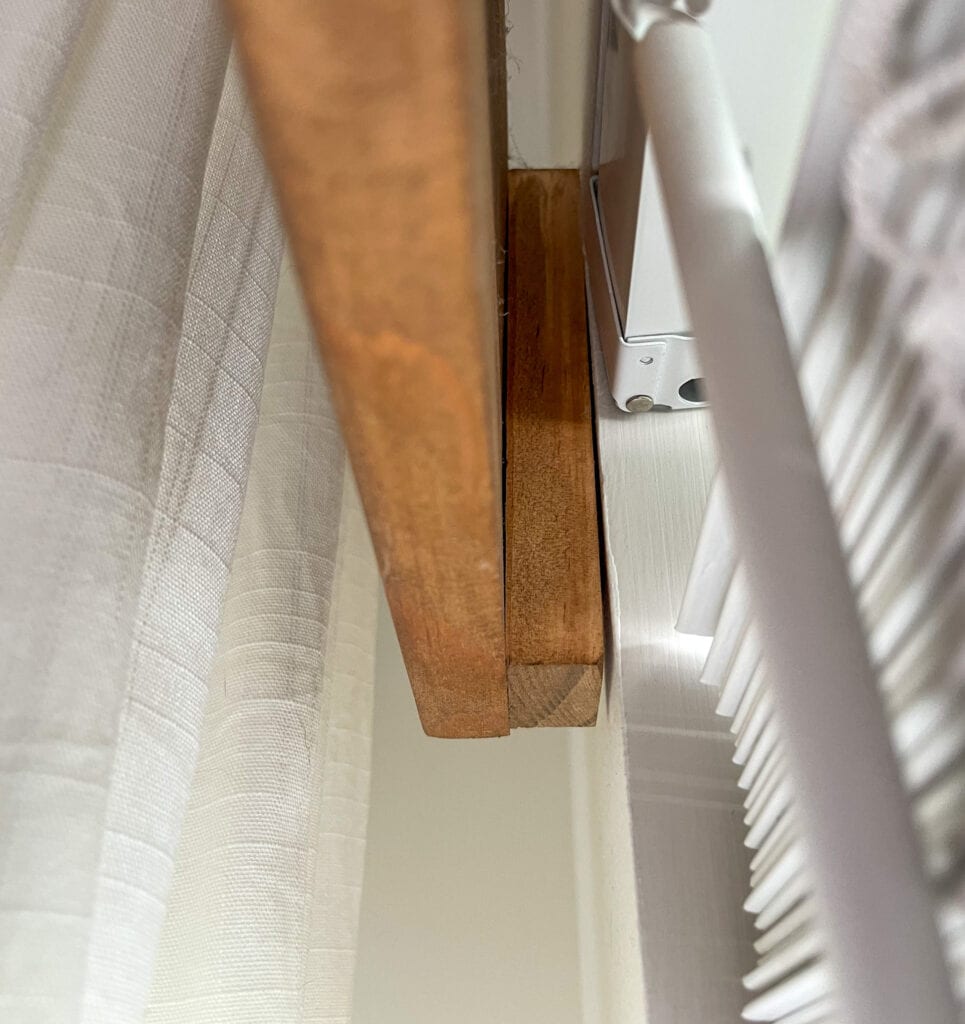
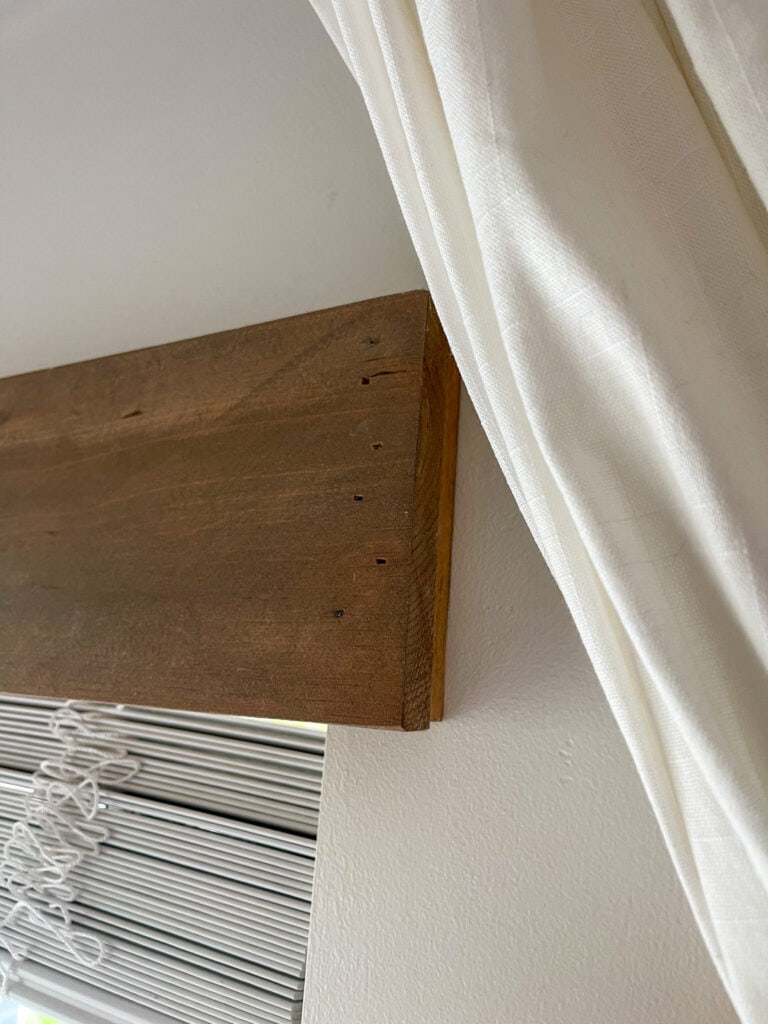
To assemble the wooden valance I used my nail gun and some wood glue to attach the 1×2 lumber to the inside of the valance. Make sure you install the 1×2’s all the way to the ends of your 1×6.
I chose not to fill my nail holes with wood filler because they were so small and you couldn’t see them behind the curtains anyway.
Step Four: Hang Your Wood Window Valance
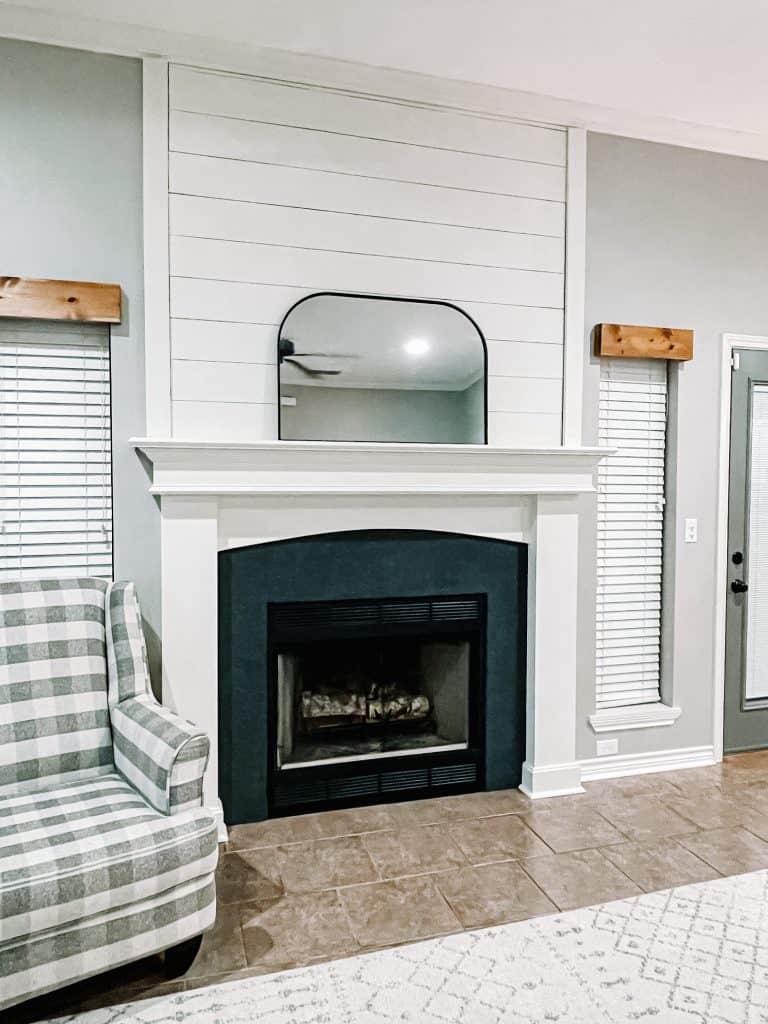
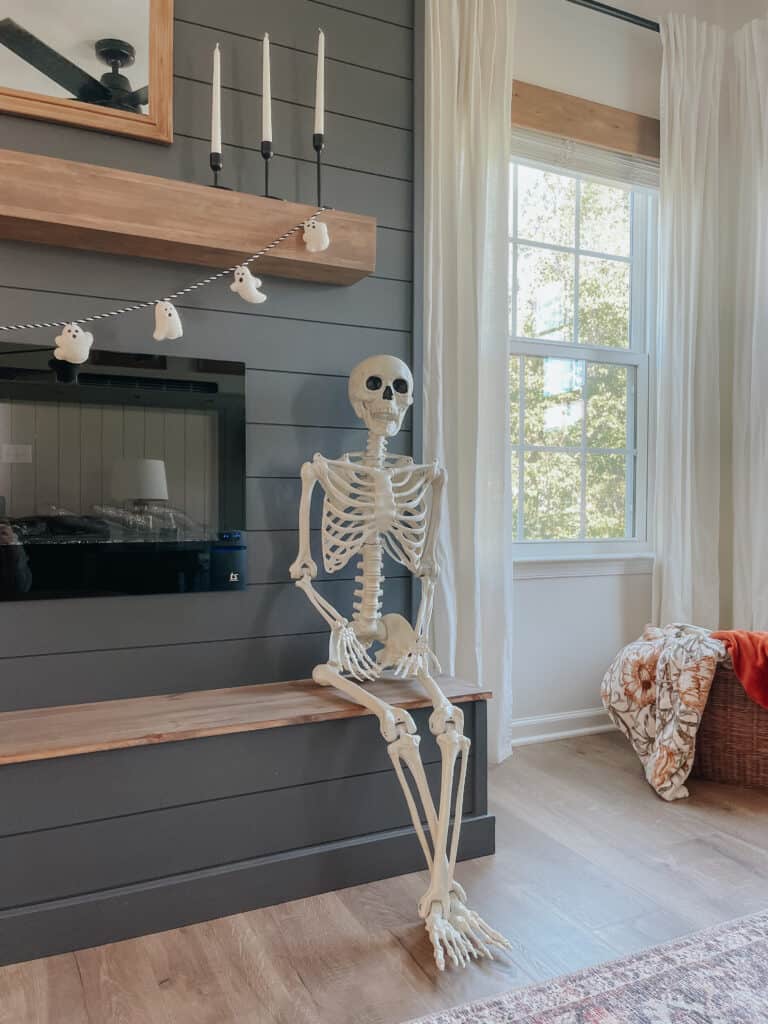
When it came time to install the valances, I visually gauged their ideal placement. I positioned them as high as I could without exposing the top of the window, creating the illusion of increased window height.
The window naturally has a 2×4 wood frame around the window behind the drywall. I used a nail gun to secure the valances by driving nails through the front of the valance directly into the wall. Nailing 3-4 nails per side should be enough to keep the window valances from falling.
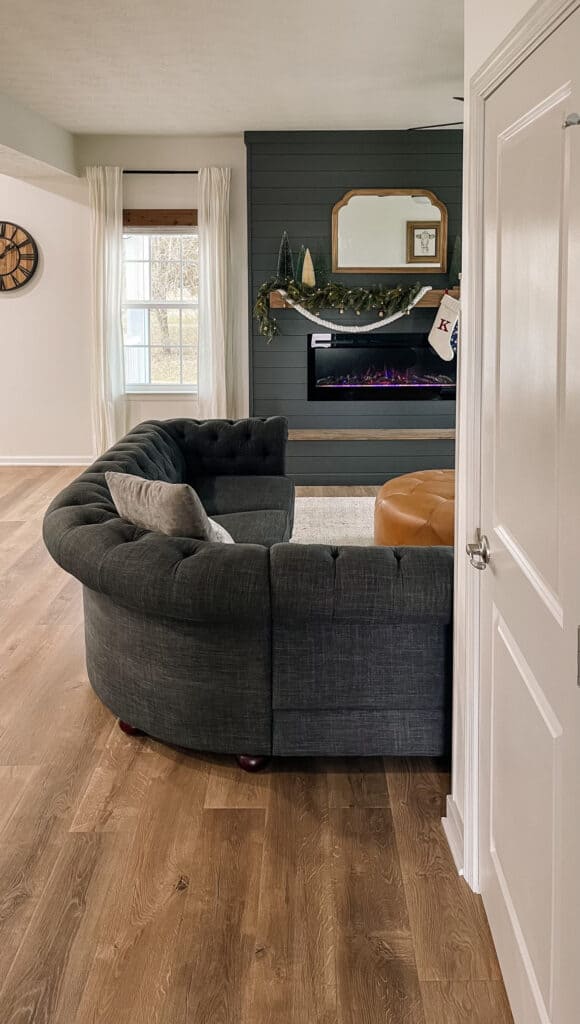
There you have it, your own DIY wood window valances! I just love the look this brought to our living room. The wood and white tones really bring some warmth to the space and make it feel homey!