
Looking for a easy weekend project? This farmhouse style window trim tutorial will show you just how simple it is to add classic style to your windows.
Watch The Full Video
You can watch a full tutorial HERE on my Youtube channel if you need a better visual!
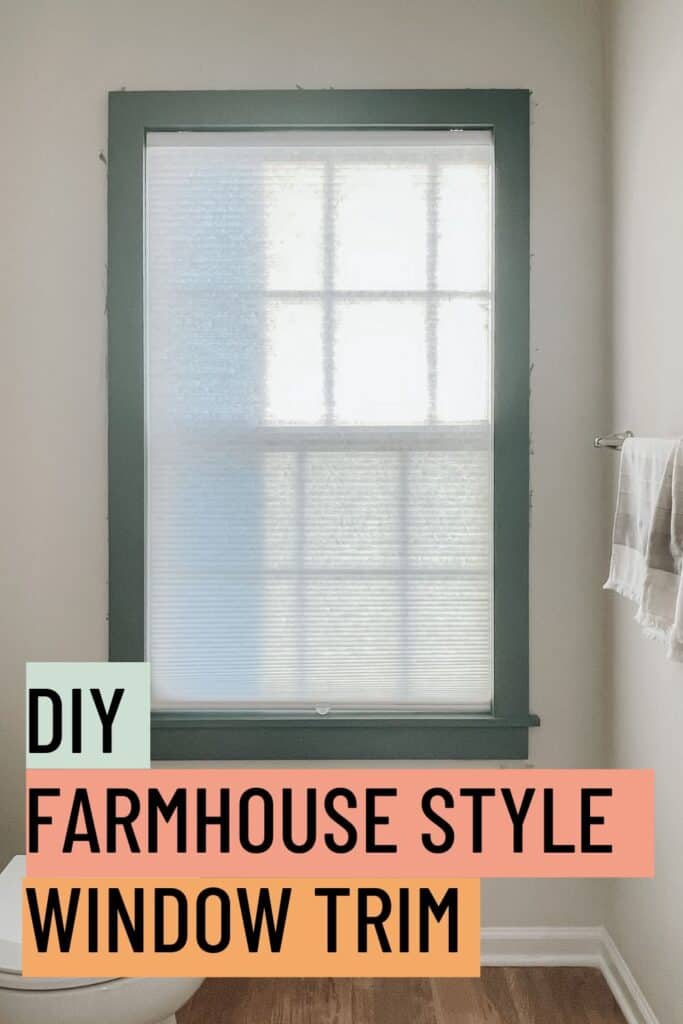
Installing window trim is a great interior upgrade that just about anyone can do. In this tutorial I will show you how I trimmed out our half bathroom window. Yes, I know a bathroom with a window! I can’t complain to much because I love me some natural light.
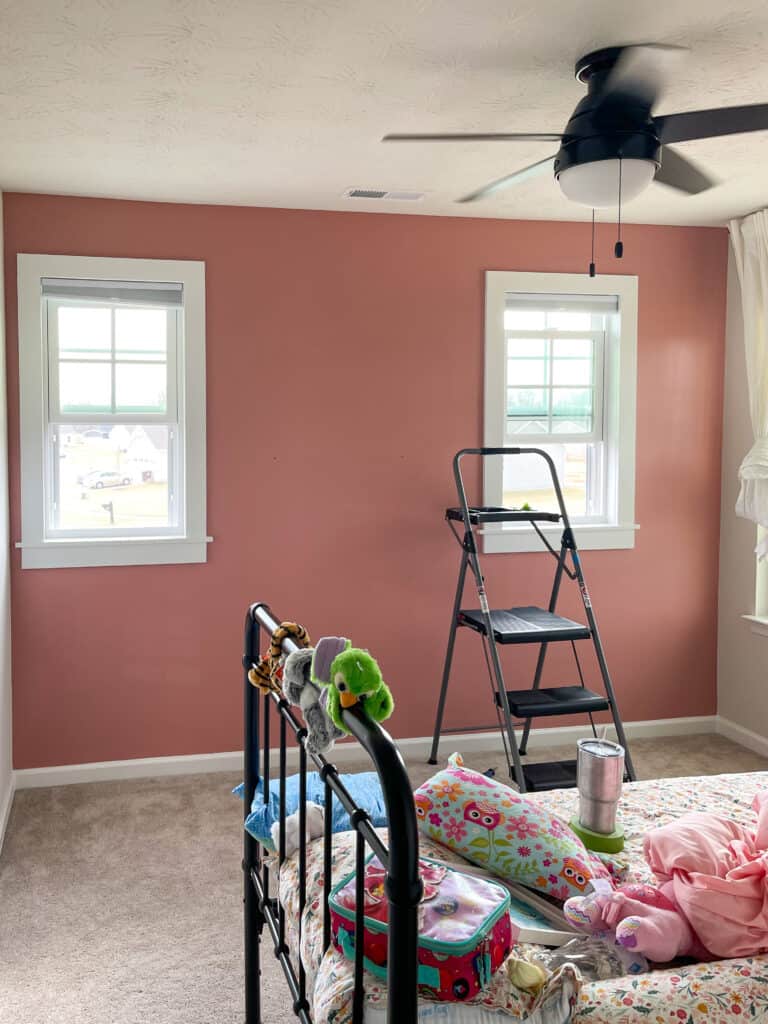
At this point I feel like a pro at trimming out windows, this is my fourth window in this home that I have trimmed out. We built this home about 2 years ago and our builder is standard for not adding much character to the windows. Our home is very builder grade, and adding window trim to the space is inexpensive.
How much does it cost to install window trim?
The cost of your window trim can vary drastically depending on what type of material you buy, and the size of your window.
After a lot of trial and error, I had told myself from now on I would stick to pine boards for the window trim. You do have the option to use primed MDF for this type of project. But, MDF is not my first choice. From past experiences I have used MDF and wasn’t a fan of working with it around windows. It wasn’t forgiving and it’s not ideal to use around moisture. In this article I talk more about the difference between MDF and wood trim.
For this 59″ x 35″ window it cost me around $35 in wood.
I technically didn’t buy enough wood for this farmhouse window trim. My left over pieces would have resulted in me putting two pieces together for the bottom trim. To avoid that I used a leftover primed MDF board I had in the garage. I still think it would have cost around $35 for this project, if I had bought different size boards.
I chose to get (3) 1x4x8’s and if I had chose the 12 FT boards or even 6 FT boards I would have had enough. Most likely saving me money or coming out at the same price with little to no extra cost.
Supplies Needed For DIY Farmhouse Window Trim
[AFFILIATE LINKS ARE PROVIDED BELOW FOR CONVENIENCE. FOR MORE INFORMATION SEE MY DISCLOSURE HERE.]
- Premium Pine Wood 1×4
- Wood Filler
- Paintable Caulk & Baby Wipes
- Primer
- Paint–Best Trim, Door and Cabinet Paint
- Paint Foam Roller & Paint Brush
- Nail Gun & 2″ Finishing Nails
- Level
- Measuring Tape
- Pencil
- Miter Saw or Circular Saw
- Jigsaw
- Ear Protection
- Face Mask (dust)
How To Install Farmhouse-Style Window Trim
Step One: Create A Window Sill
This will be the most time consuming part of your project. The window sill use to intimidate me so much but, now it’s just as easy as the rest. First you will want to measure and trim down your 1×4 to the length it needs to be.
The easiest way I have found to do this is to measure the width of your window sill. Take that number and add your 2 side trim piece measurements next. Then add 2 inches to the final number for your one inch overhang on either side of your window.
For example: If your window is 35″ on the inside where your sill goes, you will add 7″ which equals both trim pieces on either side of the window, then add 2″ for your 1″ overhang =44″.
If you’re unfamiliar with lumber dimensions I have a full article that examples it more in depth. You can also download a free lumber size chart for being apart of my email list. For reference to this post a 1×4 is not really 4″ it is 3.5″.
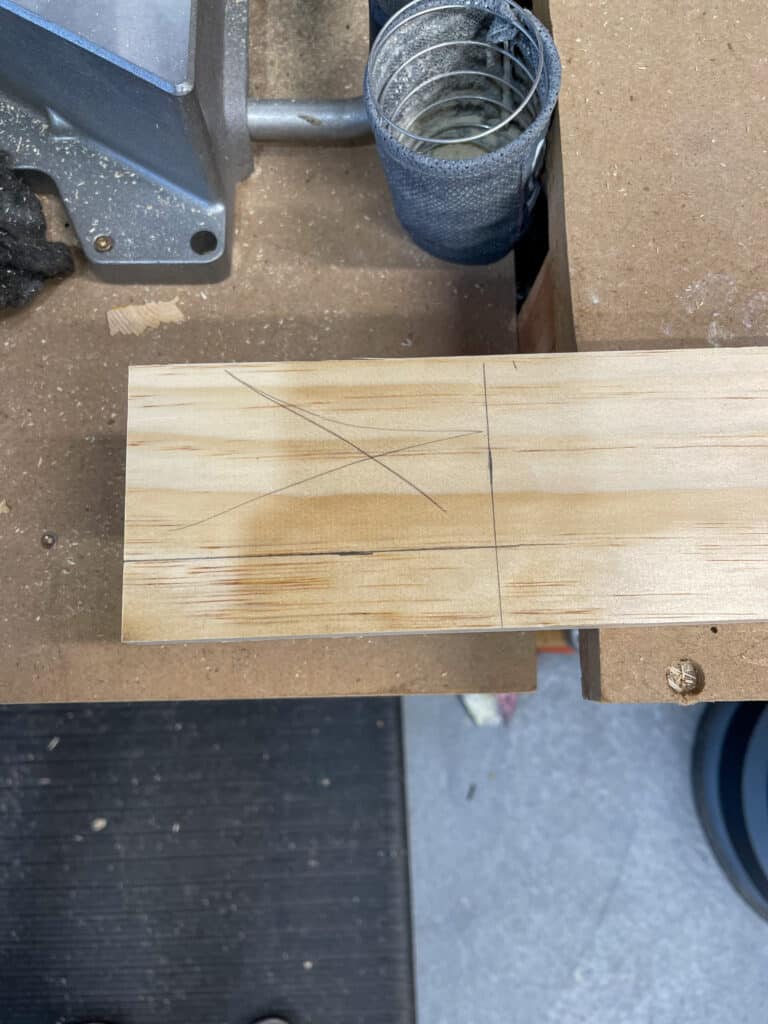
Once your board is to size you are going to measure the depth of your sill. Next measurement will be the 3.5″ trim piece + 1″ overhang. Take these numbers and mark them on the ends of your board, connecting them until they make a letter L. That letter L will make a box on each end. Scribble or put a X in that box so you know this is the part we will be getting rid of. See the picture below for example.
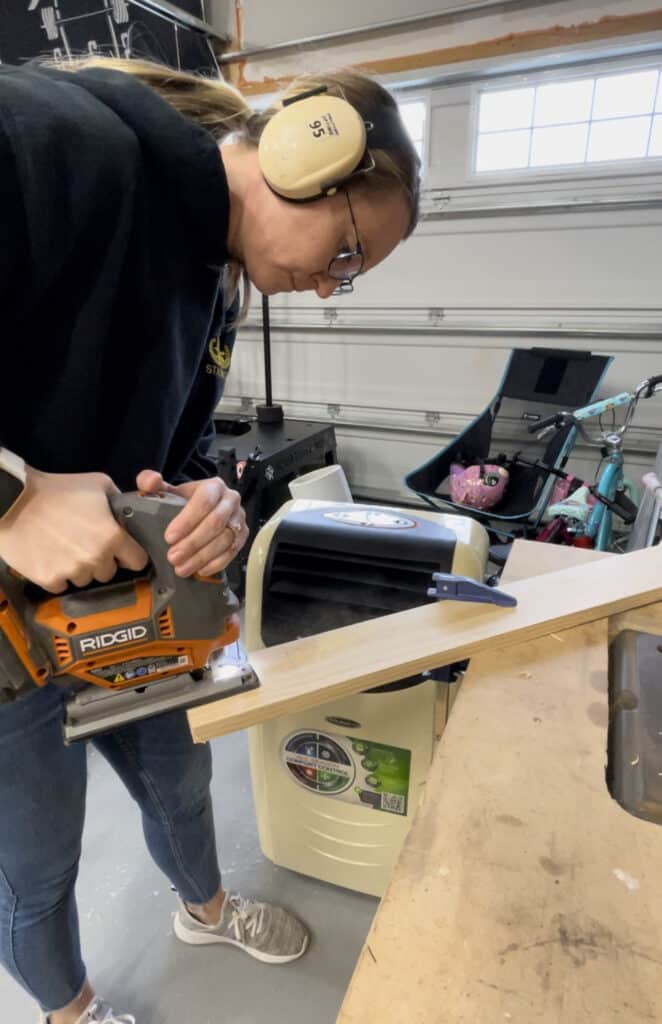
Use a jigsaw to cut along the lines and eliminate that box.
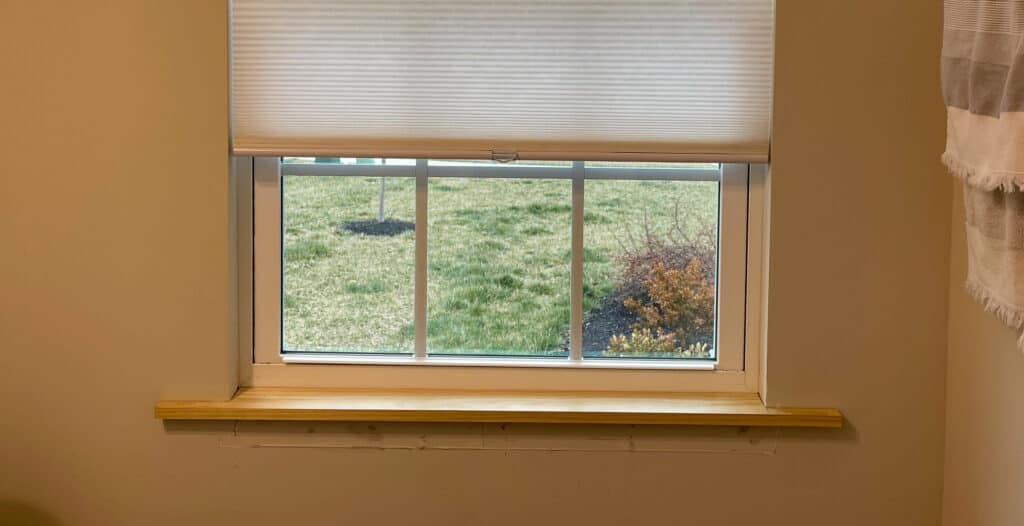
Step Two: Attach The Window Sill
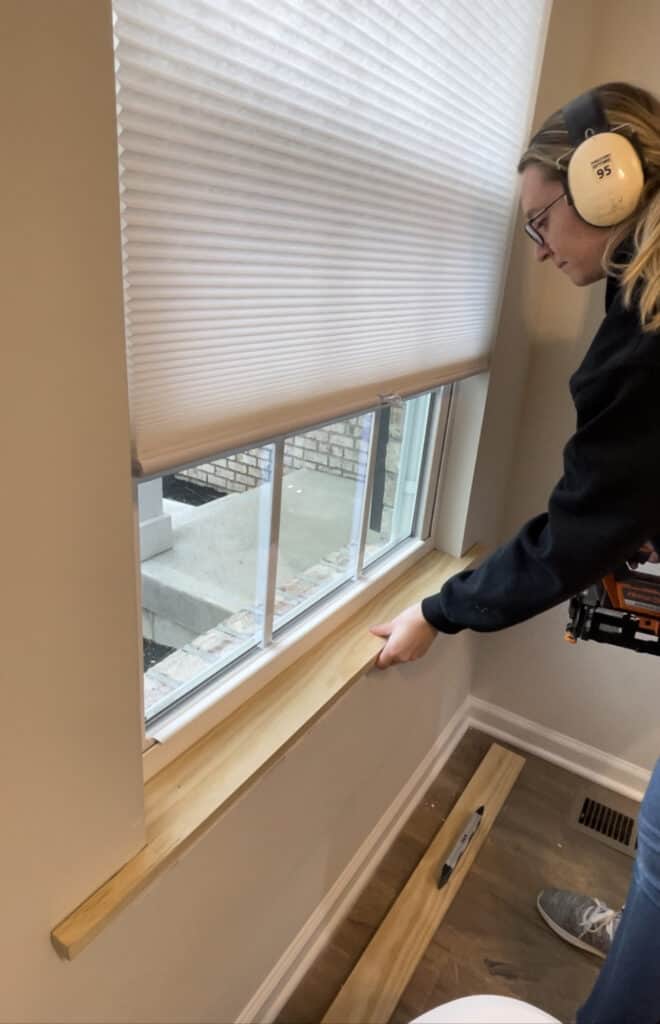
Take the finished 1×4 and slide it into place. You will want it to be a tight fit. If there are small gaps it’s not a problem, you will caulk those seams to give it a flawless finish. Using your brad nailer, 2″ finish nails and level you are going to attach your board to the opening.
If the board is not level you can add wood shims to level it out. Once level nail it in.
Step Three: Install The Side Pieces
After the window sill is in I prefer to install the side window trim first. Measuring from the top of the window edge all the way down to the window sill will give you the correct measurement. Make sure you measure both sides of the window because, there is a chance both sides can be a slightly different measurement.
Take your 1×4 wood trim pieces, cut it to length, then nail it level with the window. I always makes sure I place the level on the side when installing window trim just to make sure. You honestly never know if things are level whether it’s a new home or old home.
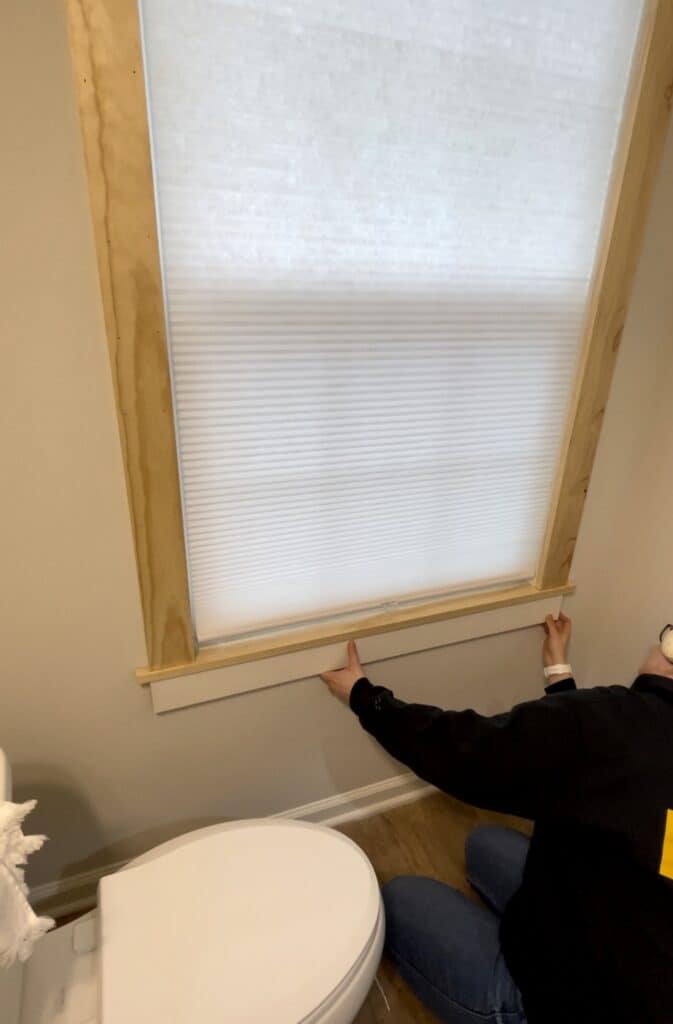
Step Four: Installing Top and Bottom Trim Work
The top and bottom trim pieces are going to be pretty much the same as the side pieces. Measure from the outside of your 1×4 all the way to the other outside board. Once again making sure you measure both the top of the window and the bottom of the window.
Cut, make sure it’s level and then nail your pieces to the top and bottom of your window.
Step Five: Detail Work
This is where the magic happens, aside from the finish result! But, without doing the finish work like caulking the seams and filling the nail holes your end result won’t be that impressive.
Best practice is to first fill all the nail holes. I do this first because, in the past I have messed up my caulk when I go back and sand the wood filler down. It may be messy but, to save time I like to fill my nail holes a little bit more than most. That way as it dries and falls into place you don’t have the risk of having to come back and fill it a second time.
If you used MDF vs real wood you will notice when comparing the two it’s harder to get a flat finish. In my experience filling nail holes in MDF just never looked the same no matter how much I sanded. Sanding MDF isn’t the best choice either. Please wear a mask.
My MDF vs Wood Trim article goes more into the risks of the potential gases MDF puts off.
Lastly, after you have filled the nails holes and sanded them down it’s time to caulk all the seams. When wiping your caulk line I have found that using baby wipes is the less messy route.
Step Six: Painting The Window Trim
Finally, the last step has arrived! Painting in my opinion is the best part. Using a 4″ foam roller, a good quality paint brush and some paint you will achieve a professional looking finish. This time around I chose to go with Sherwin Williams Emerald Interior Acrylic Latex in the color Retreat.
Usually, I would use my go-to trim and cabinet enamel. But, since I am doing a makeover on this bathroom I need this paint for an accent wall too. You don’t want to use a trim enamel on an accent wall.

Whatever paint you chose to go with get a quality paint and sand in between each coat to insure you don’t have brush marks. Another option you can add to your paint is this self leveling additive called Floetrol. Floetrol will make it where you won’t see any brush or roller marks at all.
The Easiest Way To Chose A Paint Color
No two homes are the same! Paint colors almost always end up looking differently than you expected them to. If you’re looking to save some money and want the convenience of not painting a bunch of random colors on your walls try out Samplize!
Samplize offers convenient peel-and-stick paint samples that are reusable and repositionable. They are these vinyl squares that have genuine manufactured paint on them to give the samples the exact look of the colors you choose.

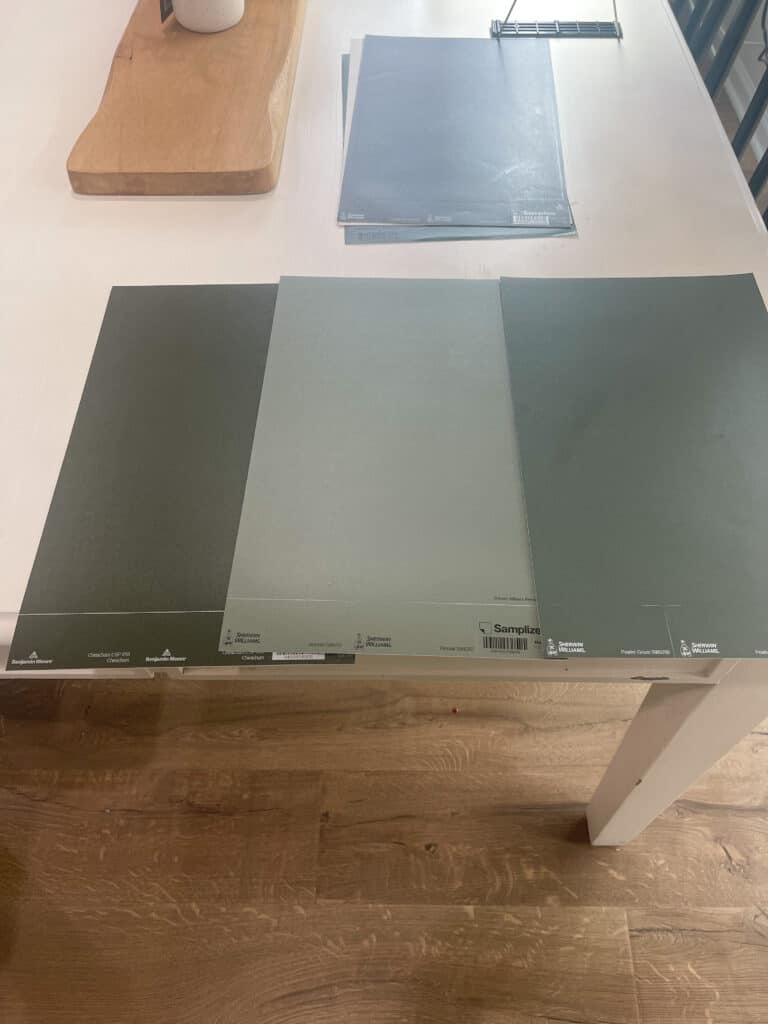
They offer paint from some of the most popular paint brands like Benjamin Moore, Sherwin Williams and PPG. With thousands of paint colors to choose from, once you narrow it down you can order right from your couch!
I recommend ordering from their online store. At the time of writing this post I know if you are a new customer with them they are offering $5 off your first purchase.
Be sure to follow the half bathroom remodel by signing up for Simply DIY Home weekly newsletter. Next up is wallpaper, beadboard accent wall then ending with a rustic wood ceiling!