In this article, we’ll dive deep into creating beautiful alcohol ink ornaments with a few simple steps. Whether you’re new to alcohol inks or looking for a fun holiday project, this tutorial will guide you through every detail to craft stunning ornaments!
This year, I’ve been all about discovering unique and simple ways to DIY beautiful holiday decor. When I came across alcohol ink ornaments I thought that they were the perfect blend of fun and affordable. Even better they look high-end but at a fraction of the cost.
[AFFILIATE LINKS ARE PROVIDED BELOW FOR CONVENIENCE. FOR MORE INFORMATION SEE MY DISCLOSURE HERE.]
Supplies List For Ornaments
- New Plastic Ornaments
- Alcohol Ink (this is the kit I used)
- Plastic or Drop Cloth
- Hair Dryer
- Velvet Ribbon
- Rub N’ Buff
Step-By-Step Guide To DIY Alcohol Ink Christmas Ornaments
Step 1: Add Alcohol Ink to the Inside of the Ornament
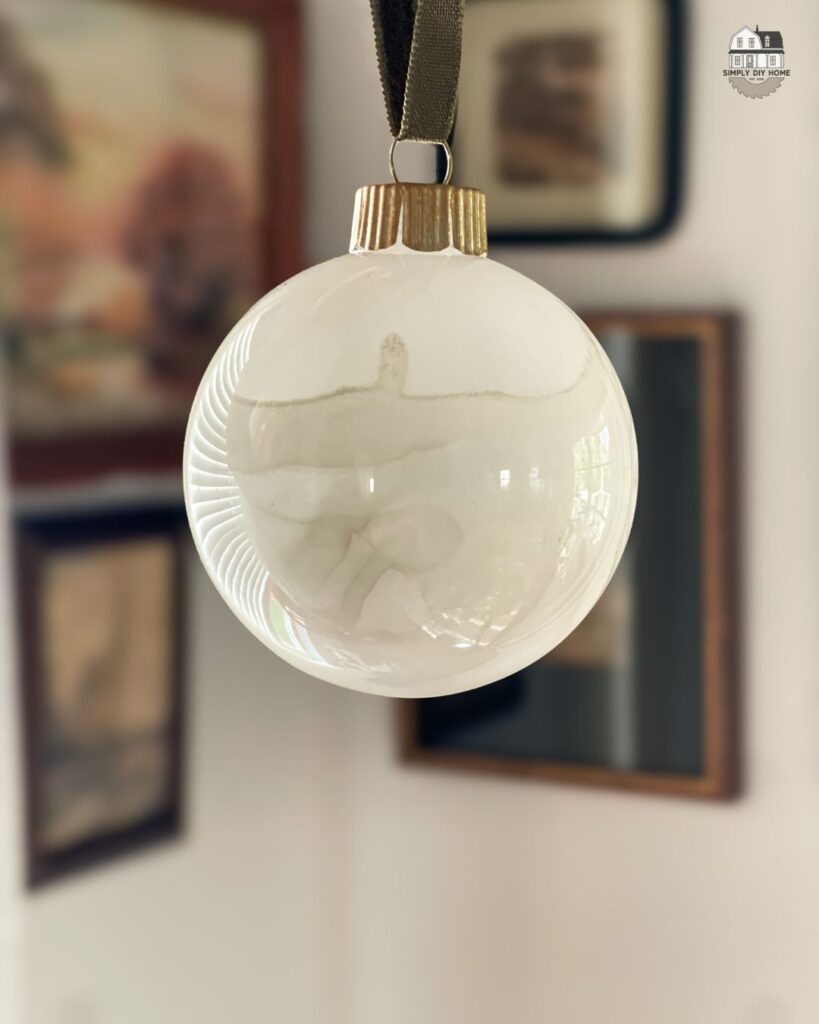
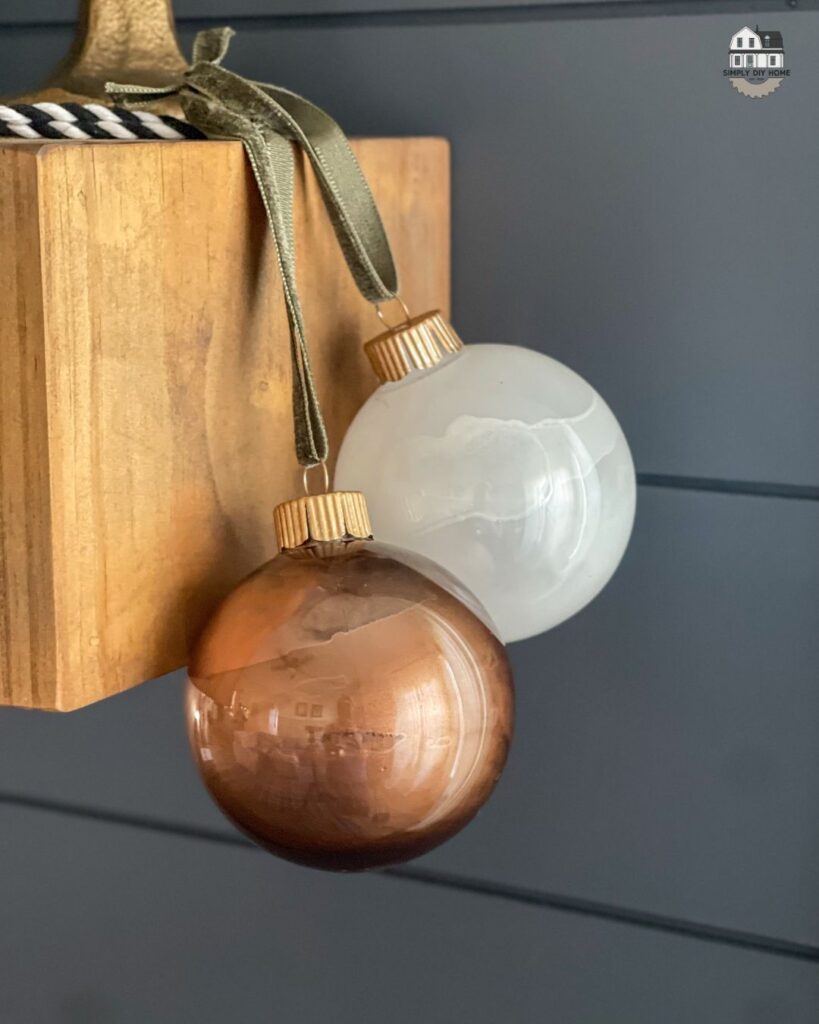
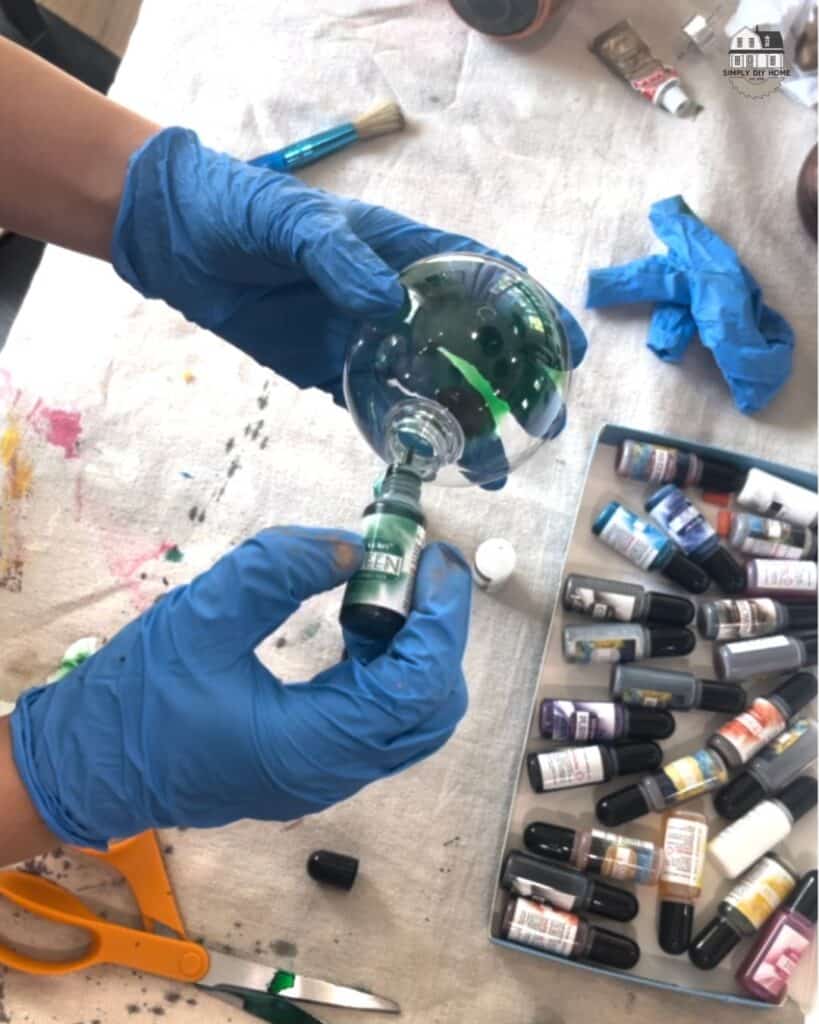
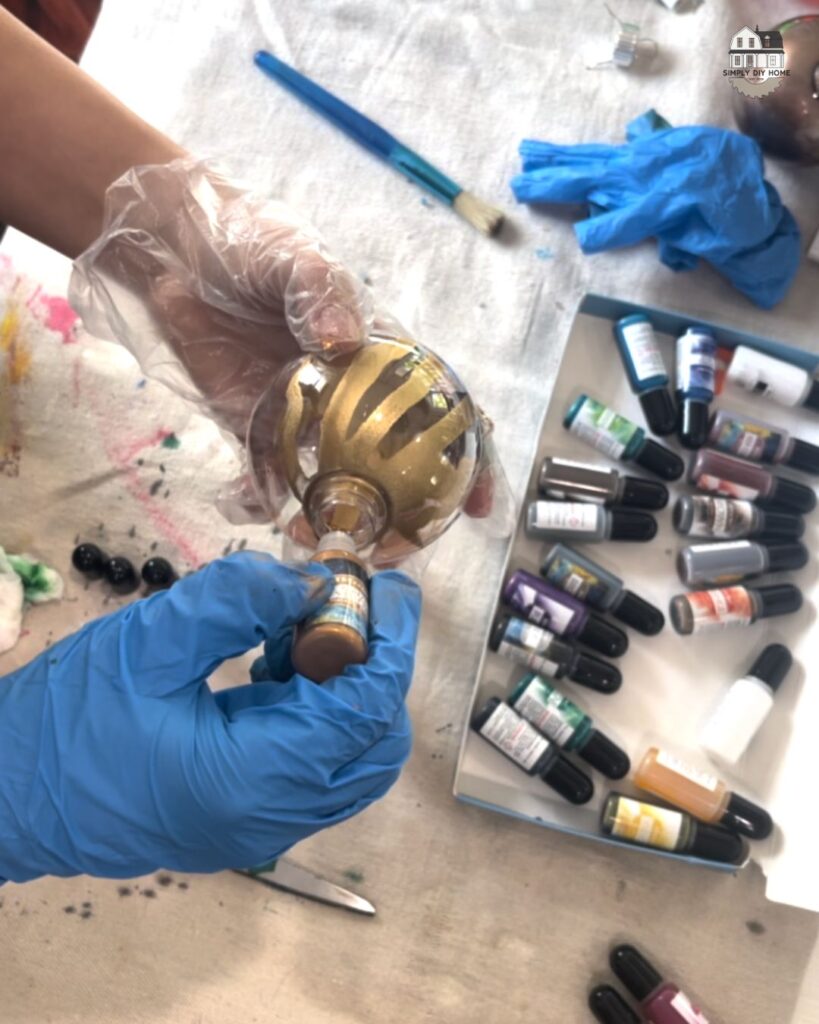
Start by removing the top hanger of your clear ornament. Carefully drip a few drops of your chosen alcohol ink colors inside the ornament. Swirl the ornament around to let the ink move and blend, creating unique patterns.
If you want a deeper color, you will have to add more ink to your ornament. For my white ornaments I used two seperate whites to get the marble effect.
This DIY will take a lot of experimenting until you get the right blends and effects that you desire. Once you have added your colors continue rotating until the inside is fully covered.

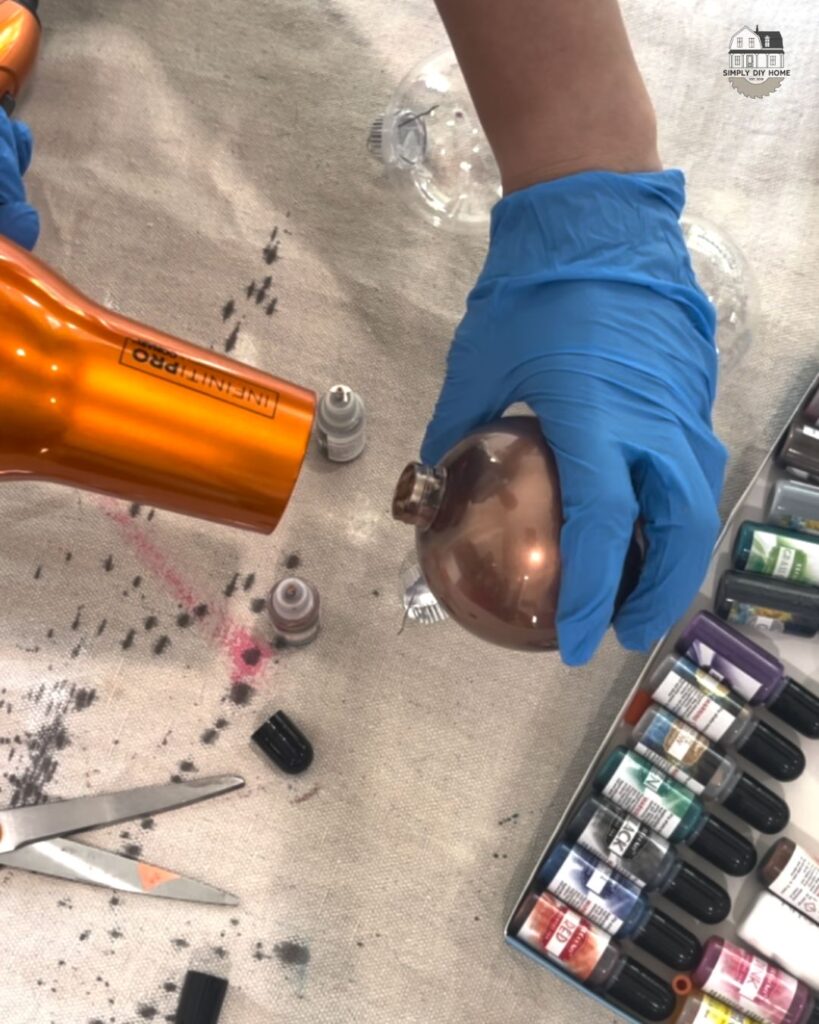
Step 2: Use A Hairdryer to Set the Ink
To set your colors inside your ornament you will need a hairdryer. The ink will not dry and set if you don’t do this part.
Take your ornament and turn it all directions while holding your hairdryer and aiming it inside the ornament. I set my hairdryer to the lowest setting and held the cold button to dry the ink.
It took anywhere between 3-5 minutes per ornament to dry.
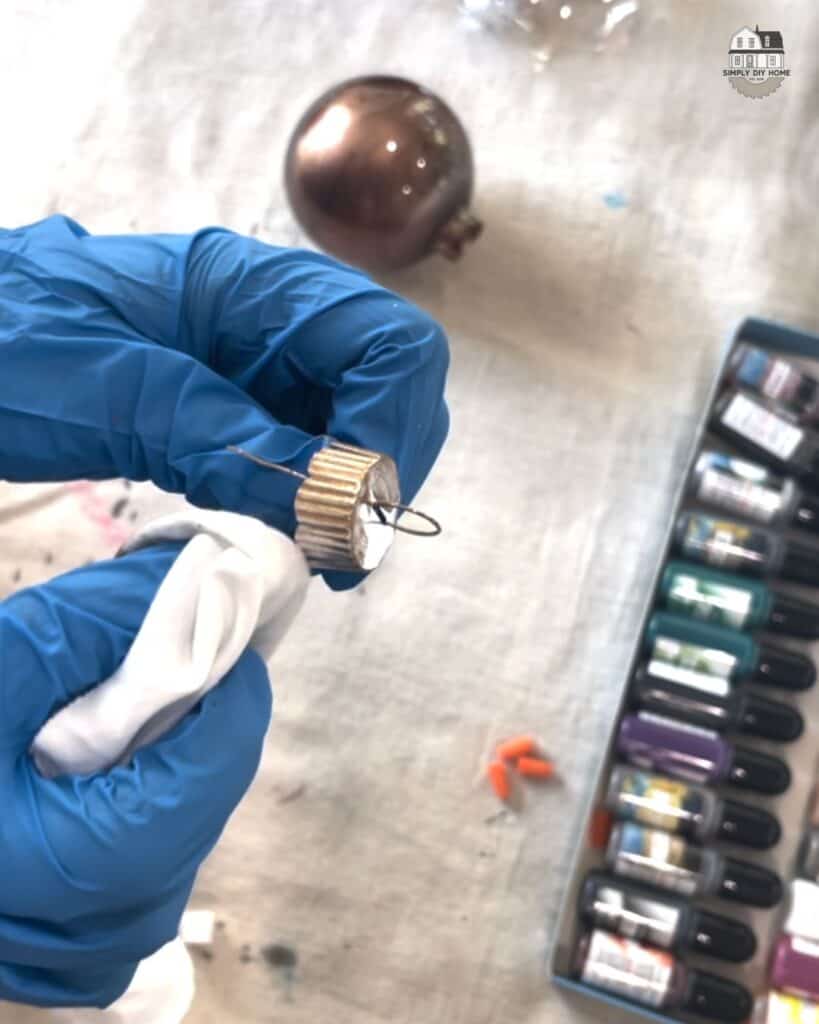
Step 3: Paint Ornament Caps & Cut Ribbon
To give my ornaments a more antique and unique look, I used Rub N’ Buff in the color Antique Gold to paint the ornament caps. Once dry, I simply placed the caps back on the ornaments for a beautiful finishing touch.
As far as hanging the ornaments from the tree I went to my local Hobby Lobby and picked up some velvet ribbon and added those to my ornaments.
I am so happy with these ornaments and they were fairly inexpensive to make! Let me know if you decide to make some yourself! I would love to see them.
DIY Alcohol Ink Ornaments Tips and Tricks
The alcohol ink is actually pretty forgiving. You can make it darker or lighter by adding white or a darker color of whatever color you are making. You can even go back in with more ink after you have already dried the first layer. I did this to one of my brown ornaments that I wanted to be darker.
Yes, I don’t think I used one single color on an ornament. I combined anywhere from 2-5 colors when making mine.
When you go to use the ink for the first time, it tells you to shake it then cut the tips off. Everytime I cut the tip off it would squirt all over the place no matter how careful I was. I found out if it happens to get on your white farmhouse table you can use rubbing alcohol to remove it! So it’s safe to say keep some of that nearby!
[Safety is of great importance when working on DIY projects. Always follow proper safety guidelines, wear appropriate personal protective equipment, and adhere to local building codes and regulations. READ MY FULL DISCLAIMER HERE.]