
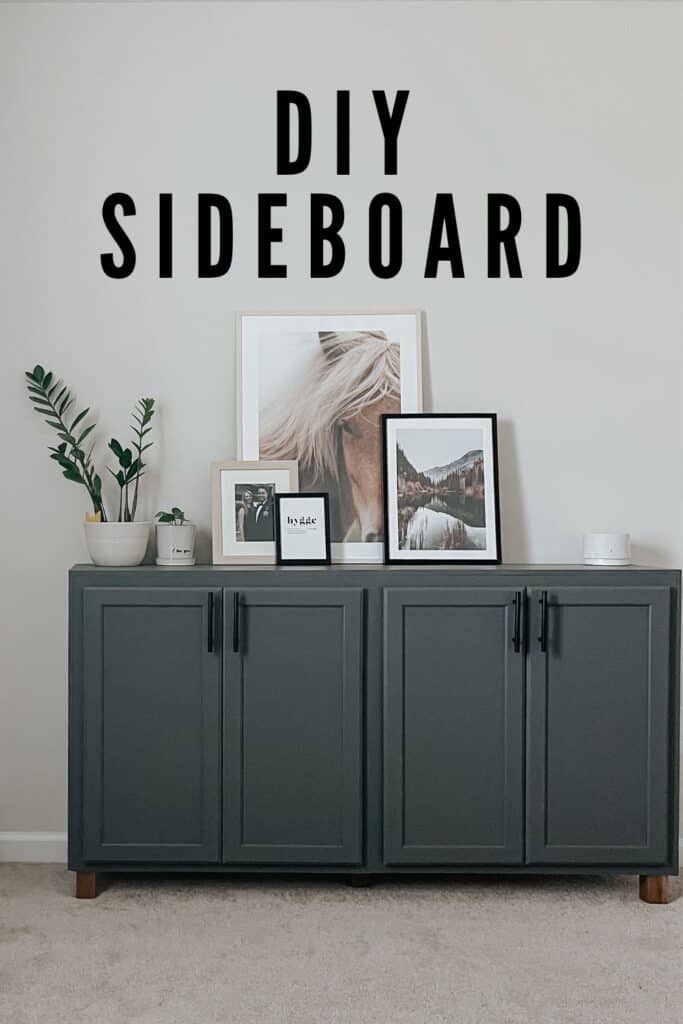
Learn how to build a DIY sideboard cabinet using stock cabinets with our step-by-step guide. Save money and customize your furniture to fit your space and personal style.
What is the Advantages of Building A Sideboard?
A sideboard is a piece of furniture that can provide both storage space and style to any room.
While there are many ready-made options available in furniture stores. Building your own sideboard from kitchen cabinets can be a rewarding and a cost-effective DIY project. Not only can it save you money, but you can also customize it to fit your specific needs and design preferences.
I am going to provide you with a step-by-step guide on how to build a DIY sideboard from stock cabinets. I’ll also share some tips and tricks to help ensure your project is a success. So, grab your tools and let’s get started!
Sideboard Tools and Materials
[AFFILIATE LINKS ARE PROVIDED BELOW FOR CONVENIENCE. FOR MORE INFORMATION SEE MY DISCLOSURE HERE.]
Materials List
- (2) Upper Kitchen Cabinet (I used 30in x 30in x 12in)
- (1) Birch Plywood 3/4in x 4ft x 8ft (I used oak because I had it on hand.)
- (1) Pine Board 1in x 3in x 8ft
- Wood Shims (Or any scrap wood you have laying around)
- Edge Banding
- Square Poplar Dowel 2in x 2in x 36in (I used these for furniture legs.)
- Hardware
- Furniture Leg Hardware (Highly recommend)
- Cabinet Paint (I used BEHR PREMIUM™ CABINET, DOOR & TRIM SATIN ENAMEL)
Tools
- Table Saw or Circular Saw
- 1 1/4in Wood Screws
- Clamps (optional but helpful)
- Level
- Miter Saw
- Wood Glue
- Wood Filler
- Palm Sander & 220 Grit Sandpaper
- Nail Gun & 2 in Finish Nails
- Tape Measure
- Foam Roller
- Paint Brush & Paint Tray
- Hardware Template
- Drill
- Iron (Used for installing edge banding.)
Planning and Preparing for your project
A few things to keep in mind when planning and preparing for your sideboard:
- Choosing the Right Cabinets: You’ll need to decide what size and style of cabinets you want, as well as the color and finish. If you’re not sure where to start, there are plenty of options available online and in home improvement stores.
- Measure Your Space: Once you’ve chosen your cabinets, it’s important to measure your space to make sure they will fit.
To save even more money watch out for Home Depot & Lowe’s when they have their sale on in-stock cabinets. They have them very frequently!
How To Build A DIY Sideboard From Stock Cabinets
Joining The Cabinets Together
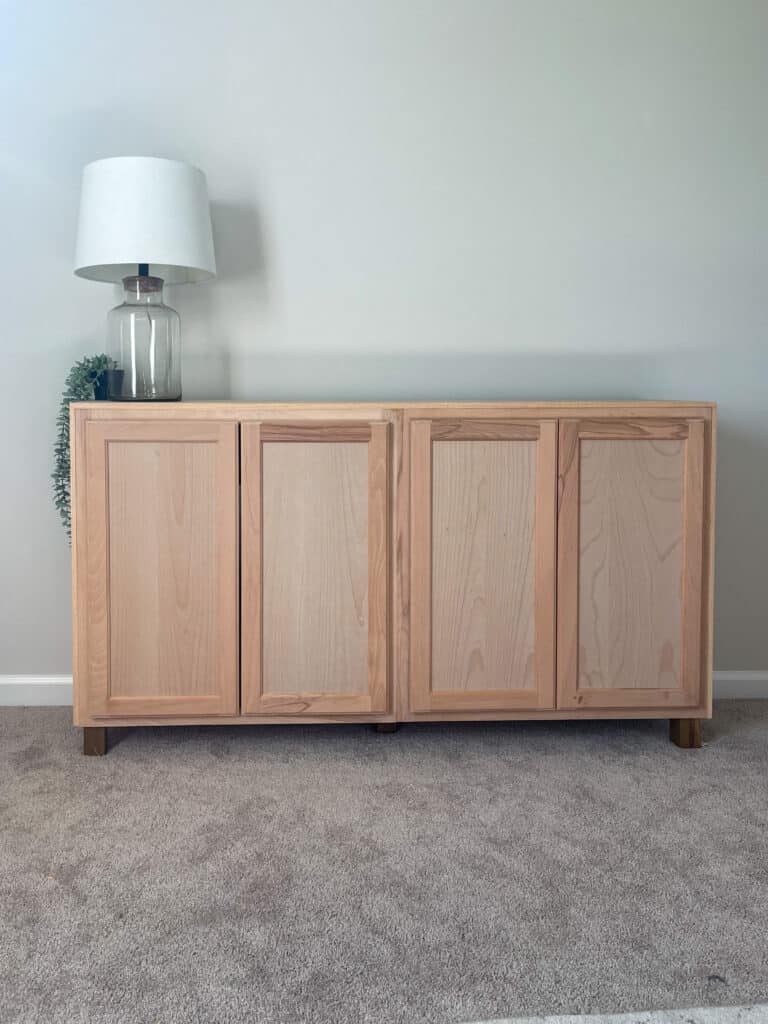
First thing, for our sideboard project I went with 2 unfinished upper cabinets from Home Depot. This was the cheaper option than buying a pre-made sideboard but at the same time you can do this project even cheaper if you build from scratch.
To save time and my mind from doing to much math I chose the middle option of pre-made cabinets.
To join the cabinets together you will take your wood shims or you can even use your 1×3 pine board for this and place them in between the 2 cabinets. The easiest way to do this is to lay them down on their side and push them up against one another.
If you don’t have another person helping with this project I suggest using some clamps to reassure the cabinets are together and lined up perfectly. The goal is to make the cabinets appear as one big cabinet and not two put together.
What we did with our shims was push the two cabinets together and stick enough shims in the center until they touched both cabinets. It’s okay if the shims are sticking out the top they break off easily enough or you can use a multi-tool to trim them off.
Once the cabinets are lined up and level take your 1 1/4 inch wood screws and drill into the side of one cabinet into the next. You want to drill into where you have your shims that way it joins the two cabinets together. Do this on both cabinets in multiple places (top and bottom) to make sure they are secure.
Attach Cabinet Legs
When attaching your legs do as I say not as I do! I’m a slightly impatient person and when I built our sideboard It was last second and I wanted to get it done and not wait on ordering parts.
With that said when attaching your legs you should use furniture leg hardware. The hardware is designed to screw your leg onto the cabinet in a fast, secure easy way.
Take your 1×3 pine board, trim it down so you have a piece in all four corners. I just trimmed two pieces to fit in snug on each end. Make sure you wood glue the boards in, then secure with your 2 inch finish nails.
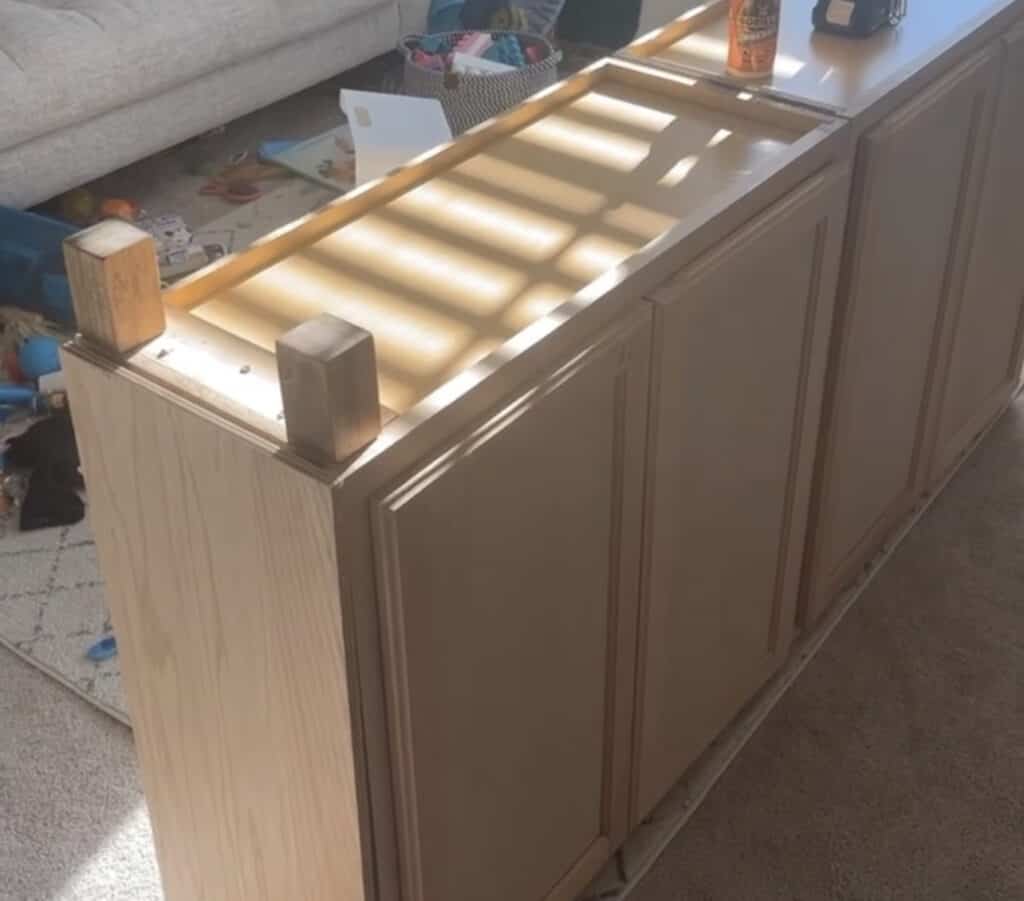
For the center of the cabinet I just trimmed smaller pieces to go on either side of the center, that way I could install one leg in the center of the cabinet. If your board is not level with the center of the cabinet, you can always use your shims to push under the board to level it out before nailing it in.
Disclaimer: If you watch my stories on Instagram you might hear me say I used a 1×2 but I misspoke and it definitely was a 1×3. I also installed my legs with wood screws which worked but I don’t necessarily recommend. Don’t want you to get confused.
For the legs I used a 2×2 poplar square dowel that I trimmed each leg to be 3 1/2 inches. If you do it the RIGHT way and buy the furniture hardware you will just attach the hardware per instructions on your hardware kit.
Adding The Top And Side Pieces
Once your legs are attached stand the cabinet up and make sure everything is level. Now, take your plywood and cut it to the width of the top of the cabinet. I like the look of 45 degree mitered edges so I had my husband miter the ends for me.
Secure the top with wood glue and your nail gun. The side pieces you will miter the top so it meets the edge of the top miter and cut the bottom of the board flat so it lines up with the bottom of the cabinet.
After everything is secure fill all the nail holes with your wood filler and sand smooth.
Apply Edge Banding To Plywood Ends
When you use plywood you have an unfinished edge. To cover that edge up and make it look pretty we use what is called edge banding.
Edge banding is actually rather easy to apply with a little bit of patience and a iron. To start off ensure the plywood edges are clean and free from dust or debris. If needed, lightly sand the edges to create a smooth surface for the banding to adhere to.
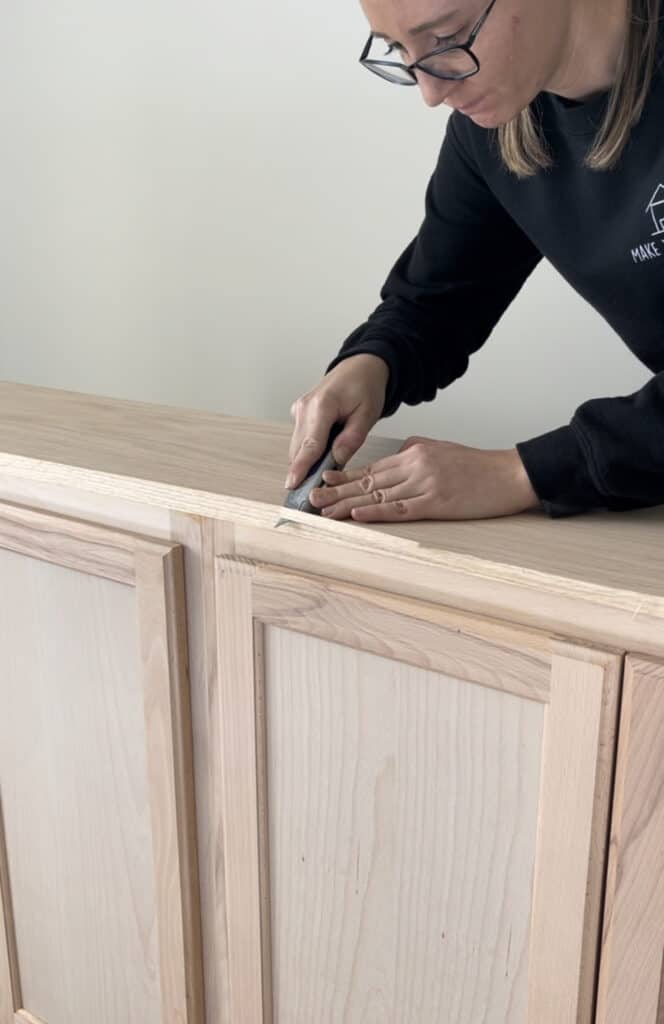
Measure the length of the plywood’s edge that needs banding and cut a strip of edge banding slightly longer than the edge. Most likely it will be a little to wide for your plywood but once applied you will use your razor blade to trim it down.
Plug in your household iron and set it to a medium heat setting. Wait for it to heat up before moving forward. Once hot place the cut edge banding on the plywood edge. Carefully run the iron along the length of the edge banding, applying gentle pressure. The heat will activate the adhesive on the banding, causing it to bond with the plywood. Move the iron slowly to ensure even adhesion.
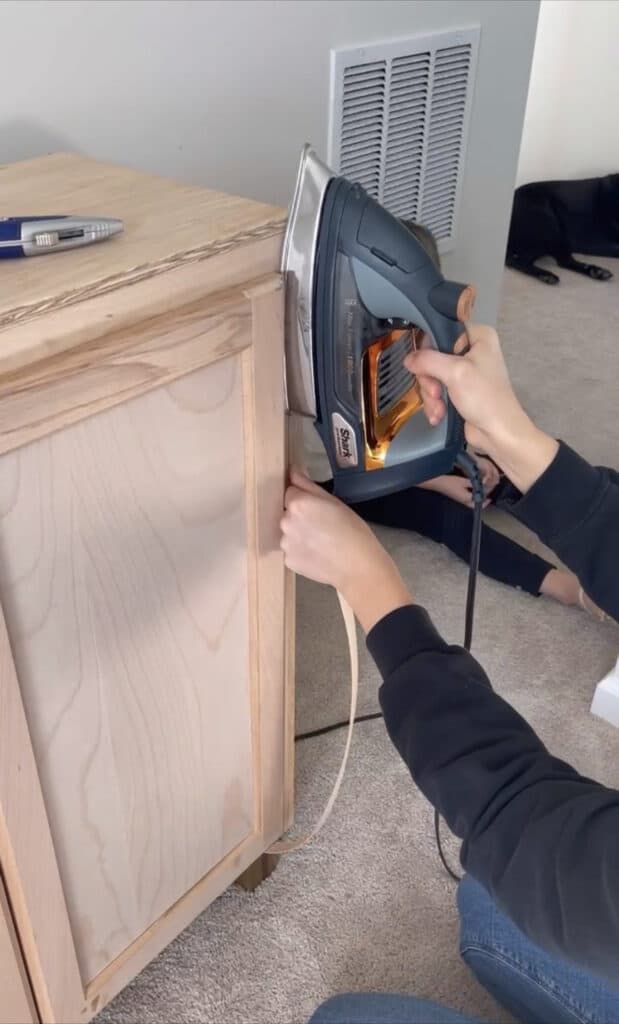
HOT TIP: I had to run the iron over the edge banding multiple times to make it adhere evenly. Doing a few times over will make sure you don’t get any spots that lift up over time.
Once the edge banding is secured, use the razor blade to trim off the excess. Make sure to follow the plywood’s edge for a clean and flush cut.
Finish Touches: Painting & Hardware
Finishing your sideboard cabinet is all preference. You can paint it with a quality cabinet paint or stain it. If you chose to stain it I would test multiple areas of your cabinet since you will most likely have different materials (edge banding, plywood & cabinets). With different materials they can take stain differently.
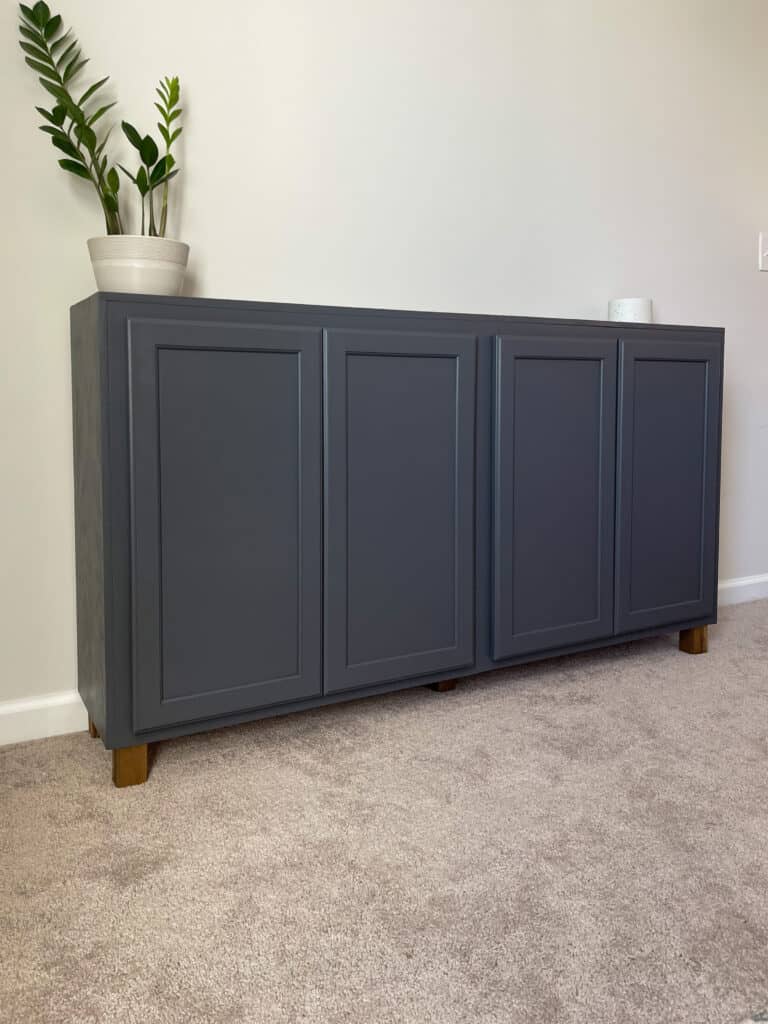
To paint your cabinet you could use a paint sprayer or foam roller. I don’t personally own a sprayer so I went with a quality cabinet paint that self levels. I suggest taking your cabinet doors off when painting, from someone who has painting enough doors in my life time, I’m telling you it’s so much easier.
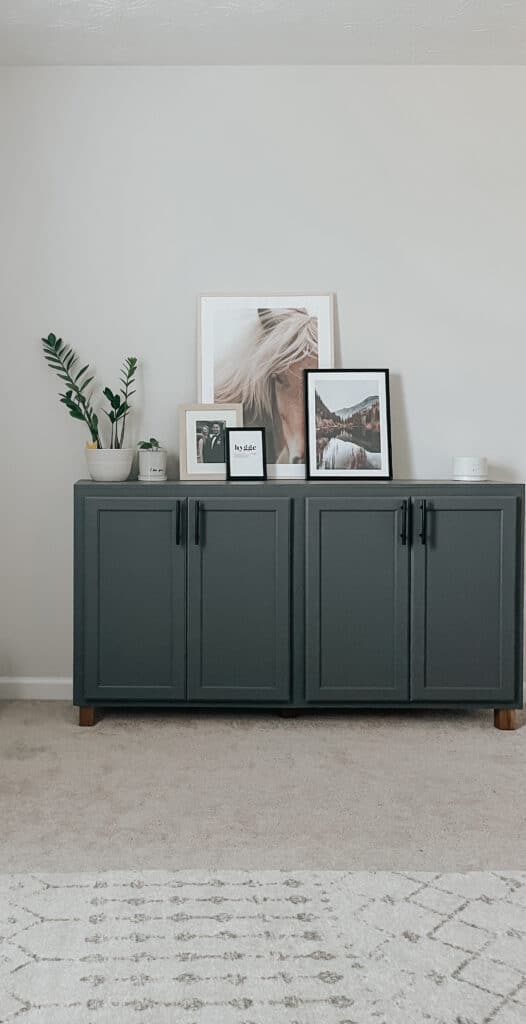
I used a satin finish in the color Peppercorn from Sherwin Williams.
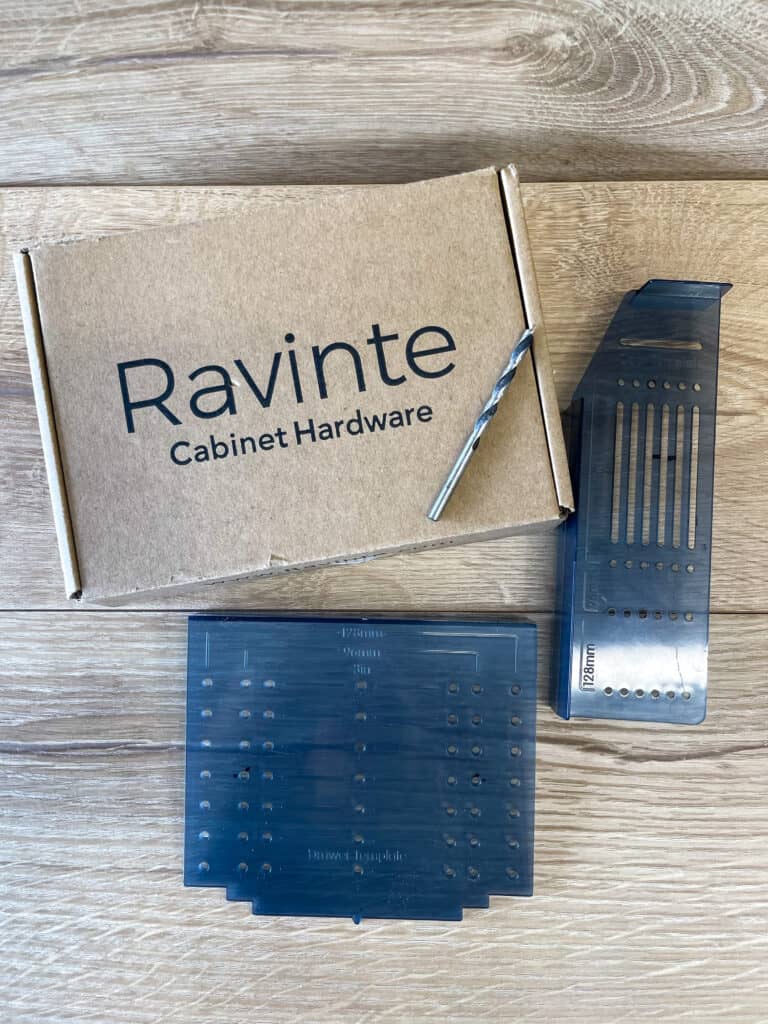
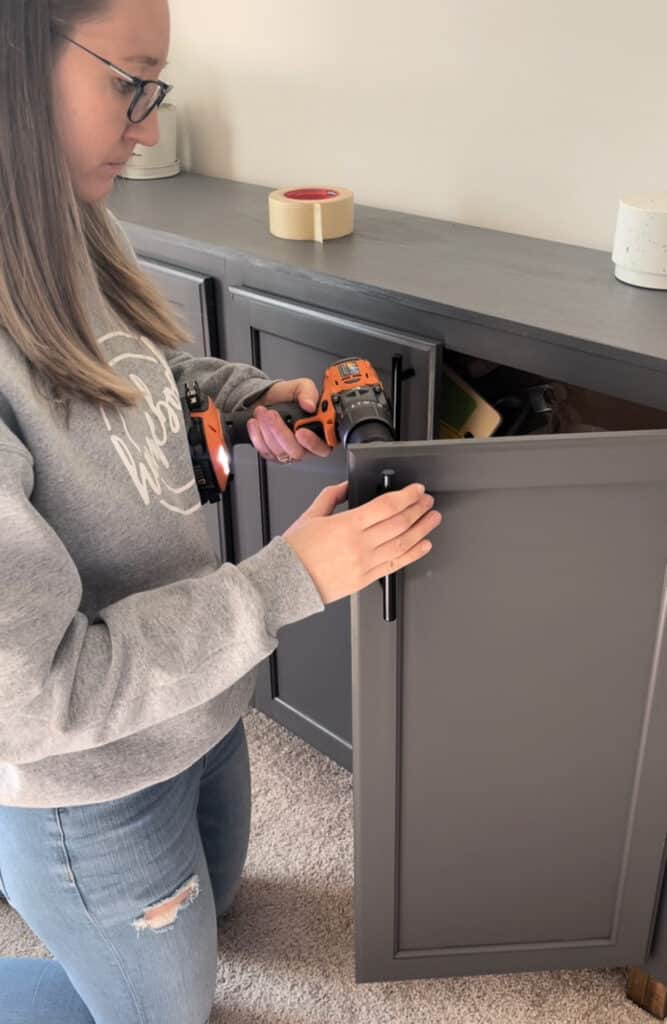
Lastly, you will just need to add your choice of hardware. I highly suggest buying this hardware template from Amazon. Best $8 spent, I have used this on multiple projects. It makes sure that you get your hardware level and even on all your doors.

See that wasn’t to hard and now you can say I built that!
I would love to see what how your custom sideboard turned out so send me a email at [email protected] or head to Instagram and DM me!
Happy building!