
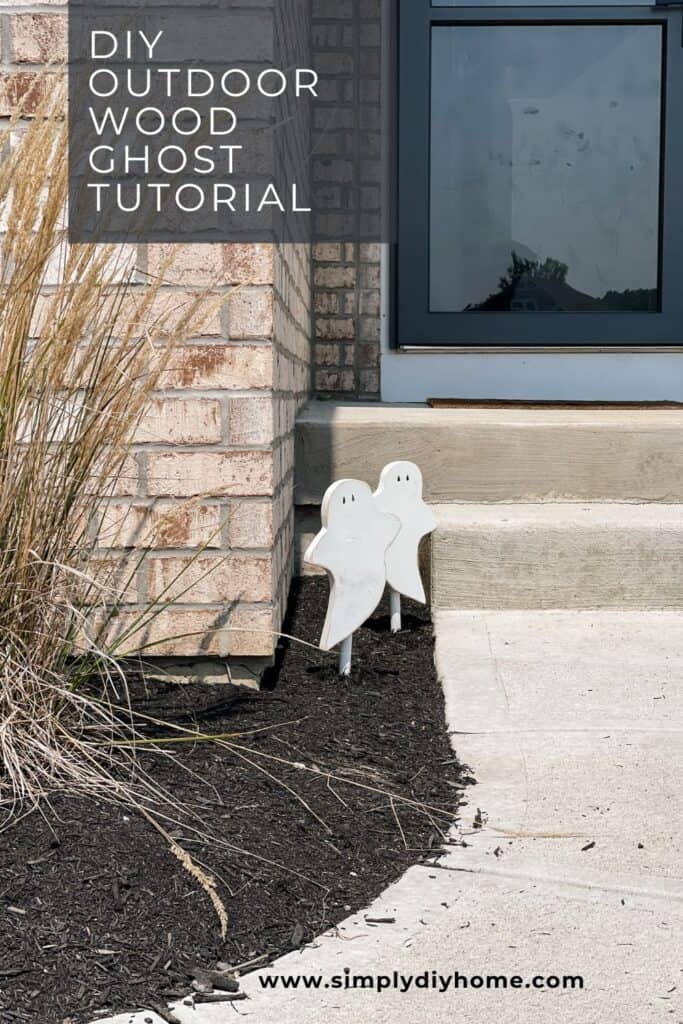
Get ready to spookify your space this Halloween with a touch of DIY magic! Our DIY Easy Wood Ghost Decor is here to add a hauntingly adorable vibe to your outdoor Halloween decor.
Each year that goes by we add just a little bit more Halloween decor to our home. Growing up my mom and dad decorated for all the holidays and it was such a great memory for me. I want to do the same for my kids too.
This year I thought I would do a fun little DIY for our sidewalk that leads to our front porch using minimal tools! Something spooky but yet super cute for all the kids that will come trick or treating.
Whether you’re a seasoned crafter or a beginner just dipping your toes into the DIY world, the free download I have created and the step-by-step instructions will guide you through creating your very own boo-tiful wooden ghost decorations.
Let’s get started on our DIY wood ghost!
[AFFILIATE LINKS ARE PROVIDED BELOW FOR CONVENIENCE. FOR MORE INFORMATION SEE MY DISCLOSURE HERE.]
Recommend Tools:
- Jigsaw
- Clamps
- Orbital Sander
- Exterior Wood Glue
- Nail Gun
- Safety Gear- Ear & Eye Protection
- Black Permanent Marker or Black Paint Pen
Shopping List:
- 120 Grit Sandpaper
- Outdoor Wood Glue
- Wood (I had a scrap 1x6x4 Pine board laying around that I used)
- Dowel Rod or Wood Scraps for the stakes(I used 0.75-in dia Round Poplar Dowel)
- Rust-oleum Paint + Primer Satin Spray Paint in a white color (I used Blossom White)
- Rust-oleum Matte Clear Spray Paint
Free Ghost Download
I searched all over for the exact look I wanted for our halloween ghosts but, wasn’t satisfied with all the clip art I found online and the Circuit store. So I drew one up!
Down below you can print off my PDF File of my hand drawn ghost, so that you too can create your own Halloween ghosts decor.
How To Make DIY Wood Ghosts
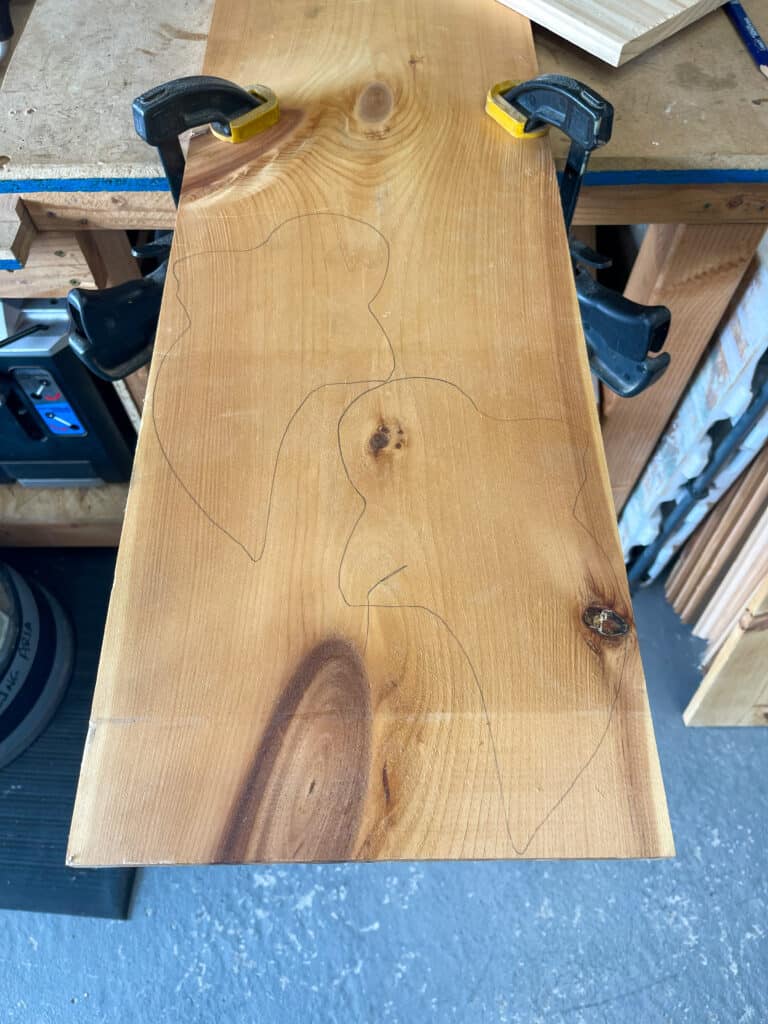
Step One: Trace Your Ghosts
First step is deciding on a design. You can either print off my free ghost download or Google simple ghost shapes. Once you print out your ghost you need to cut it out with some scissors so that you can trace it onto your piece of wood.
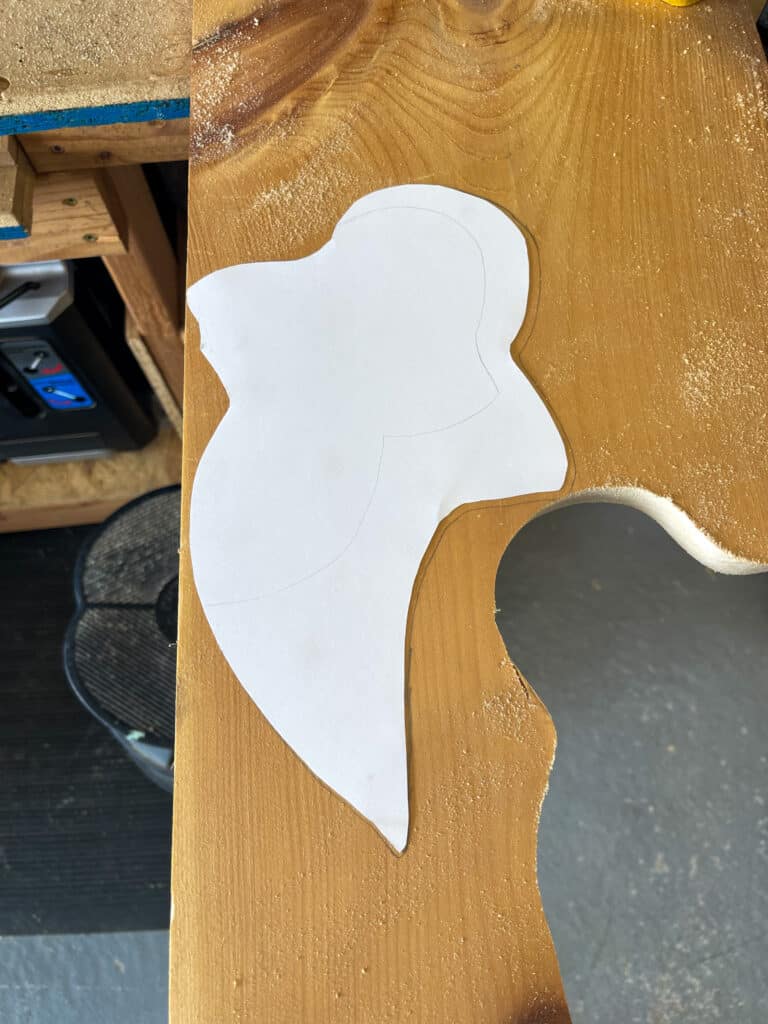
Step Two: Cut Out DIY Ghost
Now it’s time to cut out your ghost! Put on your ear and eye protection before this next step. Using your jigsaw cut out your ghost. Make sure that you clamp your wood to your surface. This makes it easier and safer to cut out.
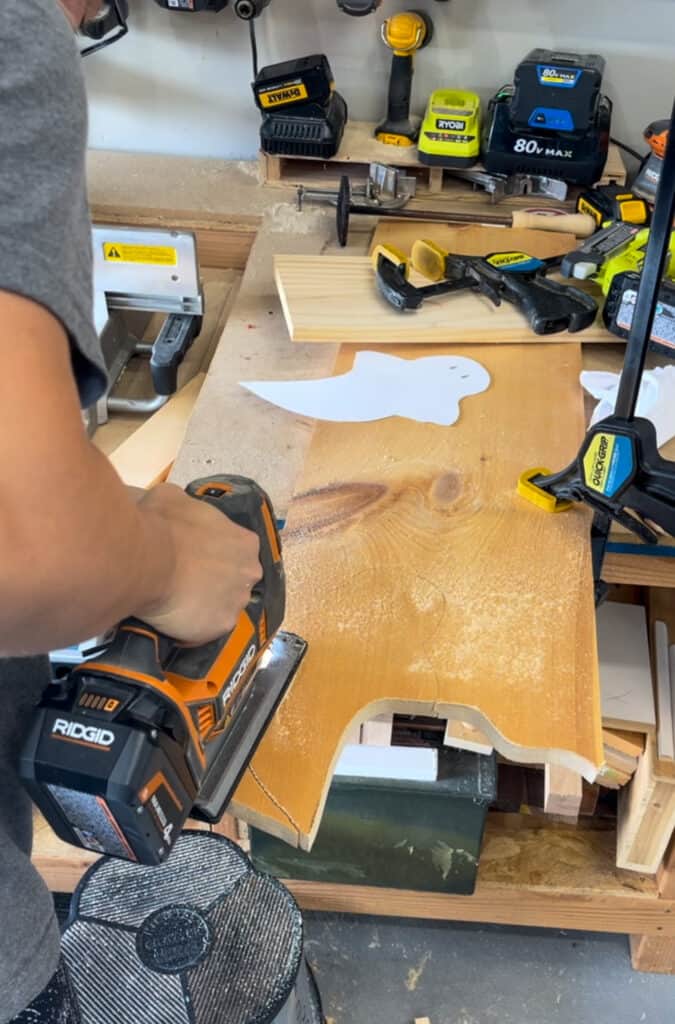
JIGSAW TIP: When cutting with your jigsaw I have found it to be a learning curve. When cutting out your shape I found it easier to just go for it and try not to go slow. The slower you cut the harder it is to follow your line and it makes the saw jump on the board.
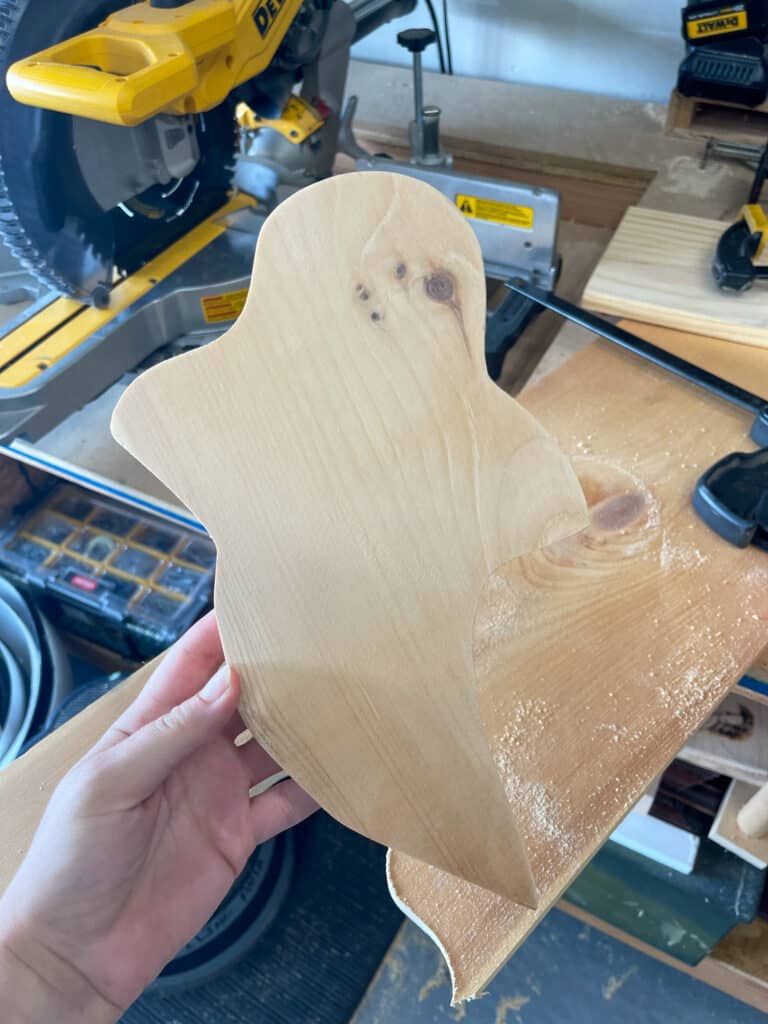
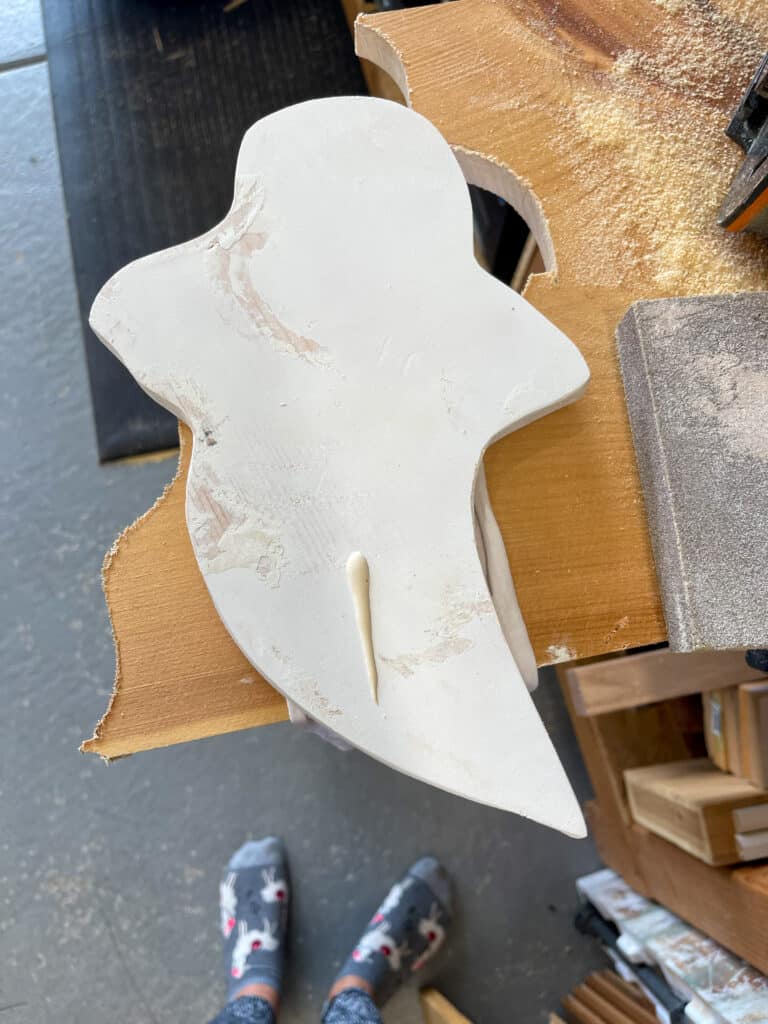
Step Three: Sand
To make this job easier I used my Ridgid Orbital Sander for this next step. Using your sander and some 120 grit sandpaper you want to smooth out and round out the edges of your ghost. If you messed up at all when cutting out your ghost this is a good time to fix that with your sander.
Keep in mind they aren’t meant to be perfect and it looks unique and handmade when each ghost is slightly different. Once you have the edges smooth don’t forget to give the rest of your ghost a nice once over so your spray paint will have something to stick too.
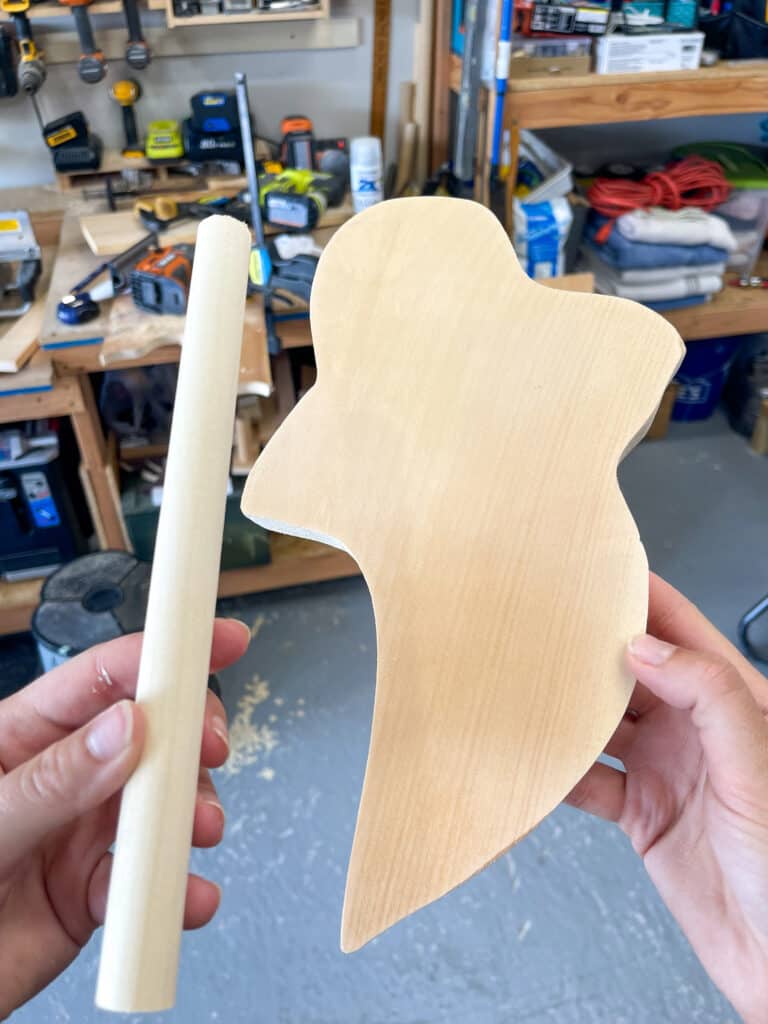
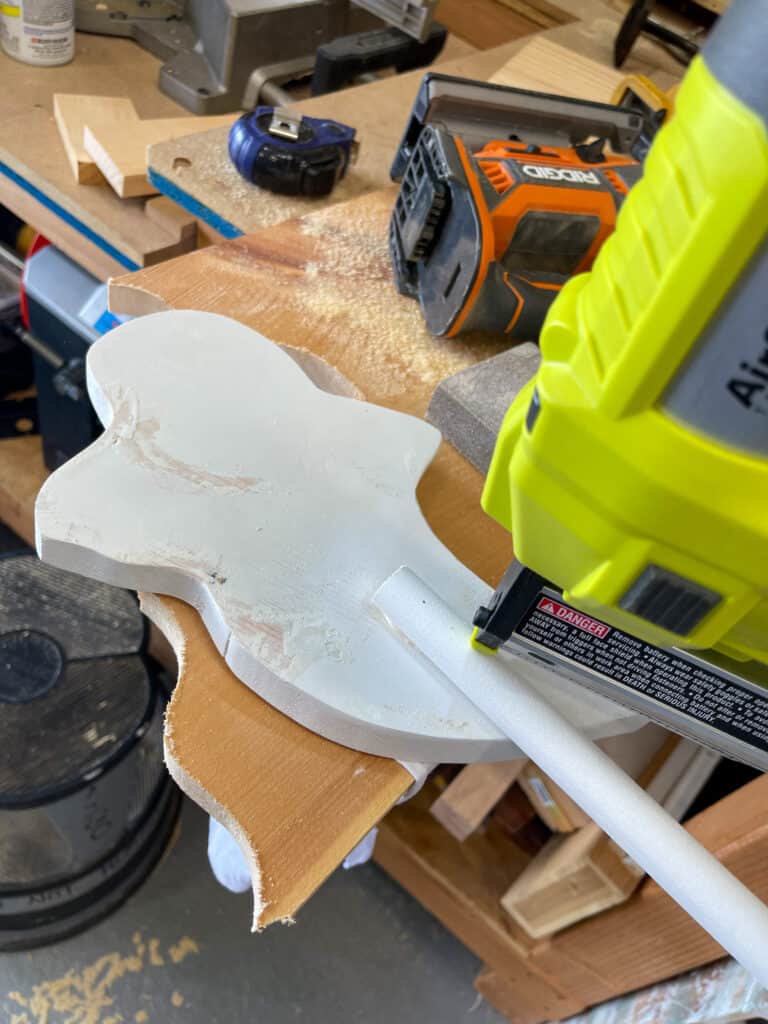
Step Four: Add Wooden Stake To Ghost
If you plan on putting these ghost in the ground like I am you are going to need a stake of some sort. I used what I had on hand and it was this 0.75-in dia Round Poplar Dowel. You can use whatever you like, like dowel rods of any size or a 1×2 would be perfect.
I chose a length of 9 inches when cutting my stake. Once you have your stake cut down to size use a little wood glue and whatever nail gun you have to attach it. I chose to attach 3.5 inches up from the center of the ghost.
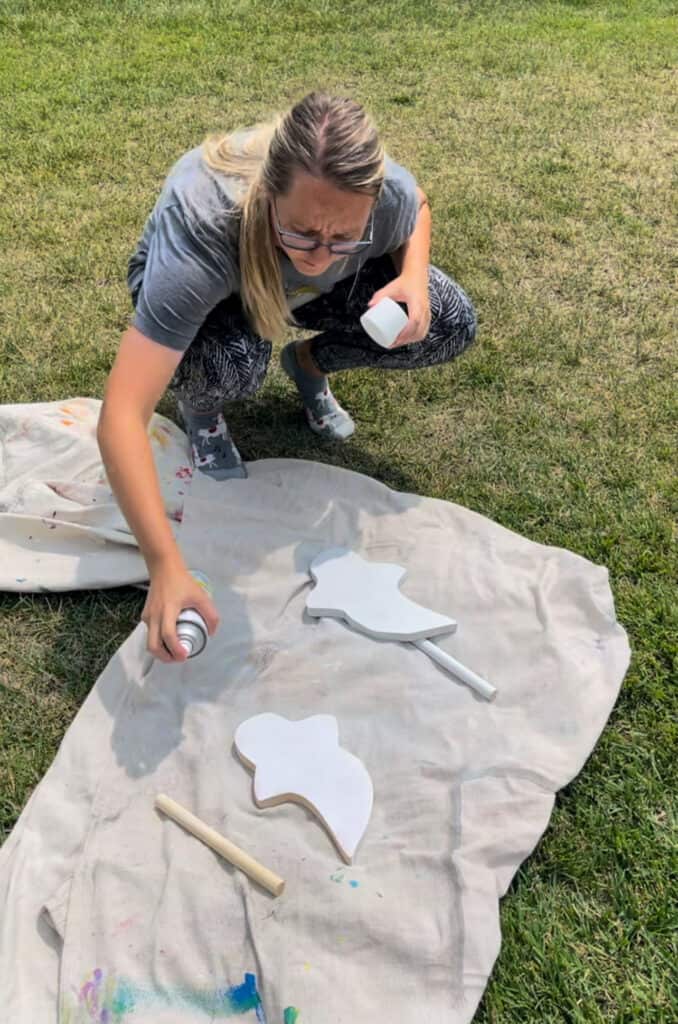
Step Five: Paint DIY Wood Ghost & Draw Ghost Features
Now for the fun part, making those friendly ghost come alive! Take your Rust-oleum white paint and spray on a couple light coats. This will take a little while since you have to wait for each side to dry and then flip it.
Another good idea is if you have a box laying around you could poke your stake into the box and spray paint both sides at one time.
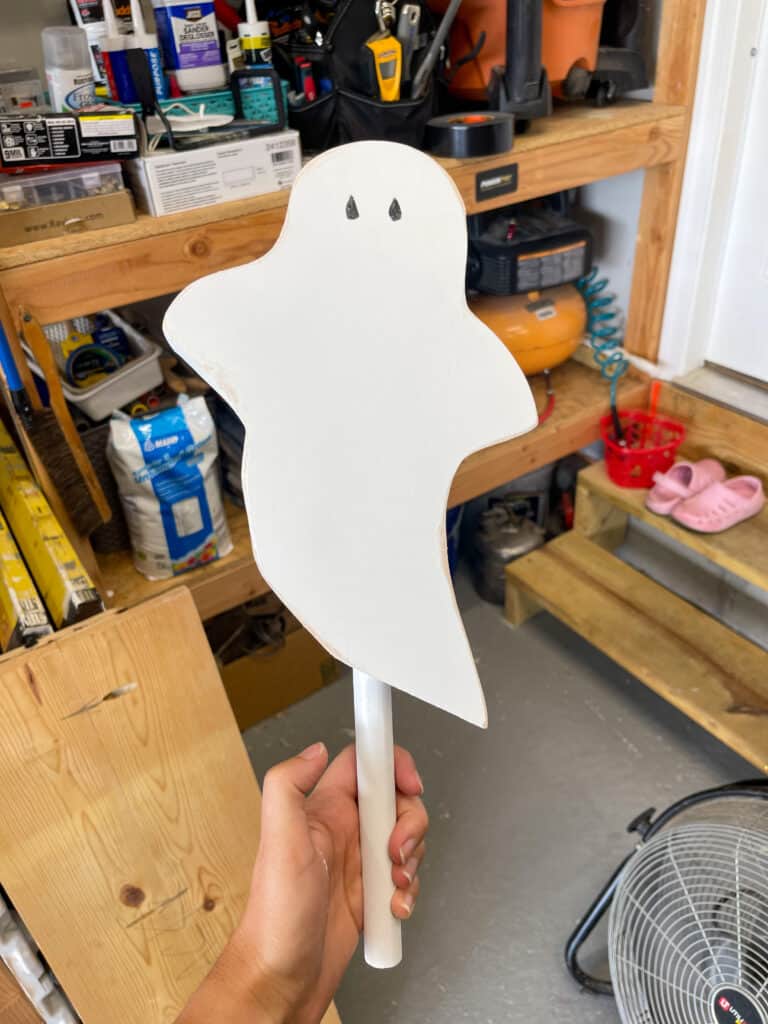
Once your paint is dry, you will want to draw any features you like on your wooden ghost. I suggest using a paint pen or even a black permanent marker for the features.
Step Six: Seal Your Wooden Ghost From The Elements
Do not skip this step!
As boring as it is to seal a masterpiece you will not want to skip it for this project. I always recommend using a spray sealer because it makes life easier. Putting your ghost back in their painting position, spray a couple thin coats all over the ghost, including the stakes.
Once your Halloween DIY ghost are dry you can stick them in their finally resting place for the Halloween season!

You did it! If you built your own ghost send me a photo, I would love to see them! Just send me an email at [email protected] or DM me on Instagram! Happy building!
To save it for future reference make sure to save it on Pinterest!