Are you looking for a sleek and resilient flooring solution? Look no further than Select Surfaces Laminate Flooring. In this honest review, I share about our hassle-free DIY installation process, and the features that set this waterproof, laminate plank flooring apart from the others!

This post is sponsored by Select Surfaces. All opinions are my own and this is my honest review. To read more information see my disclosure HERE.
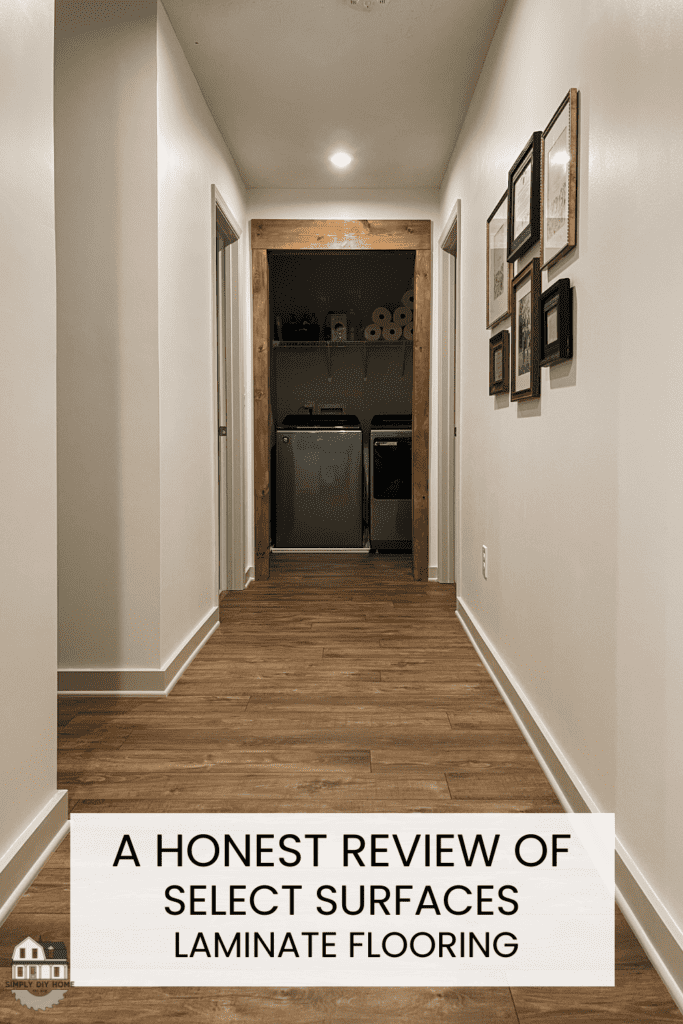
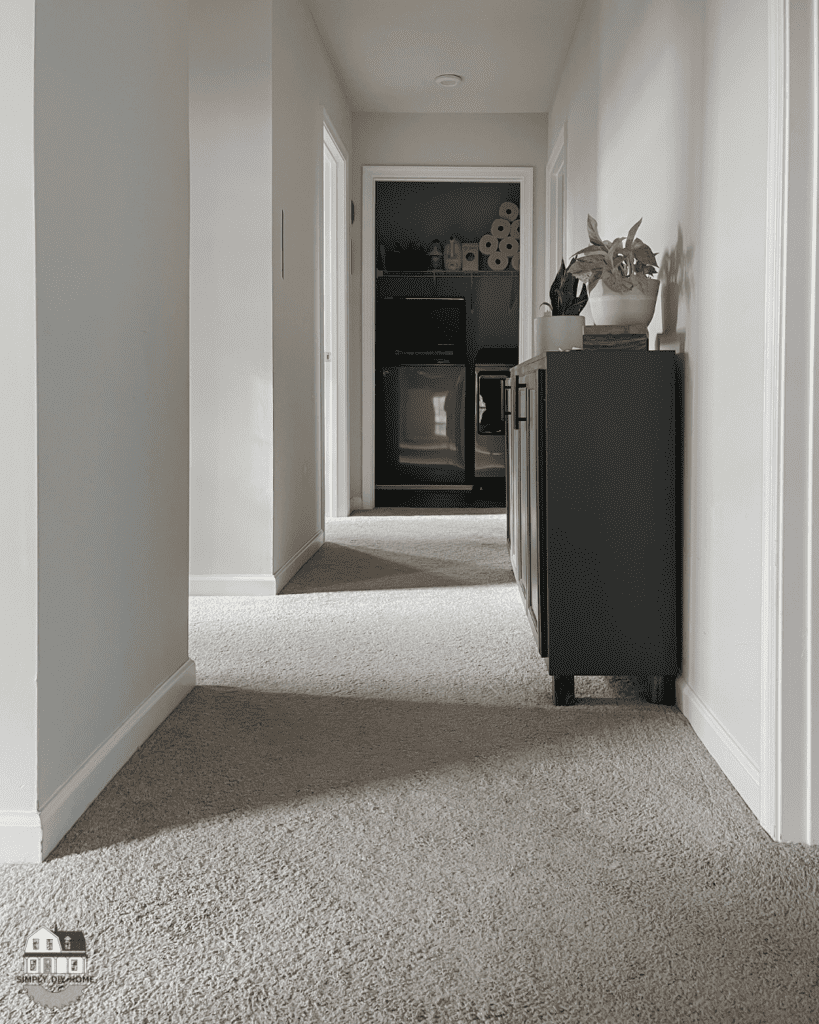
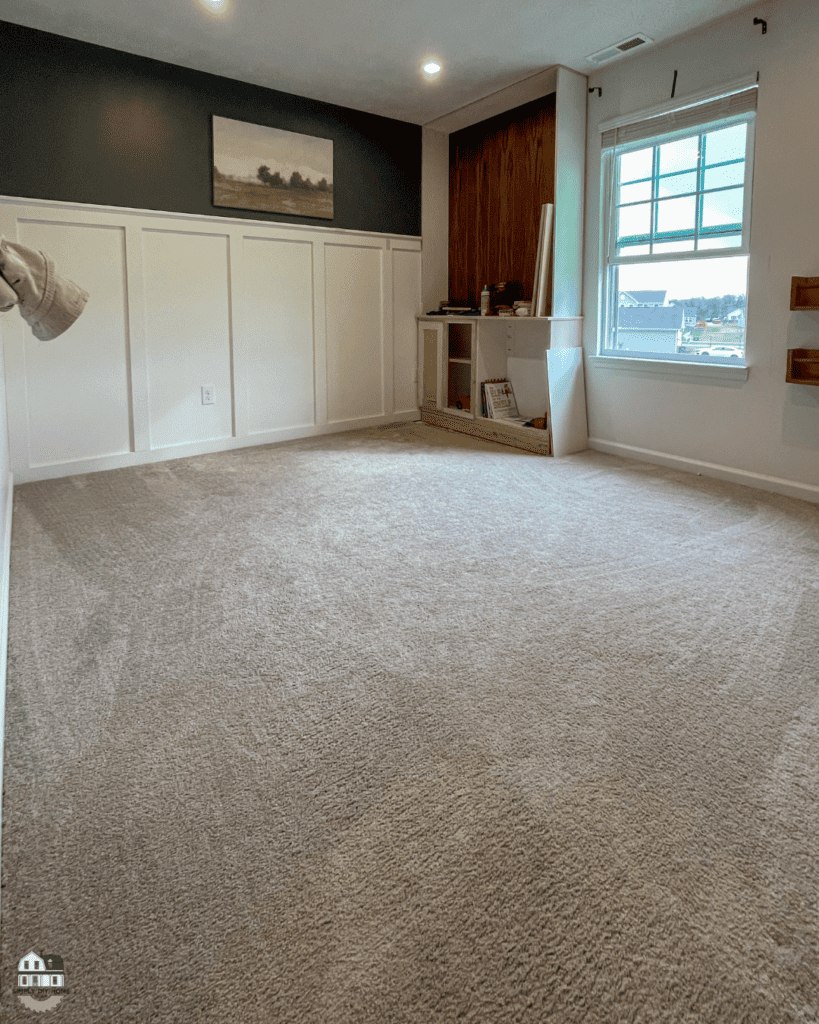
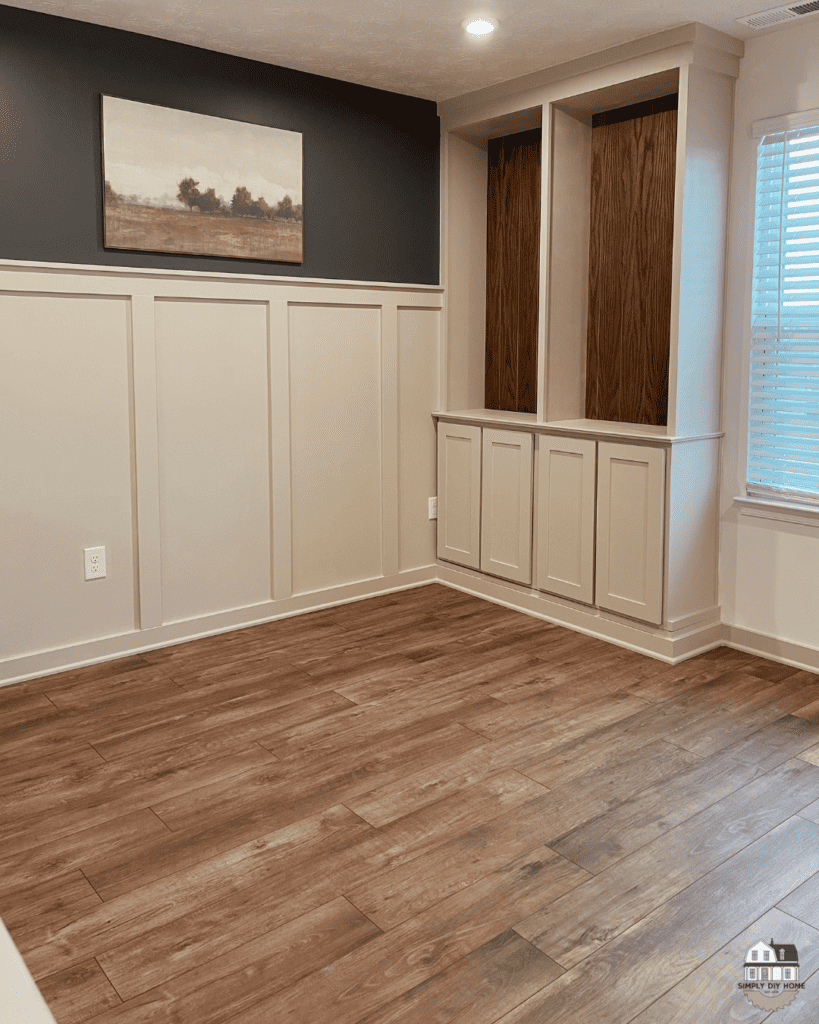
Thanks to Select Surfaces Laminate Flooring from Sam’s Club our loft and upstairs hallway looks like a completely different space! We built this house almost 3 years ago and the builder grade carpet in the hallway upstairs was hanging on by a thread.
I knew that we would need something a little more durable for this high traffic area. So we started looking into changing the flooring to a laminate flooring, something that would hold up to the wear and tear of dogs and kids running all over it.
Thankfully when Select Surfaces reached out to us I was thrilled when doing my research that their products were highly talked about and durable!
[AFFILIATE LINKS ARE PROVIDED BELOW FOR CONVENIENCE. FOR MORE INFORMATION SEE MY DISCLOSURE HERE.]
Tools And Materials
- Adeline AC5 Laminate Flooring
- Transitional Mouldings (if needed)
- Measuring Tape
- Vapour Barrier & Tape (if needed)
- Carpenter’s Square
- Pencil
- Power Saw- Miter Saw, Table Saw or Circular Saw, Jigsaw, Multi Tool
- Flooring Install Kit– Rubber Mallet, Tapping Block, Pull Bar And Spacers
- Safety Glasses & Dust Mask
[Safety is of great importance when working on DIY projects. Always follow proper safety guidelines, wear appropriate personal protective equipment, and adhere to local building codes and regulations. READ MY FULL DISCLAIMER HERE.]
Why I Picked Select Surfaces Laminate Flooring
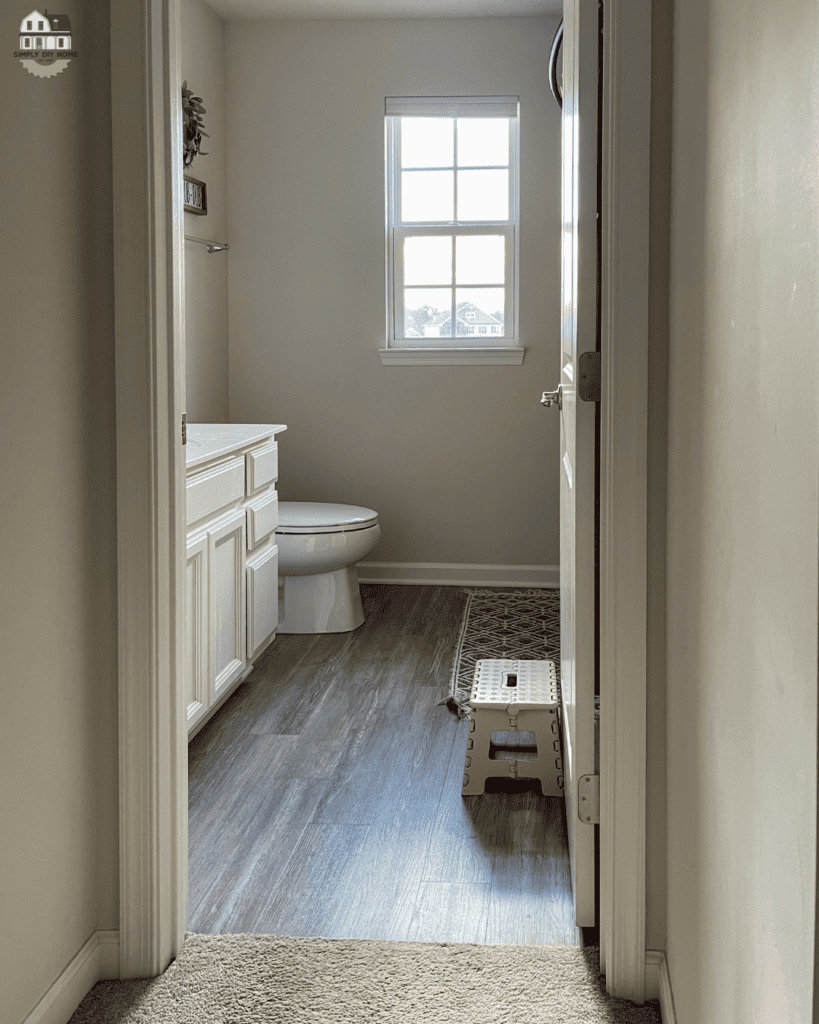
When looking for a laminate flooring to install upstairs I wanted durable and waterproof! Not only was this flooring going down the hallway and in the loft, we wanted to continue it into the spare bathroom and the laundry room at the end of the hallway.
Some key features that caught my eye when researching Select Surfaces Laminate Flooring was:
AC5 Traffic Rating
AC5 is the highest traffic rating for flooring. It’s suitable for high-traffic commercial areas, such as cafes, retail spaces, and public buildings that get lots of back and forth traffic.
I knew if it was this highly rated then it definitely can with stand my kids and dogs!
Waterproof
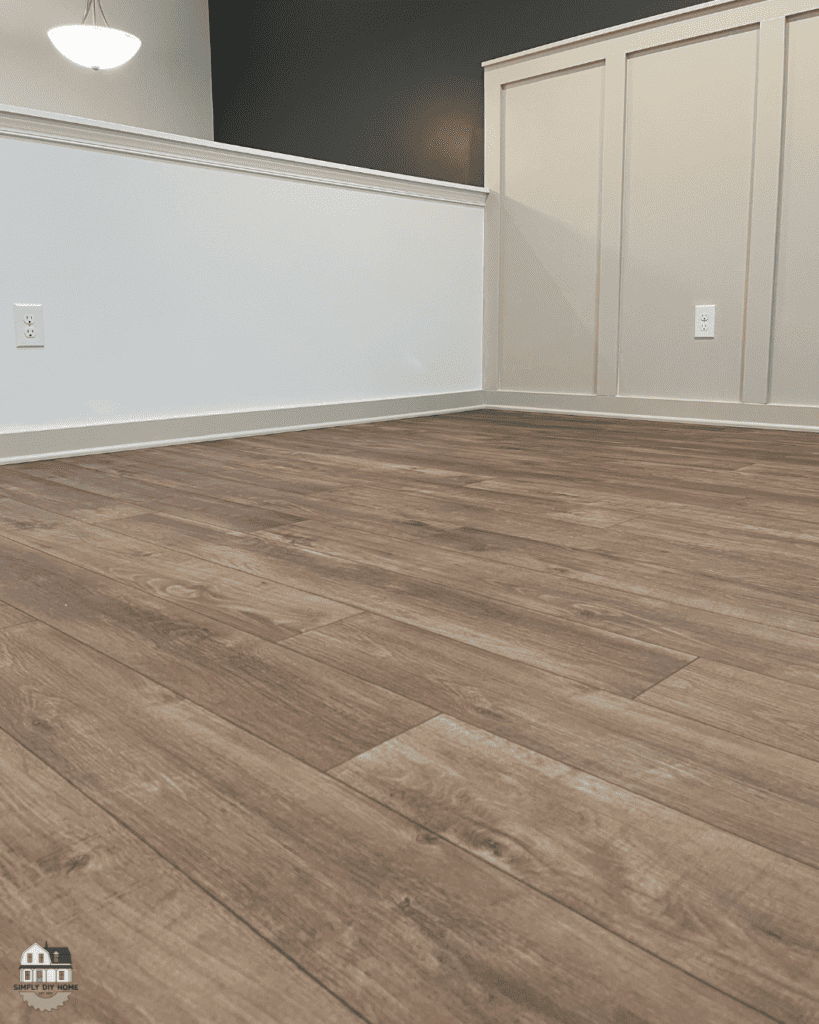
When picking out our laminate flooring we chose to go with Select Surfaces Adeline laminate flooring. This flooring was not only beautiful and was an almost identical match to our downstairs flooring but it was also waterproof!
The flooring has a special SpillDefense technology that was imperative for us, especially in high-moisture areas like the bathroom and laundry room. With its remarkable waterproof capability lasting for a full 24 hours, this flooring ensures peace of mind and long-lasting protection against potential spills and moisture.

Easy To Install
As for install I knew I wanted something that was easy enough for me and that already had a pre-attached backer. Select Surfaces laminate flooring has a special Speedloc™ Click Installation that ensures easy and secure plank assembly.
Availability
Also I wanted something that was easy to run to the store and buy incase I ran out of planks. Select Surfaces Laminate Flooring is sold at all Sam’s Clubs. Our flooring on our first level I had to preorder online and it took weeks to get. But, with Select Surfaces you can just run to your local Sam’s Club to purchase.
And as far as I know almost everyone has a Sam’s Club nearby. In every state I have lived in there has always been a Sam’s Club around the corner.
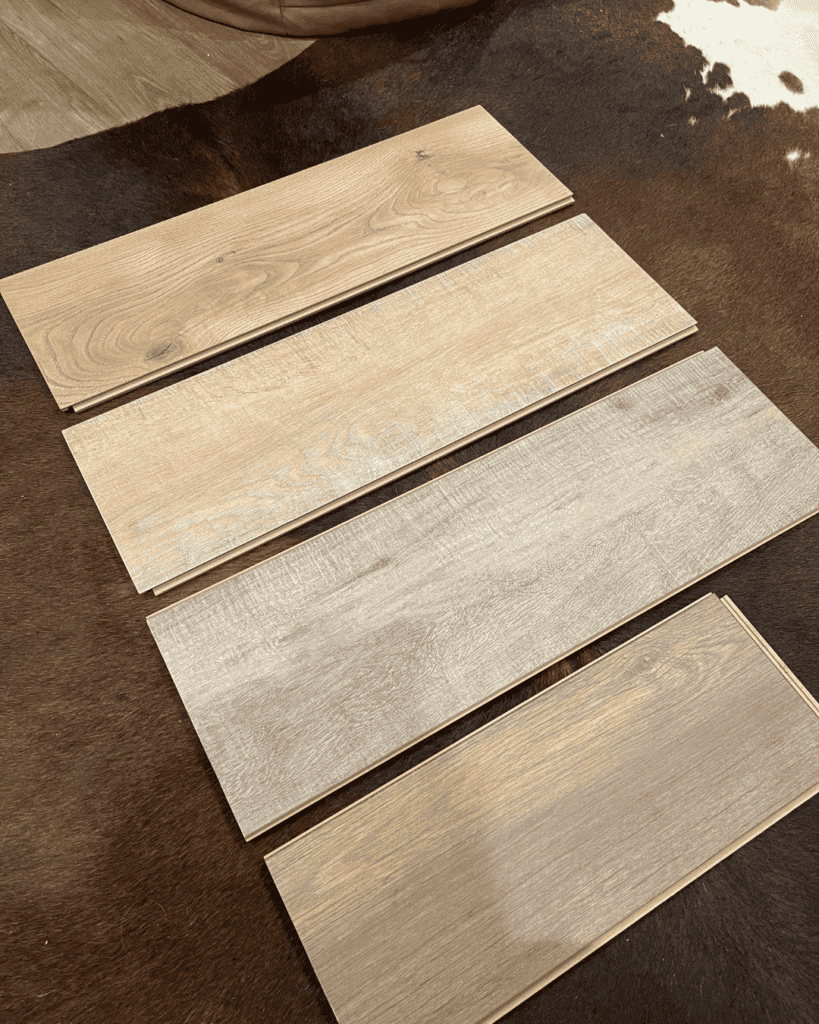
Tons of Color Choices
Another thing I loved about Select Surfaces was the color choices. It was so hard to chose one color! I did my best to pick one that best went with our existing floors in the house and Adeline was closest I could get. As you can see I got a lot of samples to take home and stare at!
How To Install Laminate Flooring
To install the Adeline AC5 Laminate Flooring it’s pretty simple, and there are only a few steps that you need to do to prep for install.
Preparation For Install
When you first get your flooring you have to know it’s very important that you acclimate it first. Most floorings need to be acclimated to your home before installation day.
This process involves allowing the flooring to adjust and become unified with the temperature and humidity conditions identical to those in the room where it will be placed. By acclimating your laminate flooring, you reduce the risk of expansion and contraction.
To do so you will cross-stack them in the area that you will install the floors, and allow them to sit for 48 hrs.
Subfloor Preparation
When it’s time to lay your floors you will need to prep your subfloor. For us we were doing this on a second floor in our home and had plywood subfloor to work with. Since we had carpet before, I had to rip the old carpet up along with the tack strips and any nails left behind.
Once, all the carpet was gone I took my vacuum around the room and sucked up any dust and dirt that was hiding under the carpet.
You would be surprised at how much was under there from when they built the house and never cleaned it prior to laying carpet!
Make sure to carefully review the instructions accompanying your flooring; in our case, a vapor barrier wasn’t required. However, if you’re installing the flooring over concrete, it is essential to use a vapor barrier.
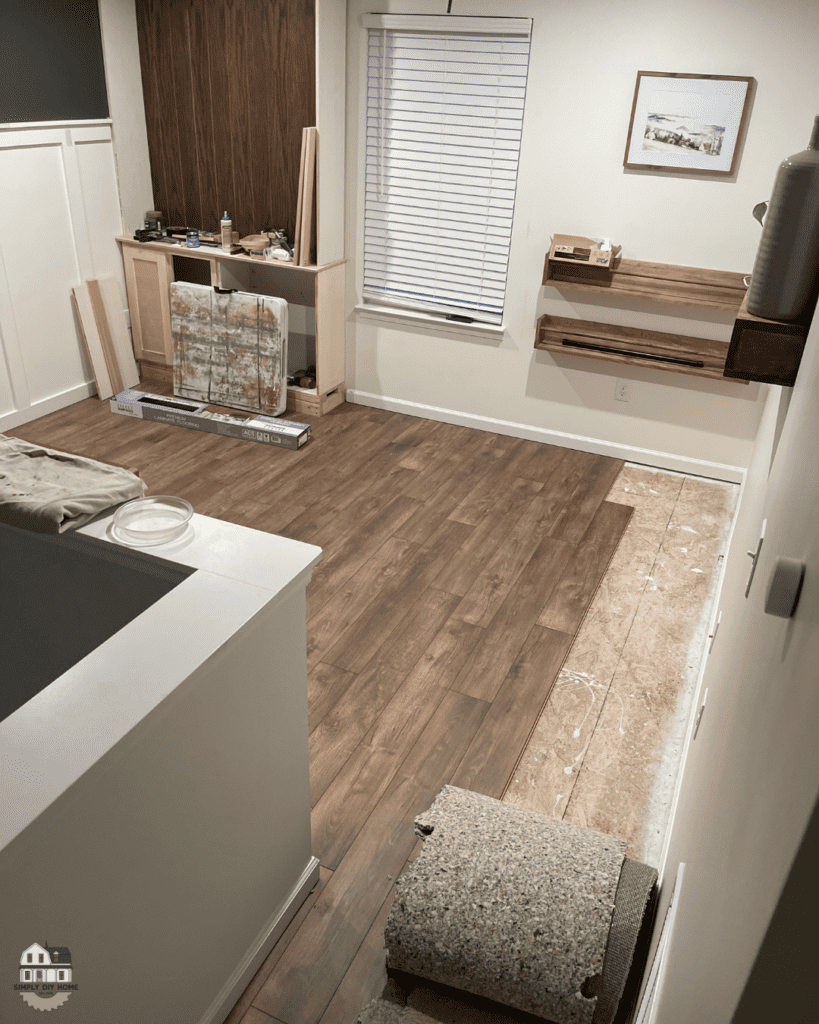
Installation Process
To start out you always want to make sure you mix planks from at least 3 different boxes. This will help you achieve the most natural looking results. When installing you always want to work left to right!
To click the planks together you lift the right side of the second plank to a 30-degree angle and place the tongue into the groove of the first plank. Once you lower the plank it should click right in. The instructions say you don’t need to hit or knock the pieces together, and they surprisingly actually do connect very easily!
I chose to have a rubber mallet on hand just incase, more so when my hands got tired and when you have stubborn pieces. That was mainly for when we were going around door jams!

Another important lesson on installing laminate flooring is to always stagger your flooring. Never have a repeating pattern when installing. To make it look as natural as possible you want to make sure your pieces aren’t lining up in each row.
Final Thoughts
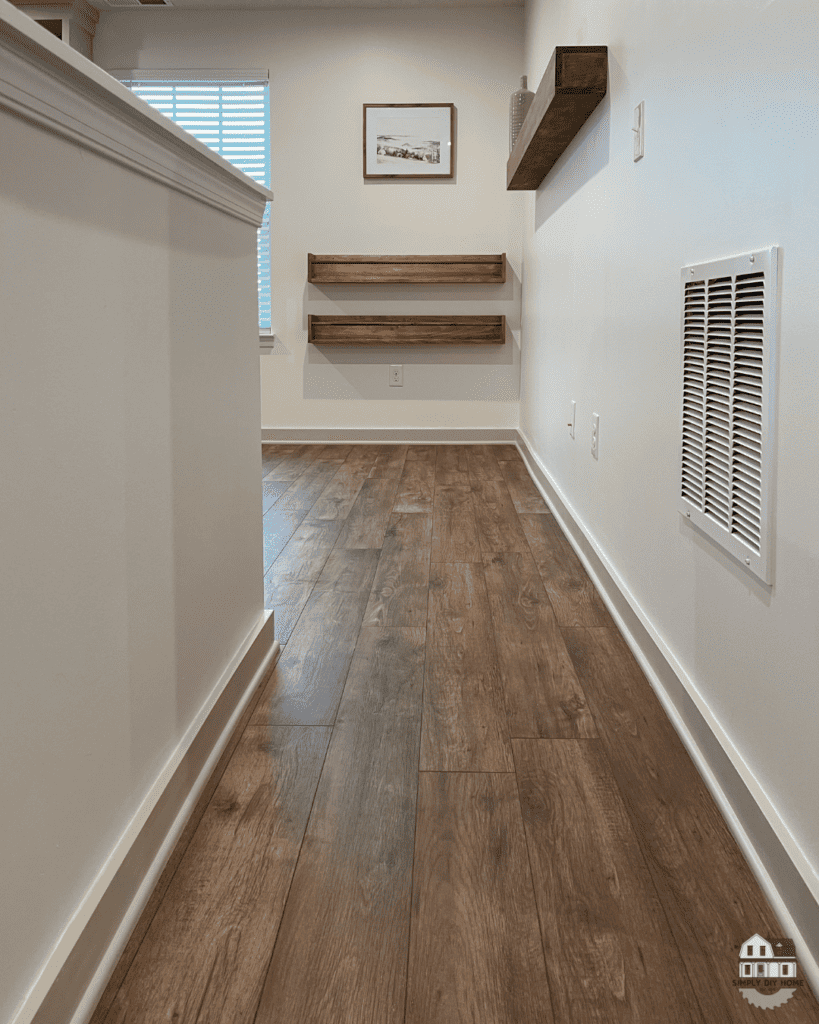
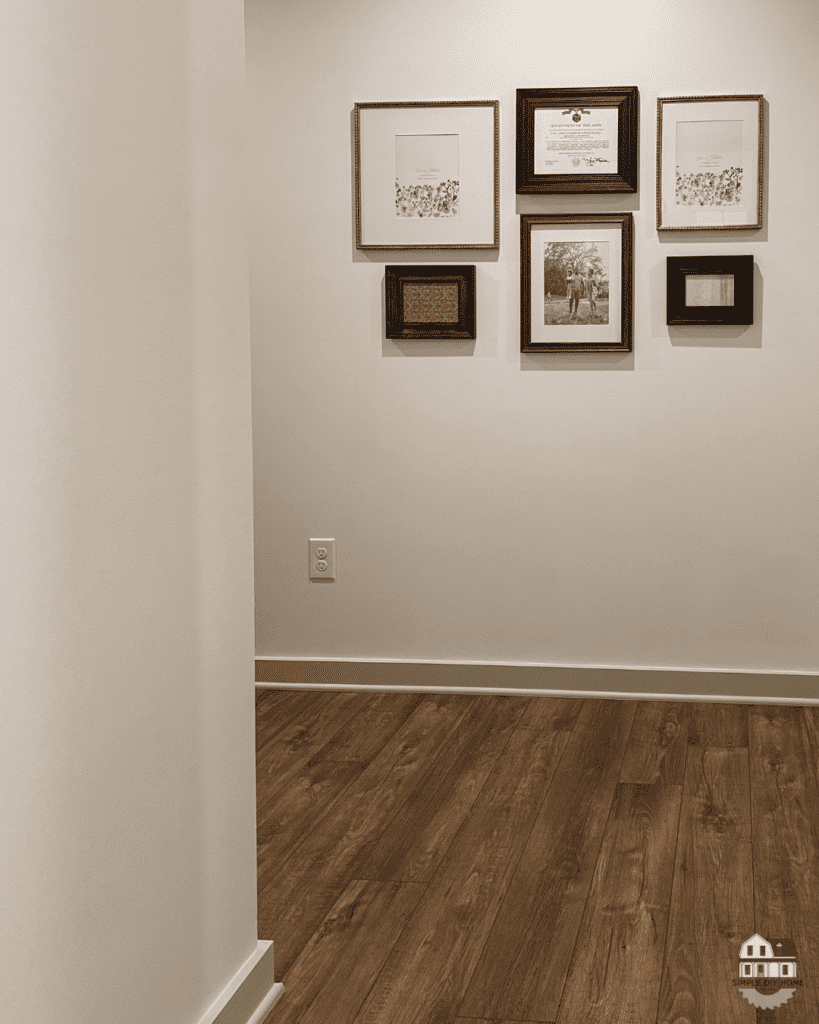
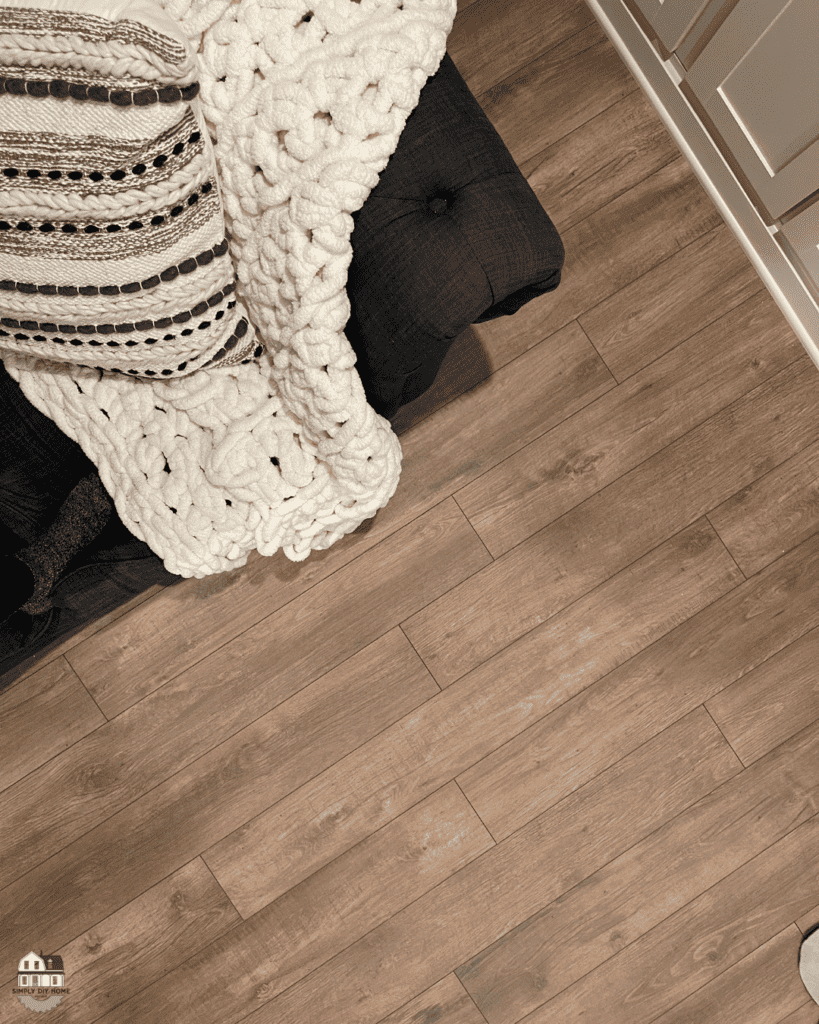
Some of my final thoughts on our new flooring is the quality has proven resilient against the wear and tear from kids and dogs. Moving furniture around has left no marks, and the realistic wood appearance adds a touch of authenticity.
Plus, they clean up beautifully.
When our friends and family have come over and seen our floors they all have complimented on how the floors look like real wood.
Another plus to our new flooring is how thick the planks are! With a total of 12 mm it doesn’t hurt your feet at all. The thickness of your flooring does matter!
The builder grade flooring we had in our laundry room and bathroom before were so thin that it felt like there wasn’t anything there. But, with our new Select Surfaces flooring we have a nice cushion under our feet.
Now that we have the foundation of the new floors down, next up is finish the built in, build an office space, and makeover the bathroom and laundry room. The projects have just begun!
If you have any other questions in regards to the Adeline Laminate Flooring or Select Surfaces in general please email me at [email protected] or DM me over on Instagram!