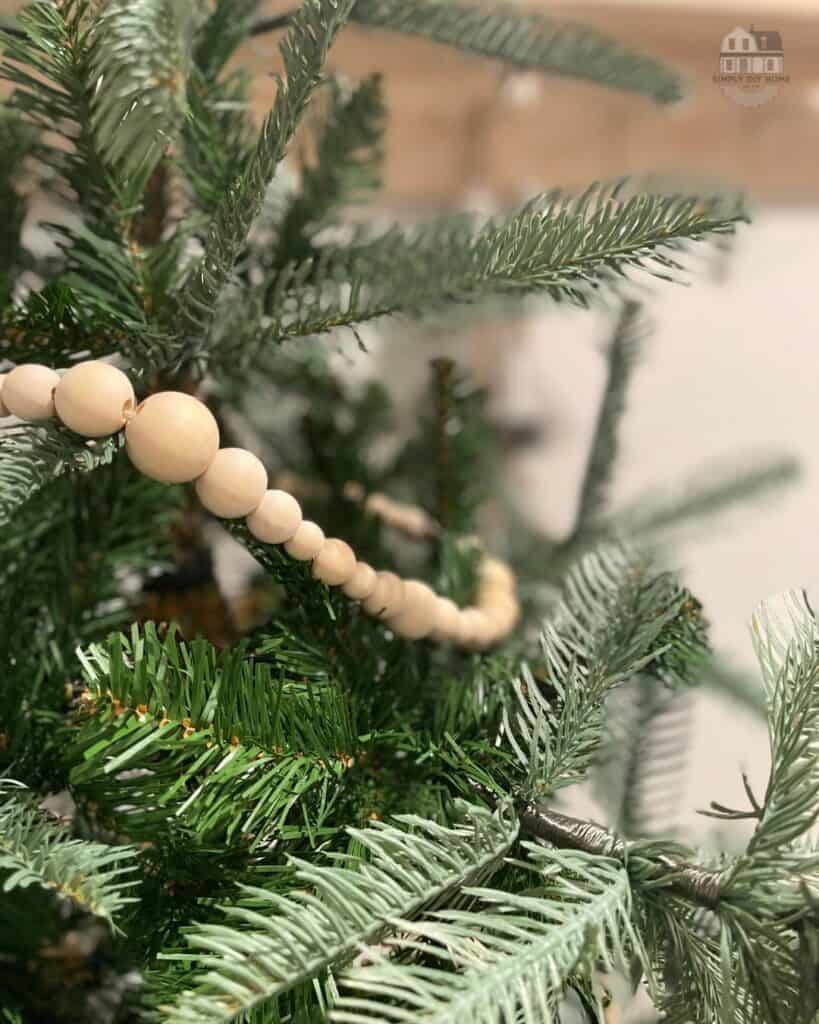
A step-by-step guide to DIY a wood bead Christmas garland. Using unfinished wood beads this project could easily be painted or left as is for neutral Christmas decor!

As the years go on, and the older I get the more and more I’m into neutral and natural looking Christmas Decor. This year I decided to make my own beaded Christmas garland. Maybe you need to be creative and do a little project or you can’t find any of the premade wood bead garland in stores. This simple tutorial will walk you through how to make your own Christmas garland.
[AFFILIATE LINKS ARE PROVIDED BELOW FOR CONVENIENCE. FOR MORE INFORMATION SEE MY DISCLOSURE HERE.]
Wood Bead Garland Shopping List
- Wood Beads in sizes 16mm/20mm/25mm
- Wood Bead Kit
- Jute Twine– The kit comes with some but, if you need more this is a great deal!
- Scissors
- Clear Tape
How do you make a beaded Christmas garland?
Gather Materials & Cut String To Size
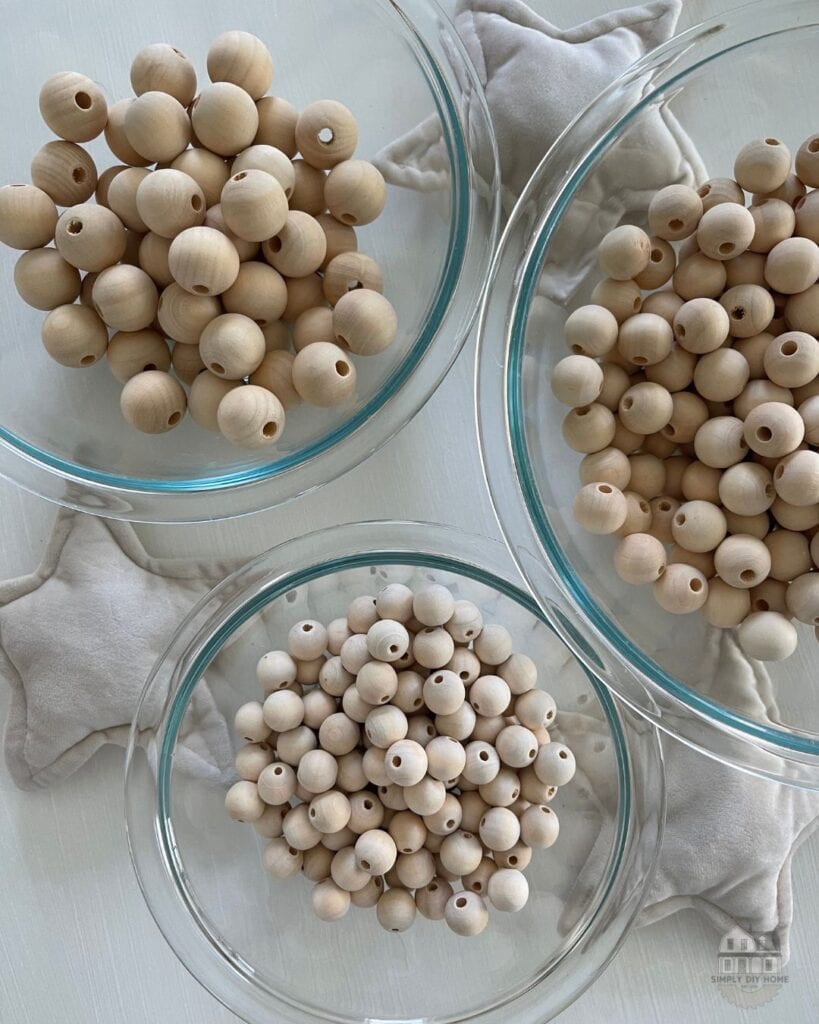
I decided to purchase a kit from Amazon that included numerous smaller-sized wooden beads. Furthermore, I supplemented it with a separate 300-piece kit that contained three larger wooden beads and some twine.
To get started you want to figure out how long of a garland you need. For my strand of beads I only wanted to go 12 feet long.
Once, you have determined your length you can cut the twine and grab your first bead. To make it easier to strand the beads I took clear tape and taped around the end of the twine. That way the ends don’t fray and the beads slide on easily.
Next, take your twine and feed it into the hole of your wooden bead and secure it by tying a knot around the bead.
To achieve this, pass the bead onto the twine’s end, leaving about 5 inches of string at the end of the strand. Then, thread the twine through the bead once more to form a loop around it. With the remaining 5 inches, create a loop and tie it off, completing your garland.
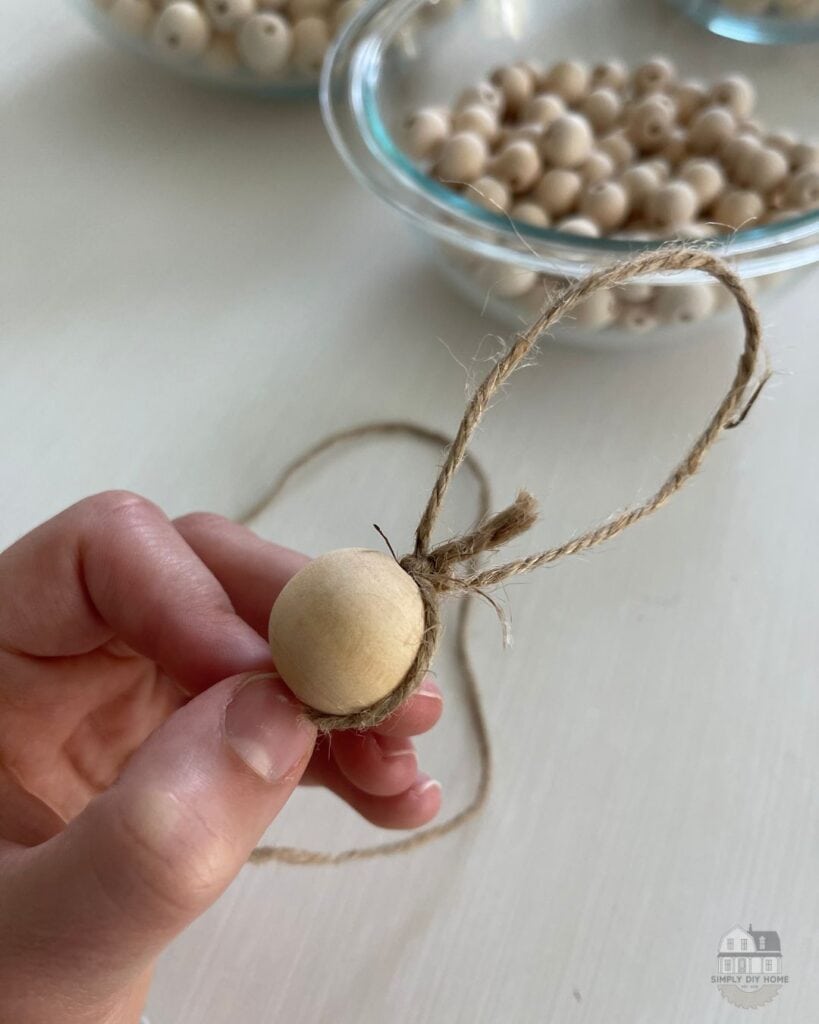
With this loop you will be able to sting the Christmas garland onto a tree branch to hold it onto the tree.
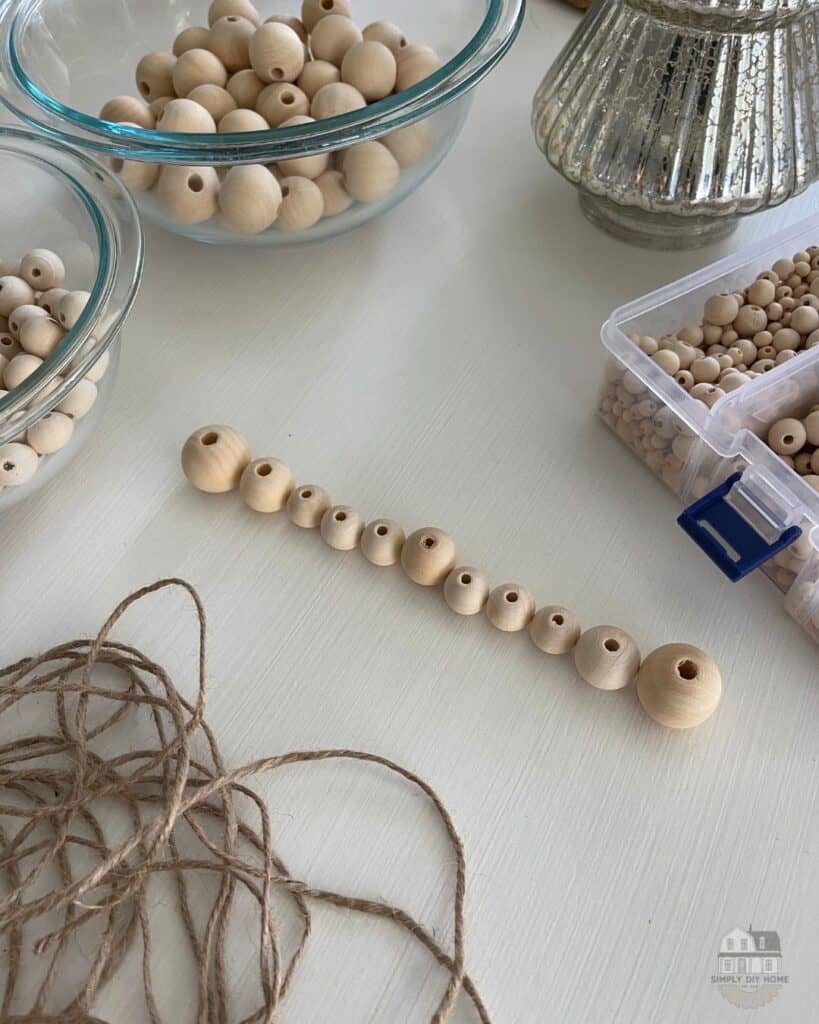
Plan Your Bead Pattern
It’s a wise decision to pre-plan your bead pattern. In my case, I opted to arrange the beads in the chosen pattern on our table. This allowed me to have a visual representation of the final design and make any necessary adjustments as required.

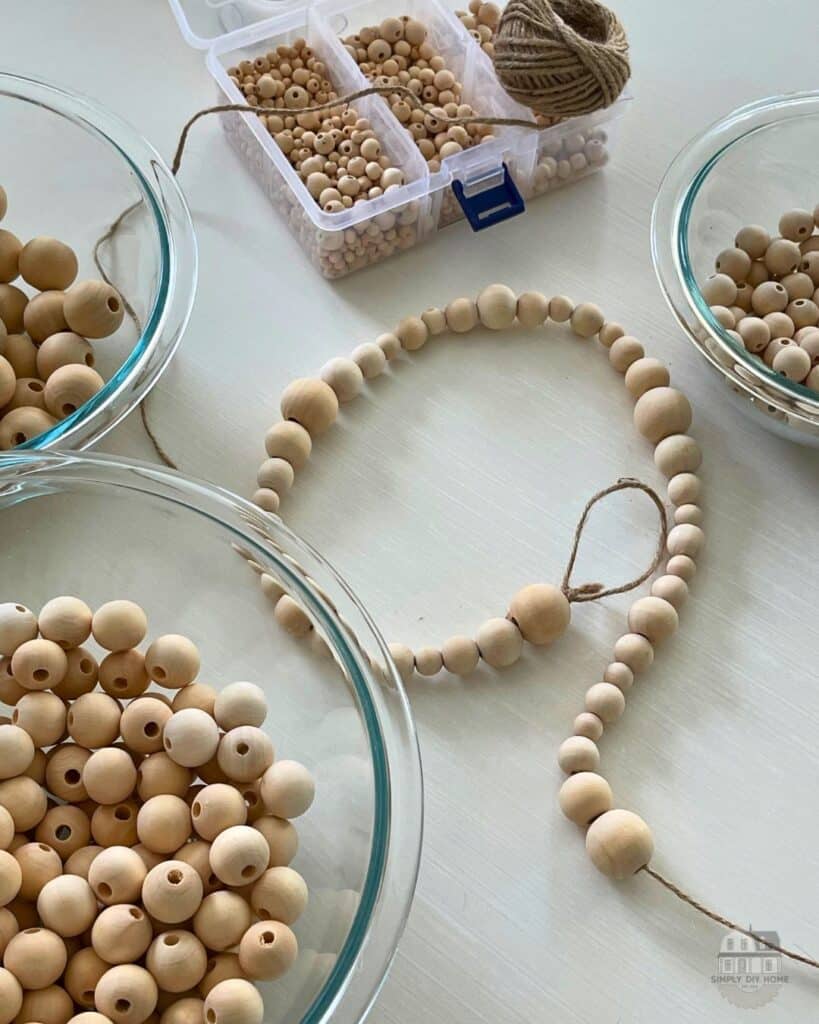
String Your Wood Beads On To The Twine
Start stringing all your wood beads and repeat the pattern until you have reached the desire length. For the final bead, replicate the initial steps by looping the string around it and creating a secure loop with the twine.
How Many Feet Of Beaded Christmas Garland Will I Need For My Tree?
The amount of beaded Christmas garland you need for your tree depends on its size and your personal preferences for decoration density. I personally only made 12 feet of beaded garland for a 6 foot tree. I wanted it to be a minimal for this particular tree.
As a general guideline, for a standard 7-foot tree, you might require 63 feet of garland. They say you can use the rule of 9 feet of garland per vertical foot height.
But, like I said this is all preference, I sure didn’t use 54 feet of garland. I chose less and in the future if I want more I’ll whip out my bead kit and make more!
I hope this inspired you to create some garland for your Christmas tree this year! Whether you choose a traditional pattern or venture into a unique design, the warmth of your personal touch will undoubtedly enhance the festive spirit in your home.
May this DIY project bring you joy and a sense of accomplishment this holiday season. Happy crafting!