
Learn step-by-step how to install one of the most trending accent walls in easy doable steps.
Not ready to get rid of the shiplap look but want something a little more modern? Vertical shiplap has been trending for the last few years all over the place. You see it in magazines, your favorite HGTV show, Pinterest and plastered all over Instagram & Tik Tok.
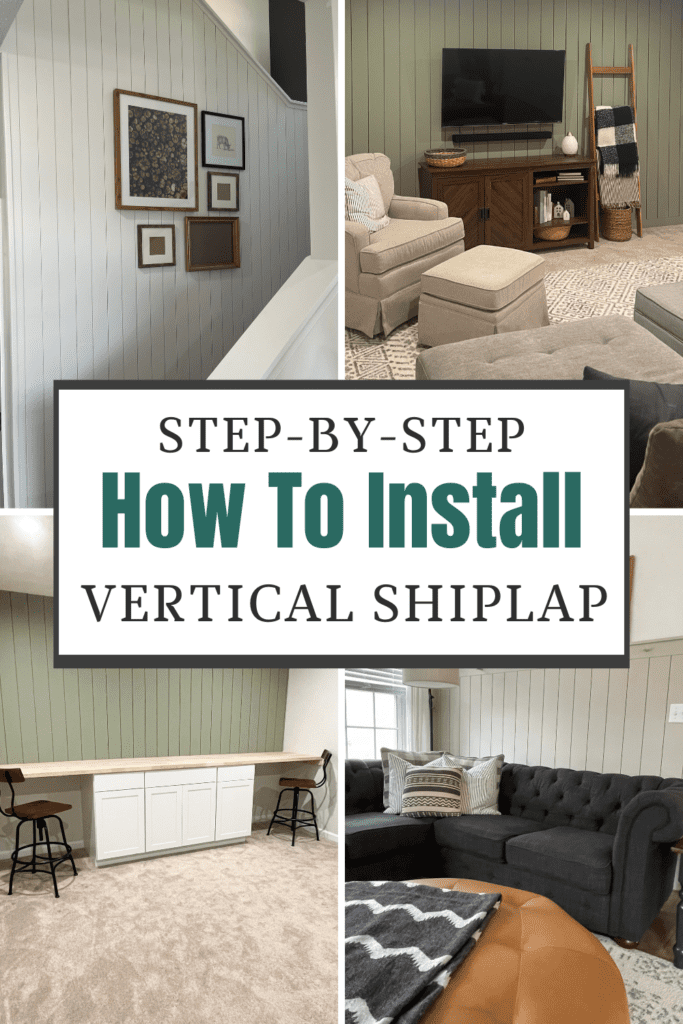
I personally love vertical shiplap just as much as traditional horizontal shiplap. But, since I love to try new things when it comes to DIY-ing I decided to go with vertical in our new home. I have currently at the time of this post built 4 different types of vertical shiplap walls in my home including 1 for my neighbors entryway.
Some would say I am obsessed.
What Are Some Materials You Can Use for Shiplap?
Before I get into the tutorial and the supply list, let’s talk a little about what type of materials you can use to achieve the vertical shiplap look. There are so many options at some many different price points. Let’s break it down:
- Primed Pine Nickel Gap Shiplap Board– Pine Nickel Gap in my experience is the best to work with. Wood is better than MDF but more expensive. I share the comparison between the two in this article. At the time of this post an 8 foot board is $11.
- MDF White Shiplap Board– This is the option I have used 90% of the time because it is cheaper than the primed pine boards. At the time of this post they have went down to about $8 per 8 foot board.
- White Nickel Gap Shiplap Panel– Shiplap panels are a newer product and come in sheets like beadboard. If you are on a budget but want the look of high end vertical shiplap this would be your cheapest option coming in at $36 a panel.
- 1/4 Inch Underlayment Plywood– Plywood was the very first material I ever used for horizontal shiplap. You can get (8) 6 IN X 8 FT faux shiplap boards out of one sheet. Currently poplar sanded plywood is running for $27 a panel.
How To Install a Vertical Shiplap Wall
[AFFILIATE LINKS ARE PROVIDED BELOW FOR CONVENIENCE. FOR MORE INFORMATION SEE MY DISCLOSURE HERE.]
Tools & Materials you’ll need
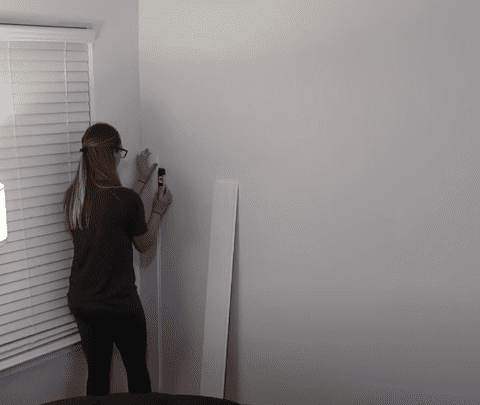
Removing Your Baseboard
Usually with a vertical shiplap wall, you want to remove your existing baseboard and replace it with a 1×4. Of course this is personal preference but for me it also gives me a straight line to start out with. I know if I replace the baseboard the wall will be level.
If you want to reuse your baseboards and quarter round this article on how to remove trim with little to no damage will walk you through that process. Then you would just install your shiplap against the floor and add the baseboard on top at the end.
Either way there is no right or wrong. Just make sure you’re using your level periodically to confirm your boards are straight.
How to Measure, Cut and Install Shiplap
Do you know the saying, do as I say not as I do? Well, this is one of those tips that I tell everyone, and I personally don’t listen to myself! Before installing your boards to save your sanity and your time paint the edges of your shiplap.
Painting in between the cracks of vertical shiplap is so tedious, repetitive and time consuming.
I can not stress how many times I have cursed, stomped, laid on the floor and threw a fit because I didn’t do this first. Painting in between the cracks of vertical shiplap is so tedious, repetitive and time consuming. Believe me, you will thank me if you do at least this one thing out of this whole article.
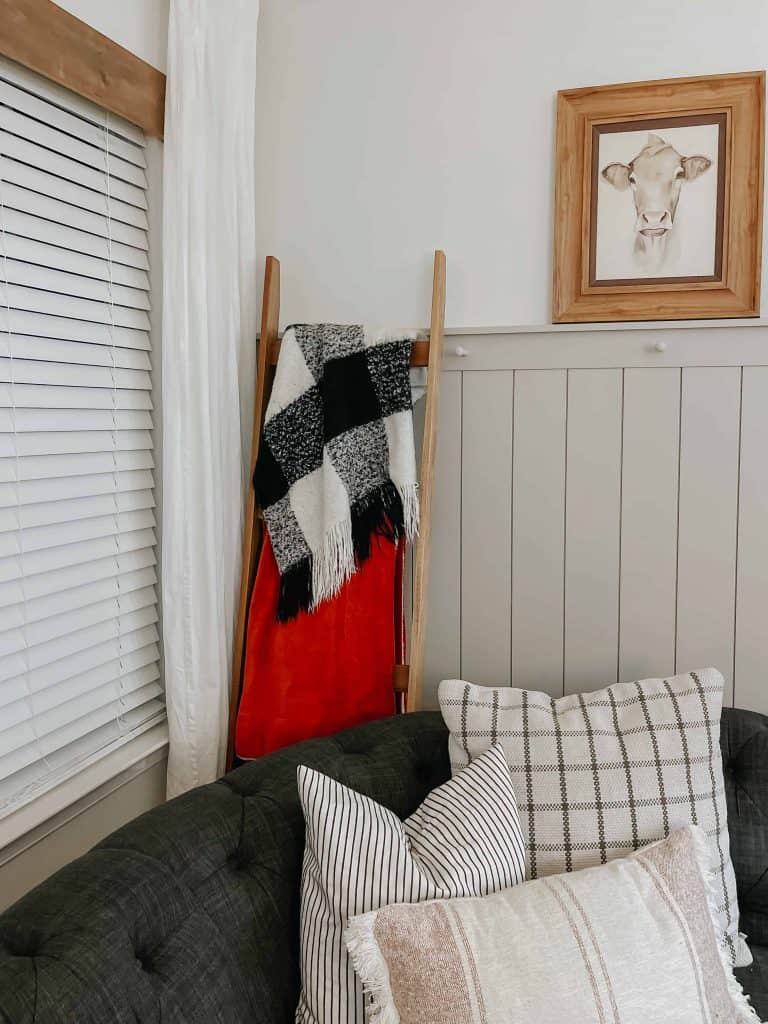
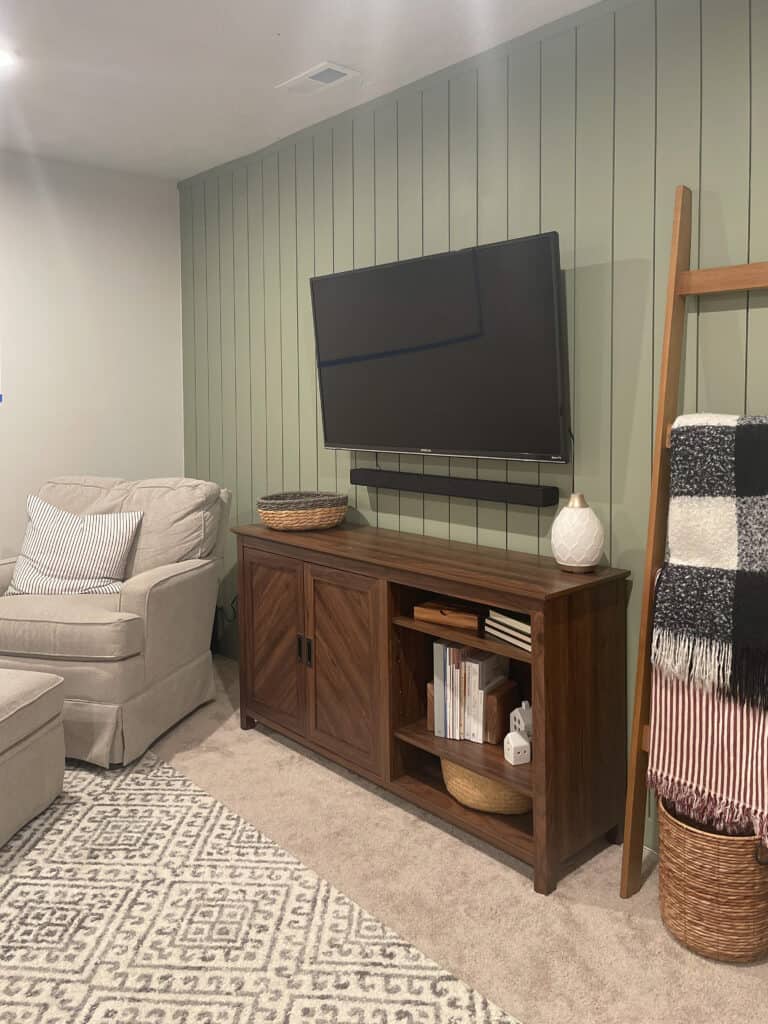
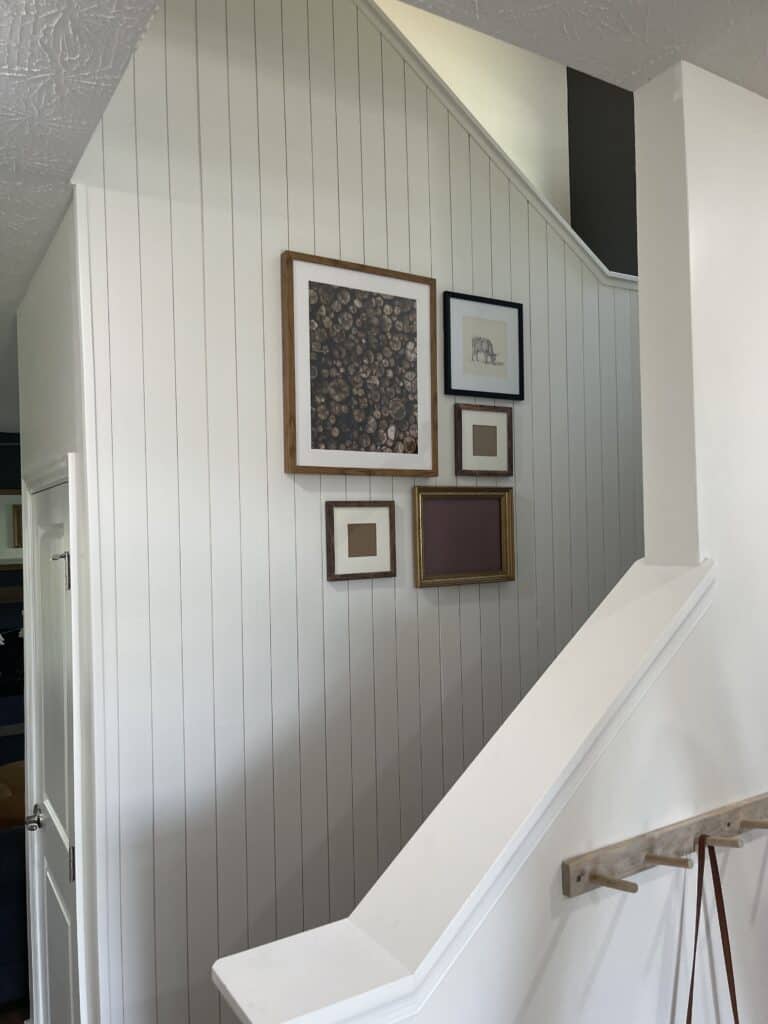
Once your boards are all painted it’s time to measure your space and cut your boards to length. There is so many ways you can do vertical shiplap. Whether that’s all the way to the ceiling like the picture on the right or 3/4 of the way up like the photo to your left.
If you’re going to the ceiling make sure you measure your wall for each board. I have found that most of the time a couple of boards are different measurements due to walls not being level.
When you place that first board up against your wall make sure you place that level vertically with the board and find a level spot. Not all walls are straight…well most walls that I’ve come across are not straight. If there is a gap between your wall and the first shiplap board you will just caulk the seam or use a trim piece.
As you add pieces of shiplap make sure every second board or so you check again with your level. Another great tip that you can do with installing shiplap boards is to nail into the tongue. That is the little lip that buts up against the next piece of shiplap. This will minimize your nail holes.
I still add nails here and there in the actual board but, nailing most of them into the tongue is a game changer.
Sometimes when working on an accent wall you run across speciality cuts like light switches and outlets. These can be tricky, and took me a few times to feel confident to tackle them on my own without my husband’s help. I added a few photos down below to help you visualize what you do when cutting around an outlet.
The best way to explain it is to take your measuring tape and measure the outlet itself. You can see where I had two boards that needed to go around the outlet (honestly this was best case scenario, rather then having the outlet in the middle of a board). Once you have the outlet placement measured, scribble in the center of the area you will be discarding.
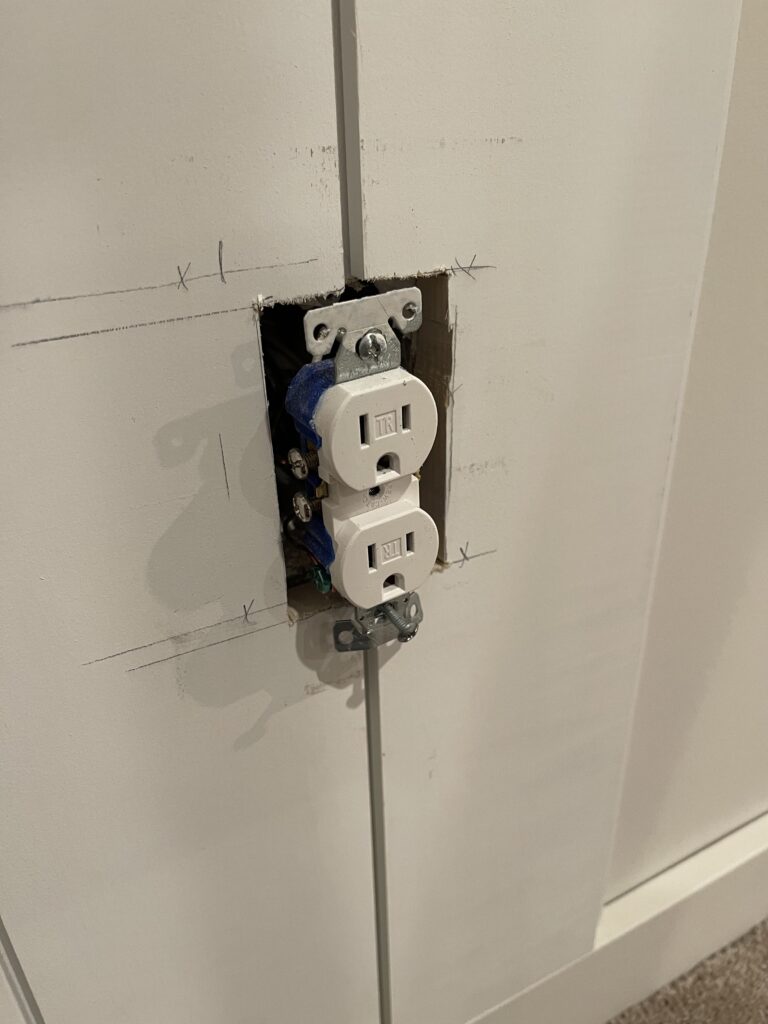
Another method that is popular over on Instagram and Tik Tok is the toothpaste trick. You put a dot of paste on all four corners then press your board against the outlet and it gives you the placement.
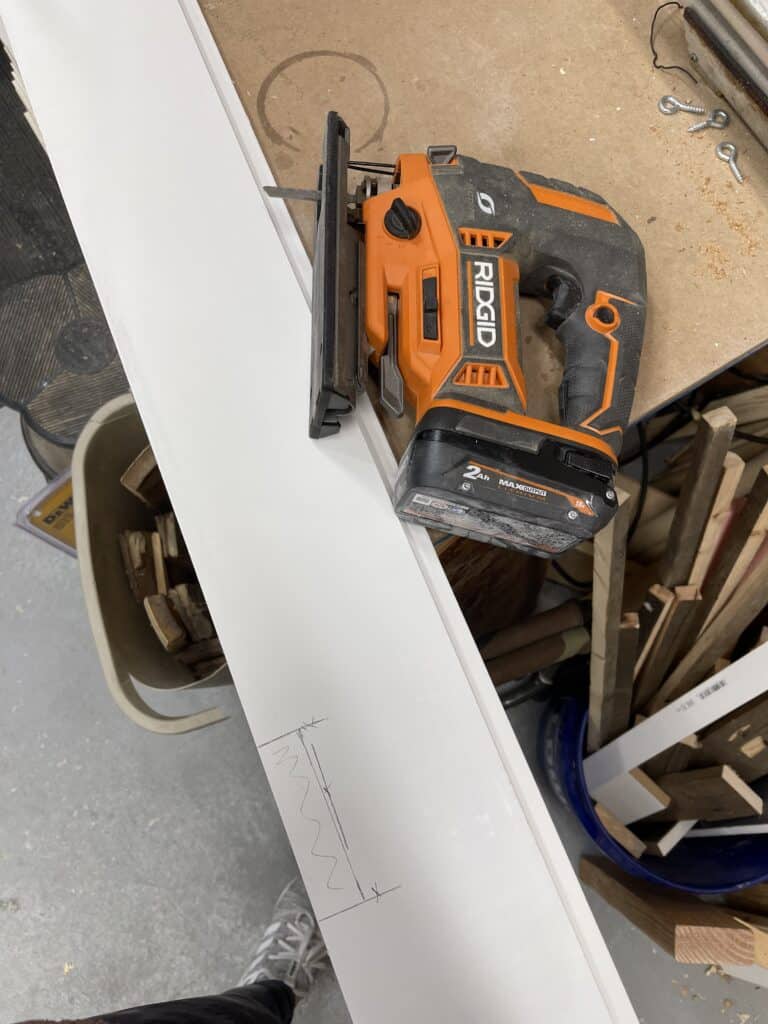
Once you have determined your placement you can use a jigsaw or oscillating tool to cut it out! Don’t forget to buy some outlet extenders so you can put your switch plate back on.
If you decided to only go up 3/4 of the way on your wall you will add your 1×4 (or whatever size you prefer) to the top of your shiplap. I like to top it off with a 1×2 to create a fun little ledge along with that 1×4.
Caulk, Fill Nail Holes and Paint Your Vertical Shiplap
You are almost done! Caulking and filling the nail holes is probably my least favorite but boy does it make a difference. Add caulk along the seams where the boards meet the wall. I also personally caulk between the baseboard and the vertical boards too.
Filling the nail holes I use a wood filler or this wall spackle which is my favorite and works for all types of materials. Taking a piece of sandpaper, a palm sander or using a wet towel will help you to even out those nail holes once the filler is dry.
Once all the hard parts are done (assuming you prepainted your edges) it’s time to pick a paint color and paint! If you’re having trouble choosing a paint finish, this article on choosing the right finish for your accent wall will be great for you.
RELATED: Best Paint Tools To Paint a Room.
DIY Vertical Shiplap Install On Youtube
Alternate Shiplap Installation Options
An alternative to using a nail gun is to also add liquid nails. Now, I’ll be honest I have never used liquid nails and never had any problem. One reason you might need to use liquid nails to install vertical shiplap could be that your installing in a bathroom and there is electrical and plumbing in the way.
Always make sure you know what’s behind your walls when installing anything. If you’re not sure then use some liquid nails to adhere the board. Why I’ve been so reluctant to using liquid nails is because, if you ever had to tear your accent wall off, the liquid nails would ruin your drywall.
I do believe that there is a time and place for liquid nails. And that not every installation requires it.
Another option for installation is adding furring strips to your wall. But, with this method you lose some space as they stick out some and you install your shiplap on top of these. You would use your stud finder to find all your supporting studs and screw into those studs attaching your furring strips.
Do you think you will add a vertical shiplap wall in your home? Be sure to pin the image below so you can refer back to this post later!
Thank you for reading! Please comment below with any questions or reach me in my DM’s on Instagram.
