
So you’re ready to tackle a beadboard accent wall but you don’t want to go through the trouble of removing your current baseboards. In this tutorial I walk you through how we installed our new beadboard wall on top of our existing trim.
Back in May we moved into a newly built home that had no character…like none whatsoever! As I do prefer to fix up older homes I was a little tired from our first fixer upper back in Texas. You can see a glimpse of that home in this post- What is the Most Popular Farmhouse Paint Colors?-Our Texas House!
Long story short I was excited to be in a clean slate cookie cutter house so I could focus more on aesthetic details. In this new home I wanted to do accent walls that I haven’t yet tried and quickly fell in love with colored beadboard. Beadboard goes way back to rich history that is associated with New England style homes.
I love that beadboard can be farmhouse, victorian, cottage and even modern in style. All depending on your details and color that will determine your style of choice.
Before we begin tutorial, I am going to answer a few popular questions that have been asked on Instagram & from my emails.
Can You Install Beadboard On Top Of Baseboards?
Yes! It’s a pretty straight forward answer you can definitely install your beadboard on top of your trim. The same is true for any accent wall you install such as board and batten or a fun geometric accent wall. It all comes down to preference and convenience.
For the beadboard, you just slide your board snug right on top of your existing baseboard. As long as it’s flush and flat it will look seamless once finished.
How Hard Is It To Install Beadboard?
In my experience installing accent walls, beadboard was right up there as one of the easiest to install! Beadboard panels come in a few different sizes and materials like wood or MDF. For my project I only had to buy two panels which was another reason I was so excited for installing beadboard. It’s one of the most inexpensive DIY accent walls I have completed to date.
Materials & Tools
Keep in mind your materials list may be different than ours due to the size of your project! Listed below is the exact amount of materials I used for our space.
- Circular Saw or Table Saw– My husband chose to use the circular saw for this particular project. If don’t own either of these here is a post that can help you choose what’s best for you.
- Jigsaw
- Nail Gun & Nails- I used 18g 2 inch nails
- Caulk & Caulk Gun
- Stud Finder & Measuring Tape
- Level
- Wood Filler & Sanding Block
- Paint Brush & Paint Roller & Paint Tray
- Painters Tape
- Paint- I used Benjamin Moore Revere Pewter in a eggshell finish
- Beadboard Paneling– (2) I bought the 8 FT tall boards
- 1x2x8 Primed MDF (1)
- 1x4x8 Primed MDF (2)
[AFFILIATE LINKS ARE PROVIDED BELOW FOR CONVENIENCE. FOR MORE INFORMATION SEE MY DISCLOSURE HERE.]
How To Install Beadboard Without Removing Baseboards
Cutting and Installing Your Beadboard
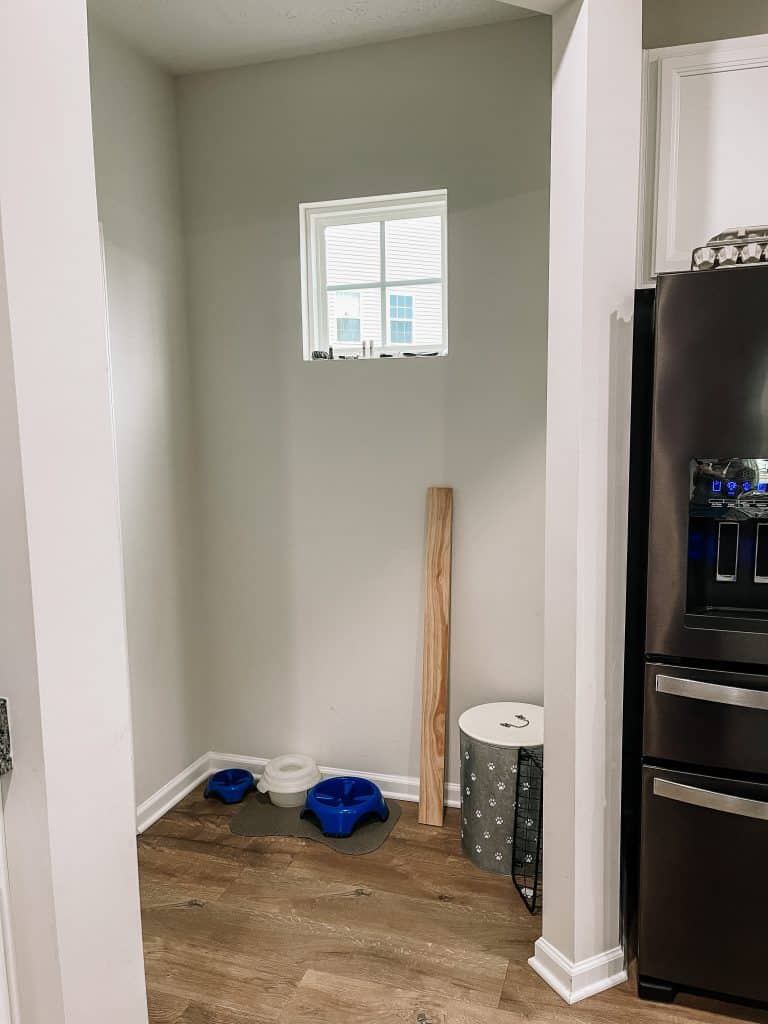
Before you start cutting and installing your beadboard, you will want to find all your studs. Use your stud finder to locate and mark the studs on the wall. I always try to remember this as my first step because no one wants to get stuck holding your beadboard right before install to find out you have no clue where to nail!
Beadboard comes in two lengths. I chose to go with the 8 ft long panels because I knew I wanted my accent wall to be 6 ft tall. There are two ways to go about cutting your beadboard down to size. A circular saw or table saw would work best for this. My husband chose to use the circular saw out of convince but if I was cutting I probably would have chose the table saw. This is literally all preference, so pick what you have on hand and what you feel most comfortable with.
If you have any windows or outlets to trim around you will need to use a jigsaw to trim out your cuts. We were lucky and only had the window trim that I had to trim around.
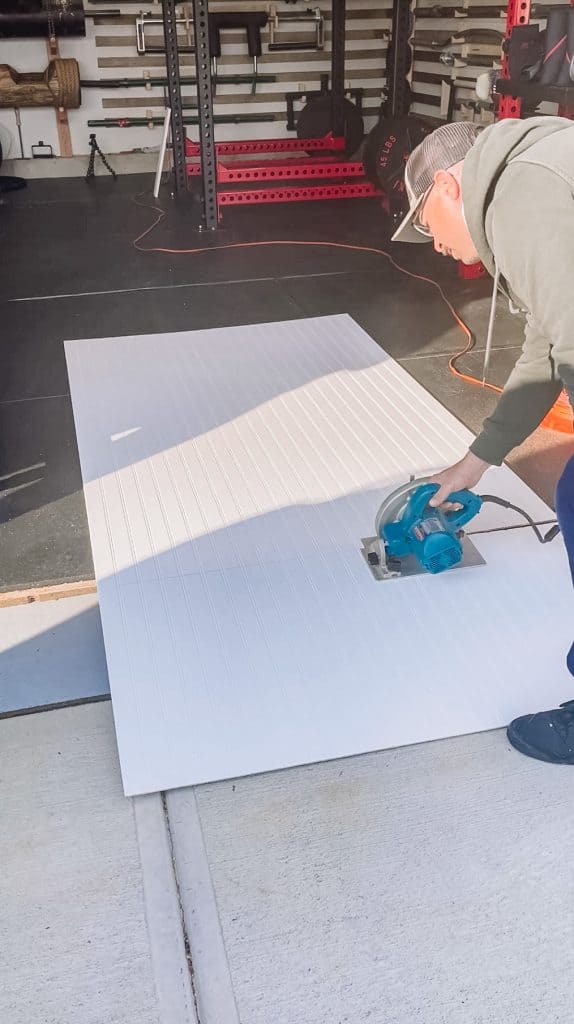
PRO TIP- If you go with the circular saw I suggest you use a chalk line or a circular saw jig to get a straight line.
As for installing the beadboard we chose not to use liquid nails and only attach with our nail gun. I have never used liquid nails for a project of the fear of it damaging the drywall. If you down the road want to remove that accent wall you will have more work for yourself if you used liquid nails.
Try your best to get as many nails into studs and for when you don’t have that option just aim your nail gun to the left at an angle and then to the right so they cross over one another. That way the nails kinda hold on to each other making it harder for the nails to pop out.
Adding Trim To Your Beadboard
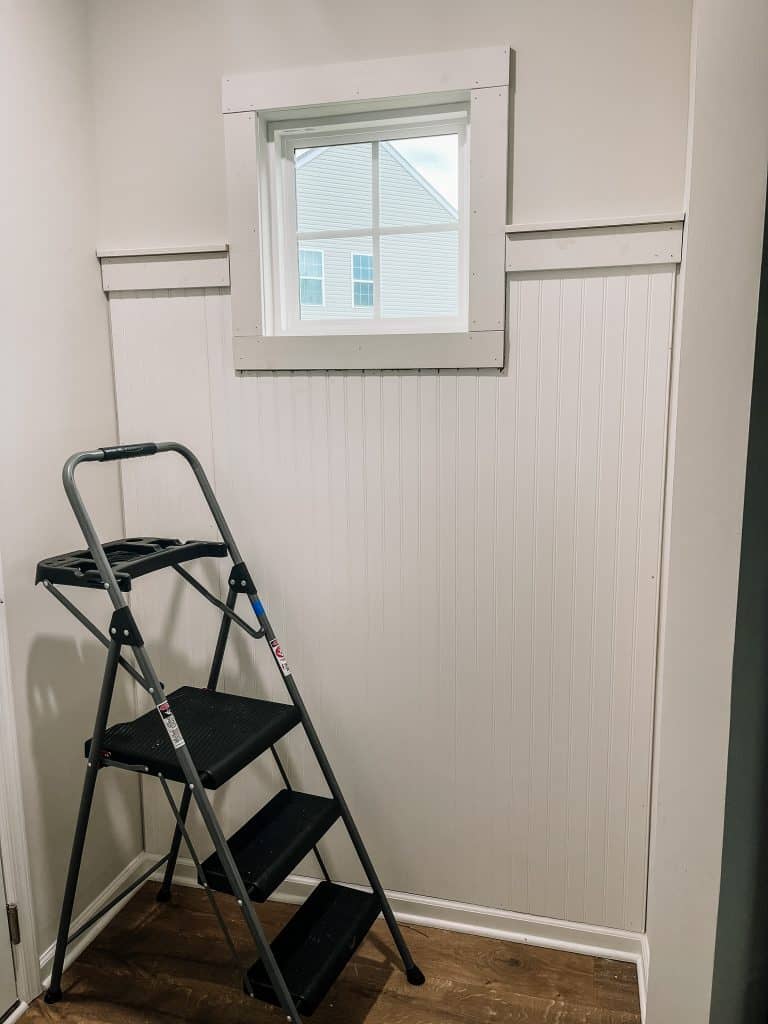
Now that you have your beadboard installed it’s ready for trim. For our space we had one tiny window that didn’t have trim on. We knew we would be framing out that window along with adding trim to the top of the beadboard. Keep in mind if you have a window you are trimming out like mine the walls might not be level and require that you had shims behind the trim to make everything the same level. After its level just trim off or break off the ends of the shims. You will never know they exist after you caulk the seams!
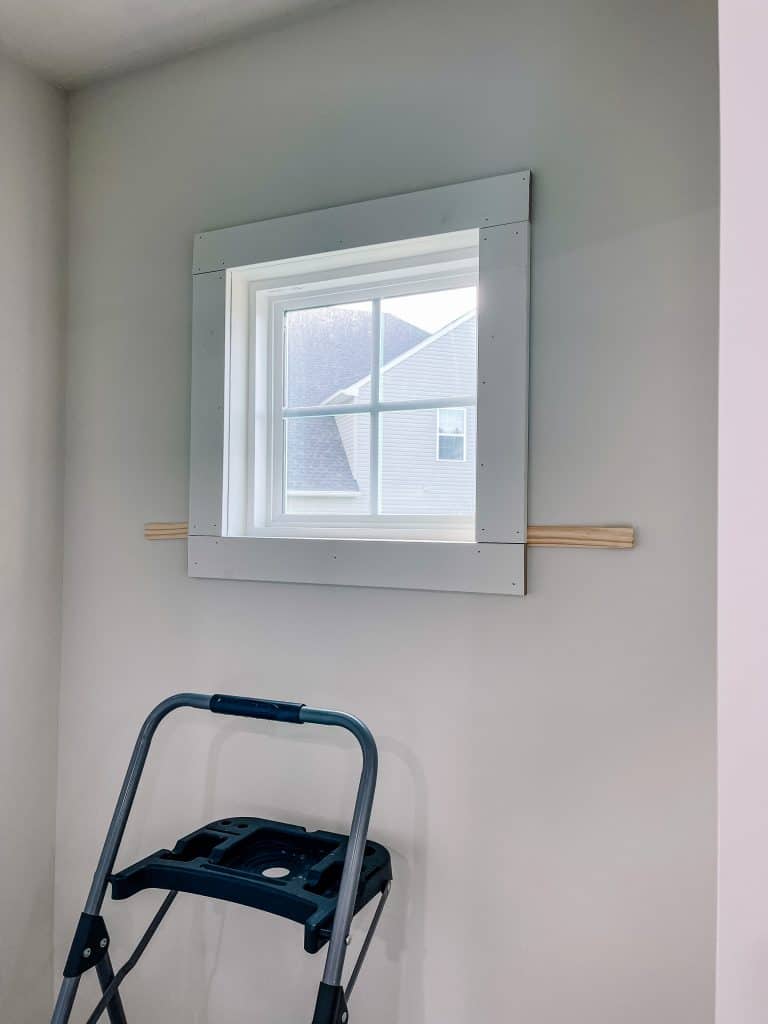
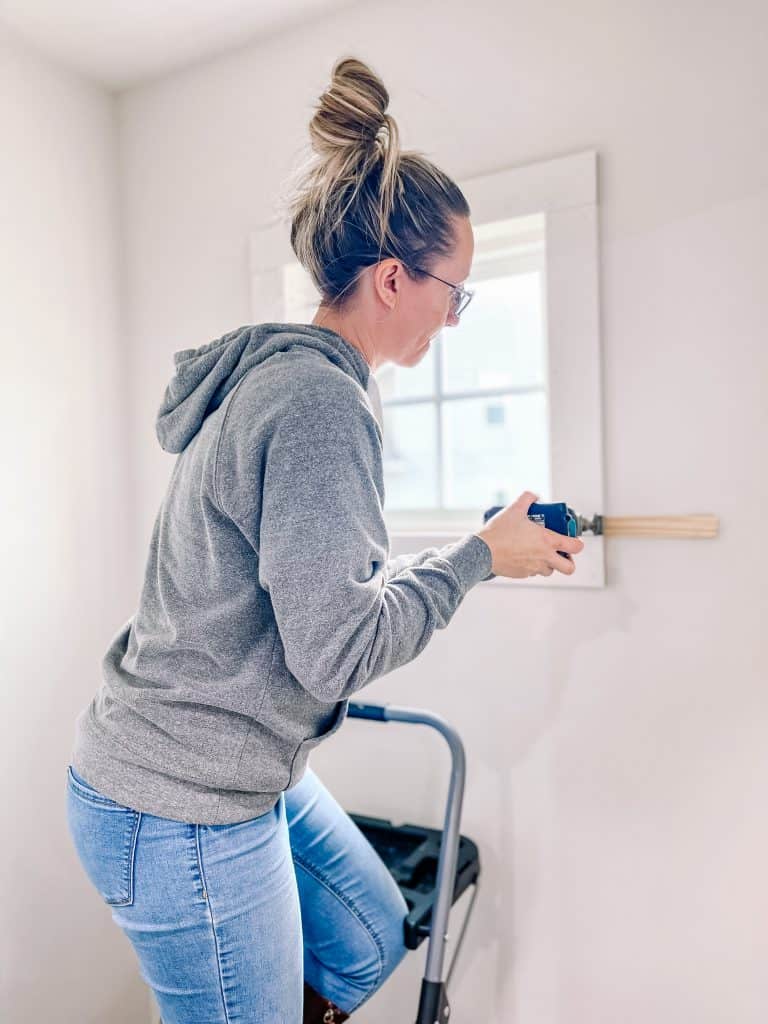
For trim I prefer to use 1×4 and 1×2 to create my desired look. This step is super simple just grab a level, your nail gun and put the 1×4 right on top of your beadboard and then lay your 1×2 flat to create a decorative edge and nail it in.
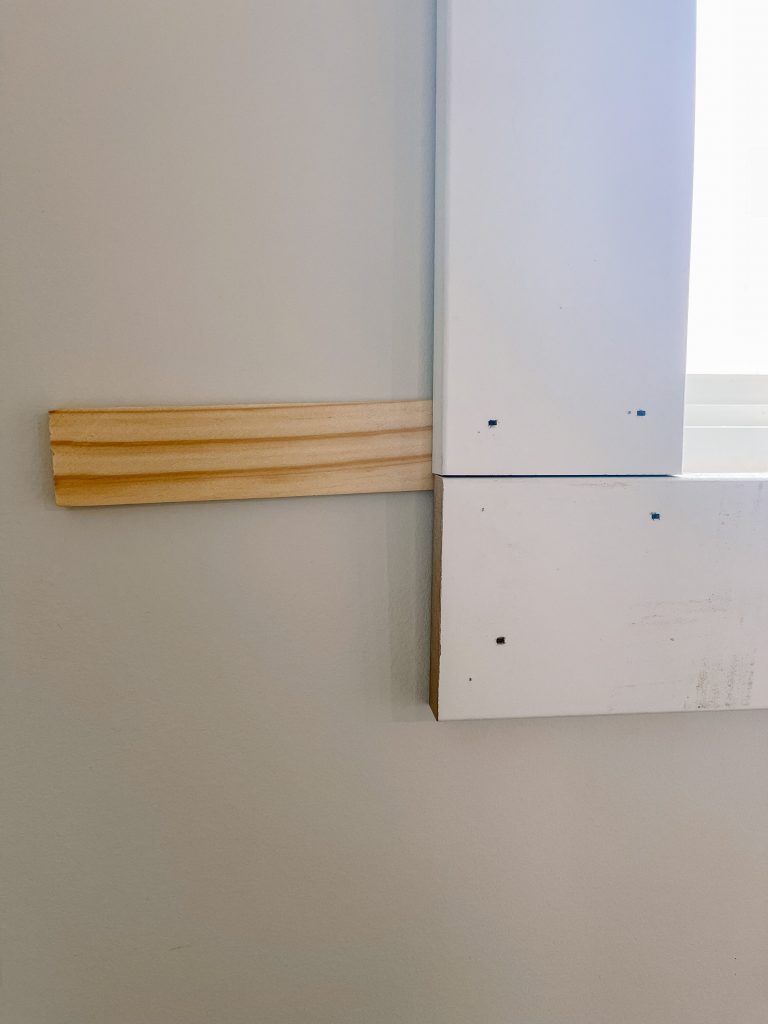
If you have a longer stretch of wall to trim out and need more than one board, you have the choice of mitering the ends so they slide into each other, or just push them up against each other. Once you add wood filler and caulk you won’t be able to tell that it’s not one continuist board. I will go into that in the next step!
Prepping Your Accent Wall for Paint
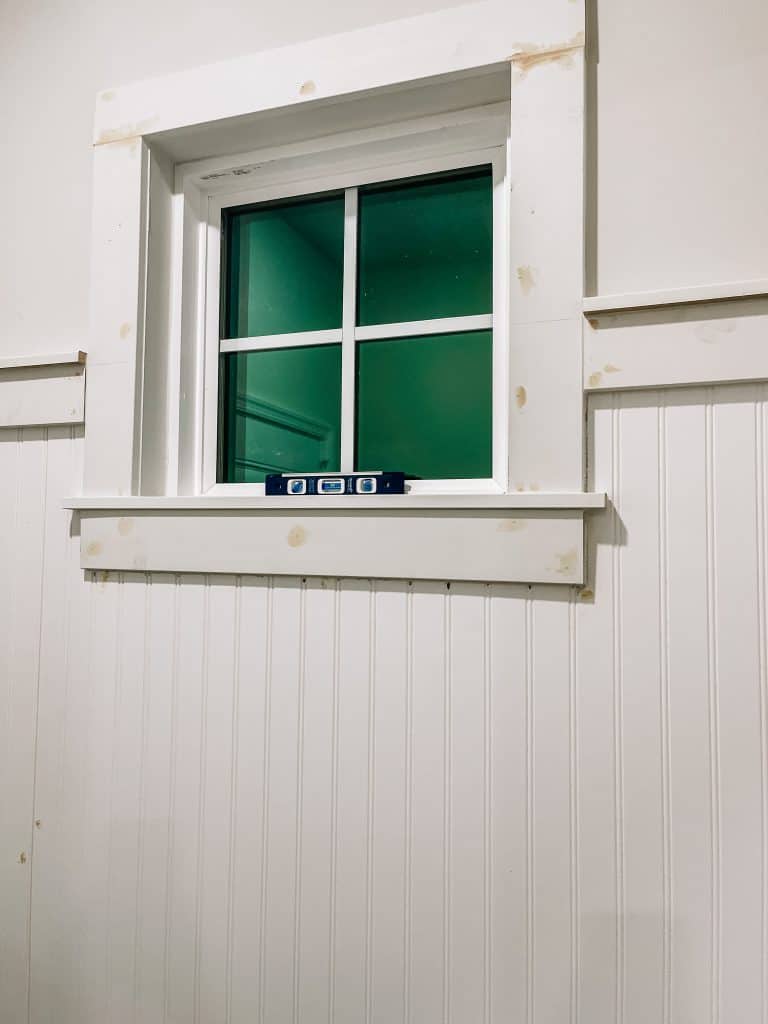
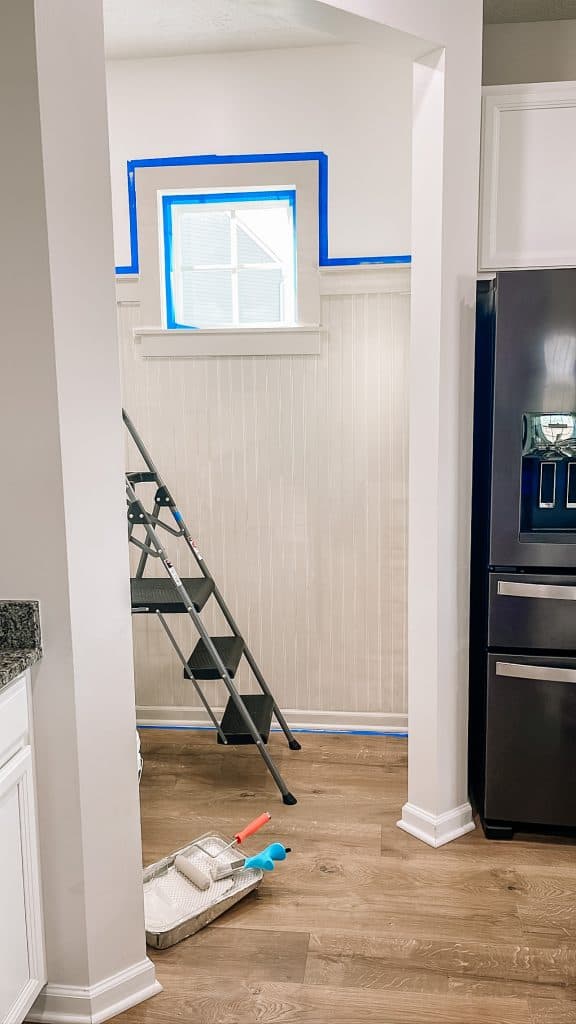
Your beadboard and trim are all installed now it’s time for the finishing touches to prep for paint. Tape all the surfaces that meet up to your trim with your painters tape. After that’s done, take your caulk gun & caulk and put a bead of caulk along the seams where trim meets beadboard and wall. Run your finger along the caulk to get any excess off.
Once that’s dry you can add wood filler to all the nail holes. As for the seams of the beadboard some people prefer wood filler but when installing our accent wall I found that the caulk worked amazing. So well that I couldn’t even show you where the two meet up because it’s so well hidden.
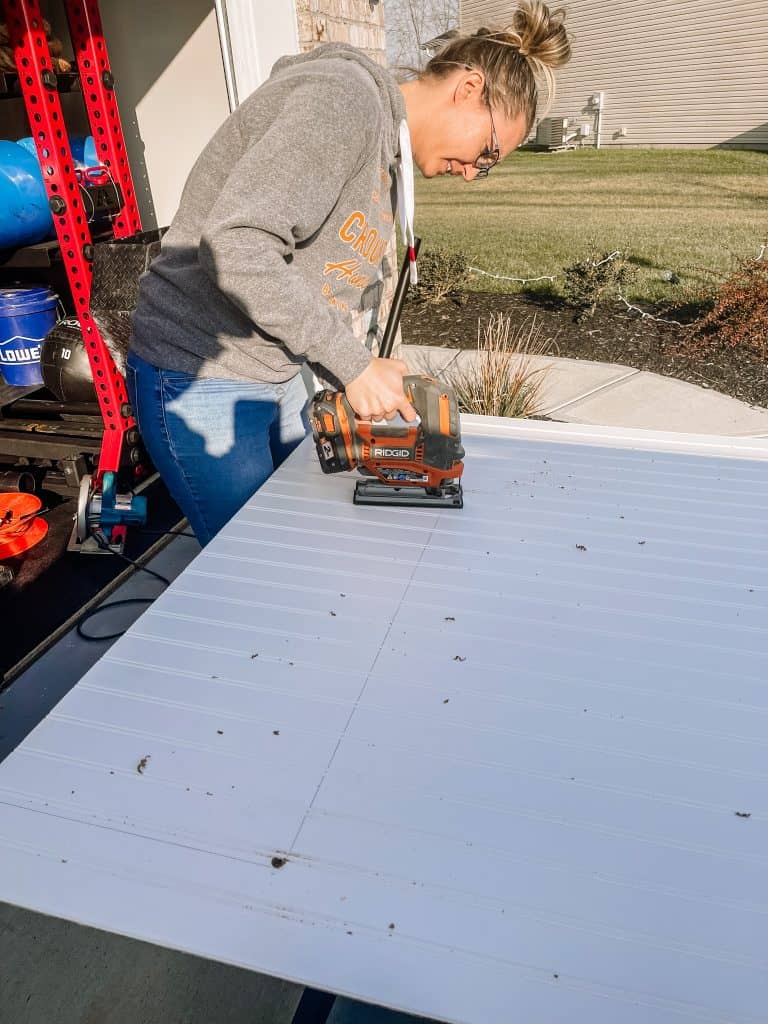
Take your sanding block after everything’s dry and sand down the wood filler until it’s flush. Make sure you vacuum and wipe down your wall and trim before moving to the next step.
How To Paint a Beadboard Wall
This part is the best part because, you are now just one step away from a complete masterpiece! There are many ways to paint your beadboard wall. A paint sprayer, a roller or paint brush. I have honestly never used a paint sprayer before and as I’m sure it’s nicer it wasn’t necessary for this tiny project I had going.
My prefered method is to use a small paint roller and brush to get in all the grooves. I recommend using a small 6 inch or 4 inch foam roller for this project. I use them on 80% of my projects and swear by them. We even buy them in bulk because I use them so often.
With the smaller foam rollers you can flip it over and use the rounded end of the roller to get in the tiny grooves. I did that for about half the wall then switched to my paint brush because I felt like I could cover more space with the brush. When you have painted all the grooves work quickly and roll the rest of your beadboard that way you can smooth any brush marks or drips you have created.
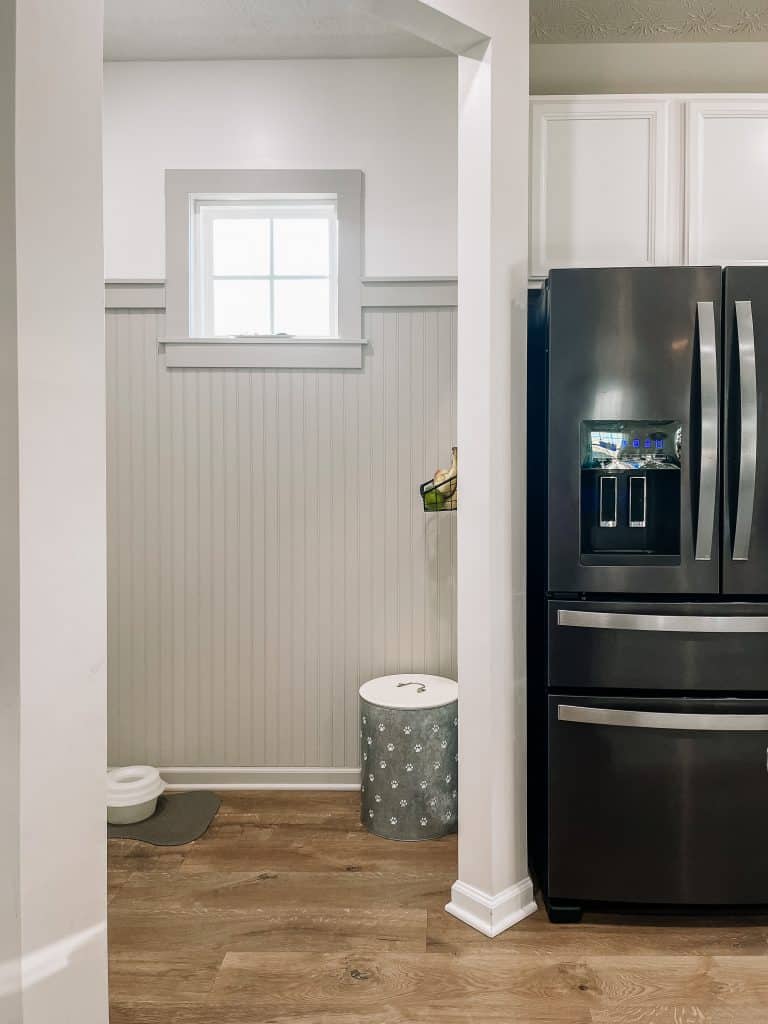
This will give you the most professional finish!
If you want your accent wall to flow and truly stand out as an accent wall, paint your floor trim the same color as your wall. This part is optional but I thought I would make a point to mention it as I feel like it’s a conventional topic that everyone seems to be debating on. It’s more of a preference and in my opinion I think it just adds enough extra flare to it to appear more high end and professional.
RELATED- If you aren’t sure what paint finish you need to be using on your accent wall read this post choosing the right paint finish!
There you have it, one of the easiest beginner accent walls! If you plan on adding a beadboard wall to your home please email me, send me a message on Pinterest or Instagram so I can see your finished piece. Save this post on Pinterest so you can come back to it later and feel free to reach out if you have ANY questions!

[Safety is of great importance when working on DIY projects. Always follow proper safety guidelines, wear appropriate personal protective equipment, and adhere to local building codes and regulations. READ MY FULL DISCLAIMER HERE.]