
With this process you will find by far the easiest way to build a DIY mantel shelf for your fireplace! This tutorial is a great beginner project that is inexpensive and will leave you empowered to tackle more DIYs!
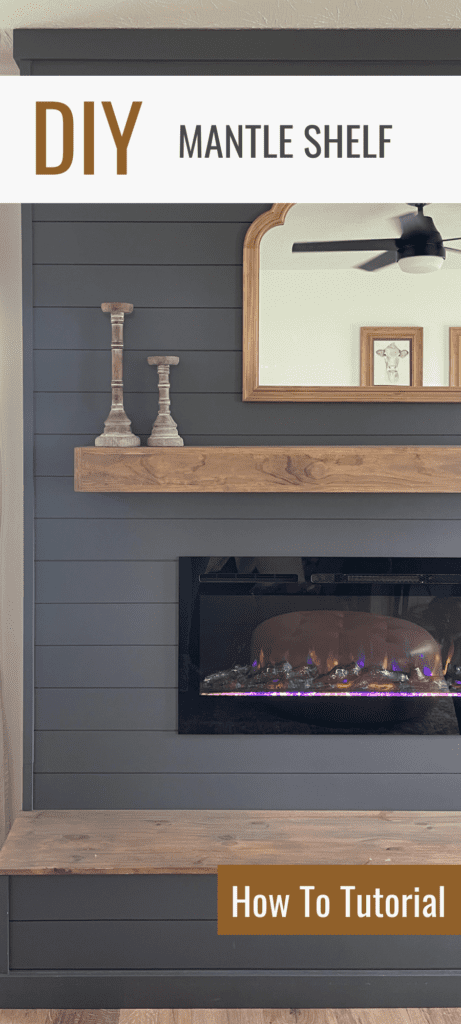
Back in August of 2021 we tackled our DIY Electric Fireplace build and I was overwhelmed with the attention it got on Instagram! With the attention our fireplace makeover was attracting I received tons of questions. With that said I owe a ton of you this DIY wood mantel tutorial! From this article you will learn to build a 6 FT long mantel that is 7 1/4 inches deep.
Of course you can modify the plans and choose whatever dimensions makes sense for your fireplace.
What is a floating mantel?
Floating wood mantels are exactly what they seem. The mantel appears as if they are just floating on your wall. There are no visible brackets or hooks holding it in place. This type of mantel looks beautiful and is a great option if you want more of a simple neutral look.
How do you make a floating mantel shelf?
[AFFILIATE LINKS ARE PROVIDED BELOW FOR CONVENIENCE. FOR MORE INFORMATION SEE MY DISCLOSURE HERE.]
Materials & Tools
- Miter Saw or Circular Saw
- Measuring Tape
- Pencil
- Clamps (Optional but helpful)
- Wood Glue
- Brad Nailer + Brad Nails
- Kreg Jig + Pocket Hole Screws
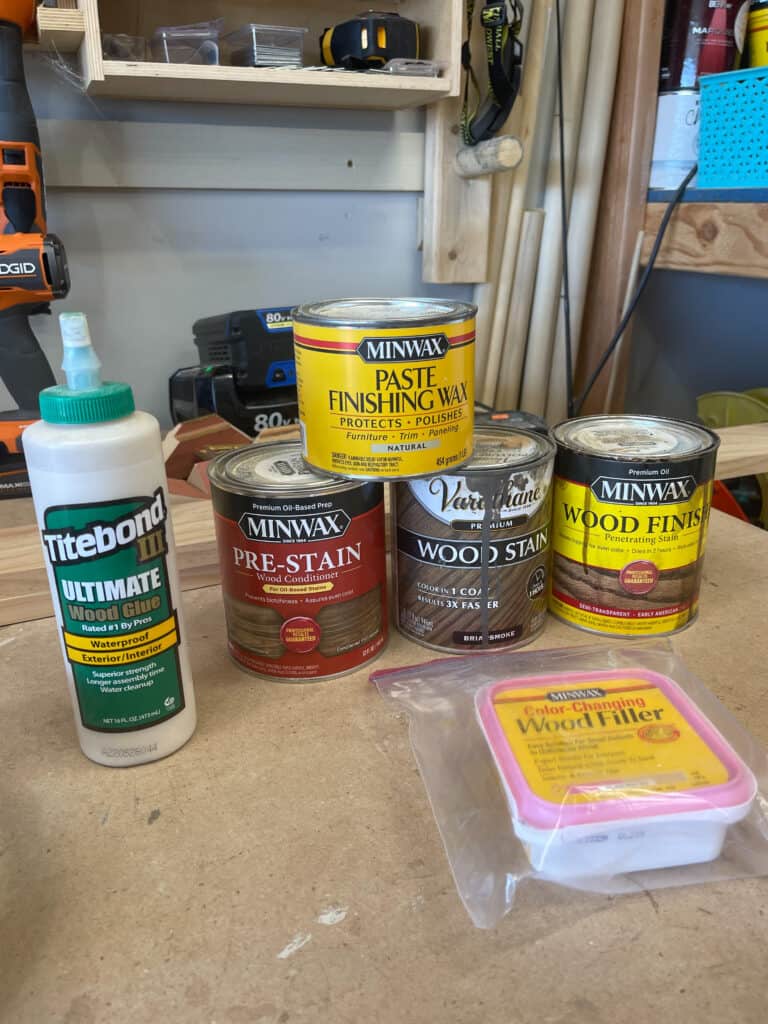
- Stain
- Rags
- Wood Conditioner (Don’t skip this)
- Minwax Paste Finishing Wax (Optional)
- Wood Filler
- Palm Sander
- Drill + Wood Screws (I used 2 1/2 inch)
- Level
- Stud Finder
- (1) 1x4x6
- (2) 1x8x8
- (1) 2x4x8
If you’re starting out and still building your tool collection check out my Must-Have Power Tools for Home DIY.
DIY mantel shelf measurements & cuts
First step that we want do is measure and cut our wood to length. Our 1x4x6 is going to be our front board. Even though the length of our fireplace mantel is going to be 6 FT and your 1×4 is 6 FT make sure to measure that board to verify that it’s really 6 FT.
Sometimes when the boards are made in the factory they don’t come out to the exact length that it says that it is. For my board it was a 1/2 inch longer, so I trimmed it down.
The top, bottom and side pieces of your mantel are going to use your 1×8 boards. Starting with your top piece and your bottom piece, you will have to trim down to 6 FT. Take your leftover pieces and cut 2 of them to 5 inches each. These will be your end pieces of the DIY mantel shelf.
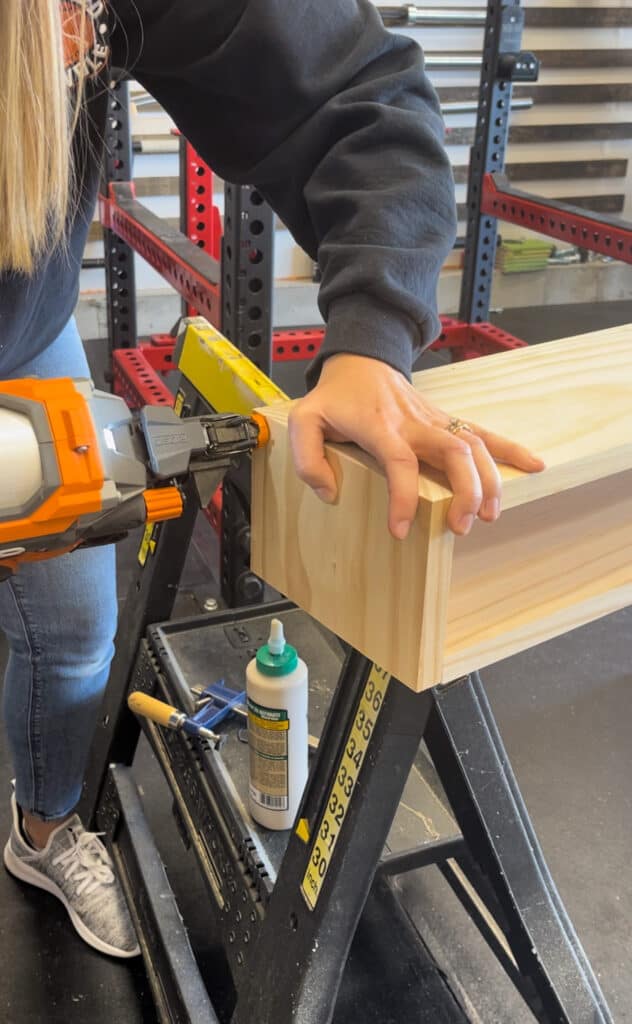
Assembling your mantel shelf
Next step you are going to assemble your mantel box. Starting with one of your 1x8x6’s and your 1x4x6 board you are going to add a bead of wood glue along the length of the board and clamp them together. If you don’t have clamps that is totally fine. Having a second person to help you hold the boards can be beneficial in this step.

Once you have it all glued up take your nail gun and nail the boards together. You are going to do the same thing on the other side and take the last 1x8x6 and glue and nail it to the 1x4x6. The two last pieces should be your 1×8 boards that you trimmed down to 5 inches each. These will be our end caps of the mantel shelf.
Doing the same as your other pieces add wood glue and nail your boards into the ends of your mantel box.
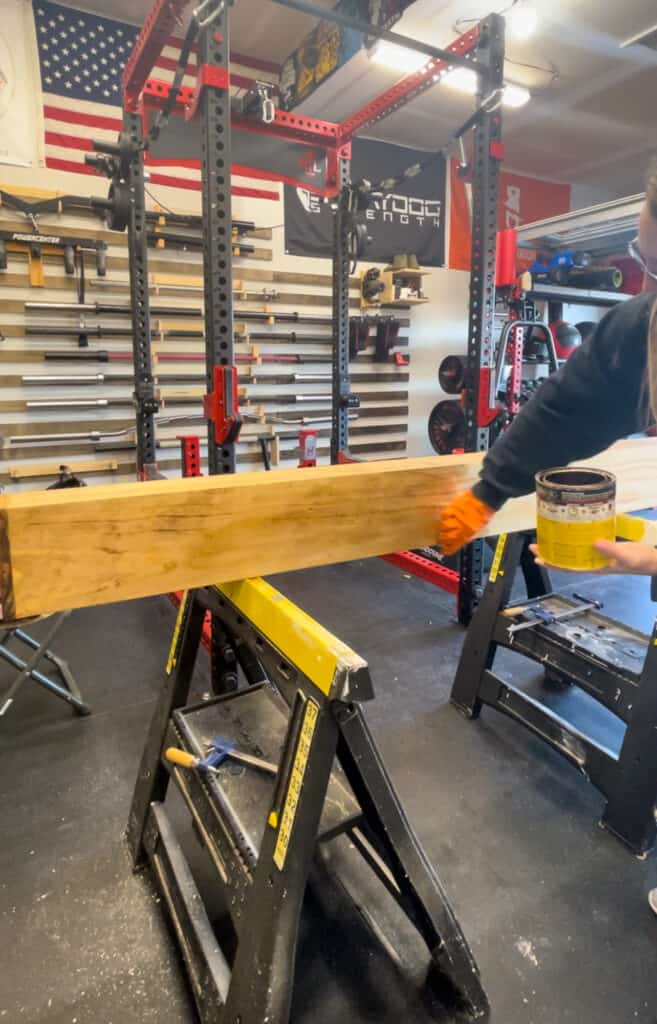
Sanding & staining your DIY fireplace mantel
You are officially halfway through building a DIY mantel shelf. These last steps are probably the most important for achieving the look that you’re going for. After your mantel is all assembled you are going to take your preferred wood filler and fill in all your nail holes and any spaces that were left between the boards.
The wood filler that I normally go for is Minwax color-changing wood filler. It goes on pink and dries to a natural wood color when ready to sand. Once everything is filled, you can take your palm sander and sand everything down to a smooth finish.
I highly suggest that you sand the whole mantel box. If not, you will not get an even enough look when staining the wood. Sanding the whole surface will open all of the wood pores making it easier for it to absorb the stain.
You may have noticed in the materials and tools list next to wood conditioner I put “do not skip this step”. Applying wood conditioner before applying stain is a must-have. I used to be one that skipped steps because I didn’t find them necessary. Until I did a comparison on using wood conditioner and not using wood conditioner. I was blown away at how better my stain looked when I had already conditioned my wood.
Conditioning your wood before applying stain is going to assure your stain has even color and prevents blotchiness. Another tip when buying your stain and your pre-stain wood conditioner is if you have an oil based stain, you need an oil based wood conditioner.
If you choose a water-based stain, then you will need a water based conditioner. You get the drift!
My go-to stain combo
I have made many wood projects in our home in the last year and in that time I have found my favorite stain combo. For my home the stain combo that best matches my floors and the rest of my finishes throughout is 1 heavy coat Early American and 1 very light light coat of Briarsmoke.
I always tell people when applying the Briarsmoke that you lightly dab it in the can, making sure it’s not too saturated. Then lightly go back-and-forth, barely touching the wood. Whatever stain gets on the wood I then will take my rag and spread it as thin as possible over the whole piece.
My goal for this method is not to put a heavy, dark color over top of the Early American. I am just adding darker spots to my wood to make it look more weathered.
Optional: Add Minwax Paste Finishing Wax to protect and polish your mantel. (I haven’t done this to my mantel but some of my other shelves I have.)
How do you install a free floating mantel?
Now that your mantel is assembled and stained we are going to build our mantel support brackets. This final step can be done 2 different ways. The way that I am going to share with you today is the same way that you would make a floating shelf that you would be mounting to your wall.
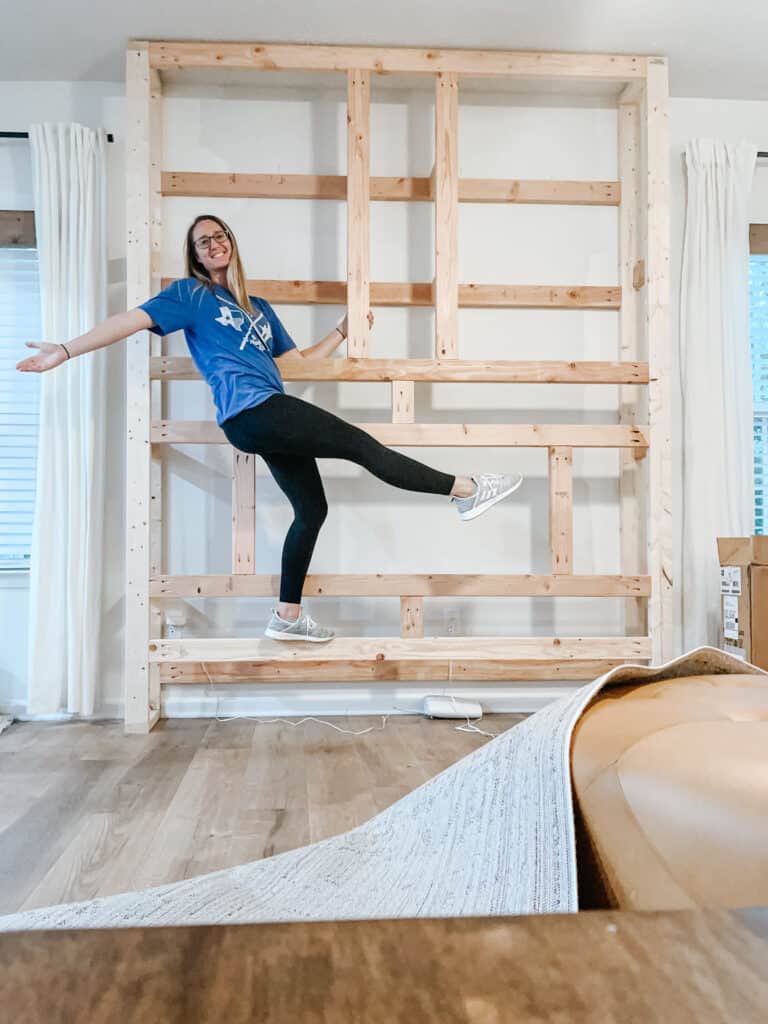
The second option I would only suggest if you were actually building your fireplace, and you inserted 2×4’s behind your shiplap, and you knew exactly where they were. When building our fireplace, we measured out the mantel before hand, and added extra 2×4’s along the length of where the mantel would be. So therefore we only had to add 3 smaller 2×4’s to hold the mantel.
As you can see in the picture below I had added a 2×4 in the shell of the fireplace just at the height I wanted the mantel.
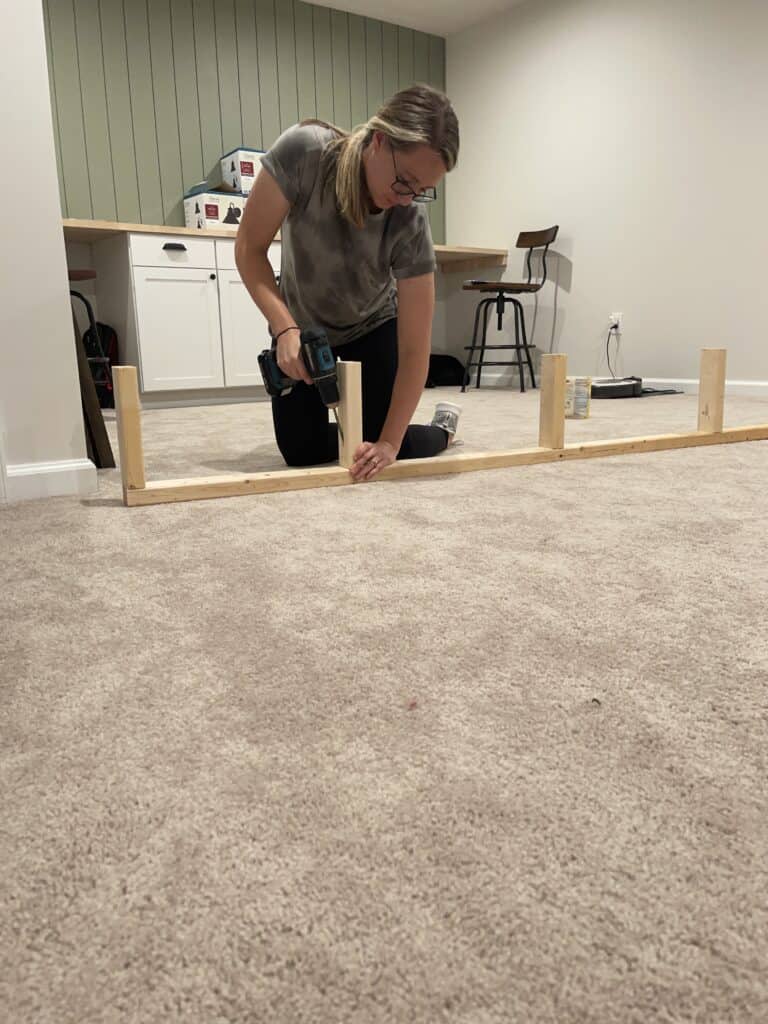
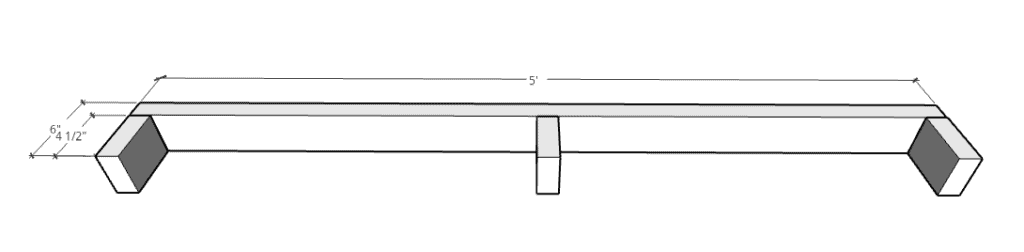
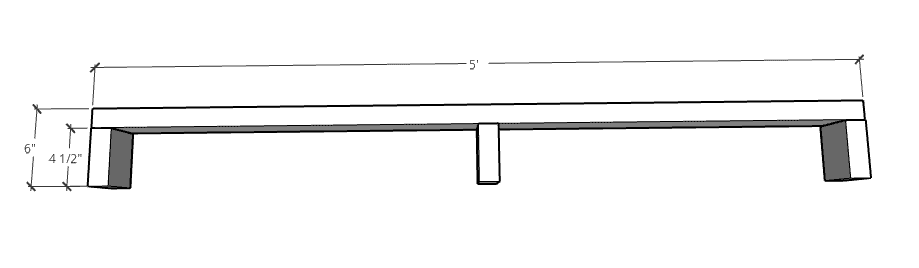
This method is exactly how I make all my floating shelf brackets in our home. By taking your 2x4x8 we are going to trim that down to 5 FT. I always make my brackets slightly smaller than my mantel insert. This is just a personal preference. If you wanna make it the exact length then you’re just gonna have to measure how big your opening is on the back of the mantel.
Cutting 3 smaller pieces at 4 1/2 inches each with your leftover 2×4 will give you your 3 support pieces. Using your Kreg pocket hole jig make 2 pocket holes on each one of your 4 1/2 inch brackets. You should have a total of 6 pocket holes.
Attaching one bracket to your 5 FT board on each end and 1 in the center, you will then have completed your fireplace mantel shelf! To attach it to the wall/ fireplace use your stud finder to determine where to screw your bracket into. Once secure slip on your mantel!
FAQ
How far should a mantel stick out?
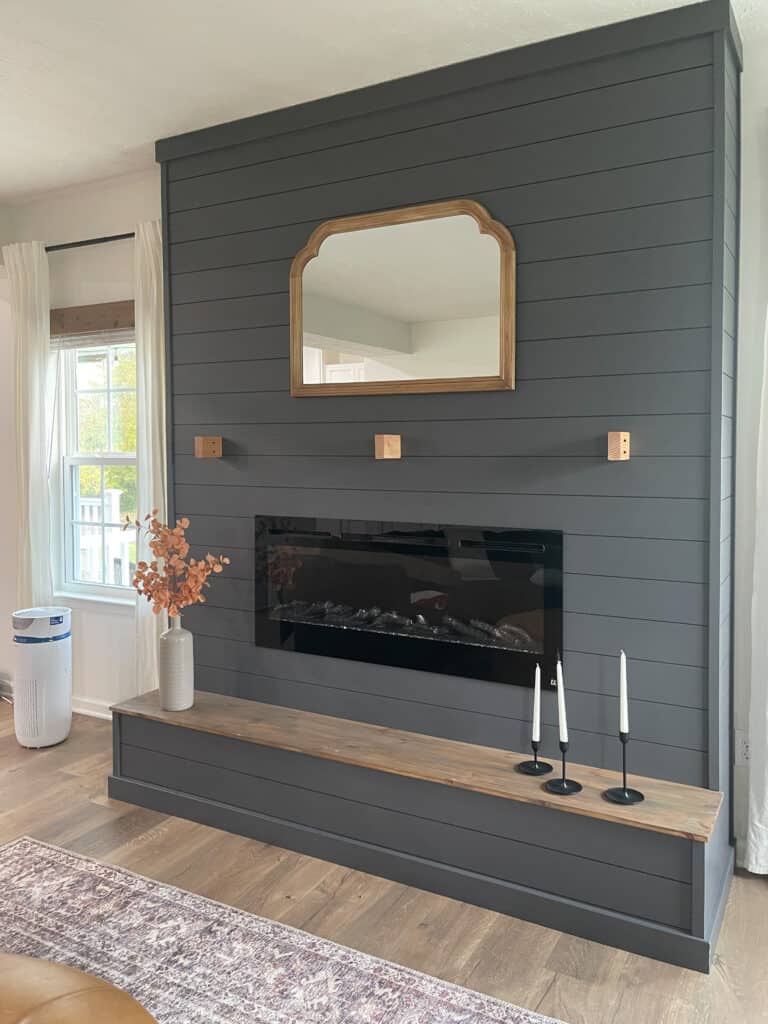
I would suggest that you at least use a 1×8 board. That puts your mantel about 7 1/4 inches deep. Funny story this is my second mantel I have made for this fireplace. The first one I used 1×6’s and I could barely put a flower vase on the mantel. So I recently rebuilt it with a wider board so I could have a larger space for my Christmas decor.
How much does it cost to build a fireplace mantel?
This will vary on the type of wood you choose and if you have stain on hand. At the time of this post my mantel cost me less than $60 to build. I already had everything I needed except the wood. Most projects I build in our home I use select pine from Lowe’s or Home Depot.
How long does it take to build a fireplace mantel?
With just a few boards and minimal tools I was able to build this mantel in less than 2 hours. That’s a little on the higher side because I took breaks to allow the wood filler to dry completely and cook dinner for the family. I bet uninterrupted you could make this DIY mantel shelf in about an hour.
I hope this post helped you in some kind of way! To save it for future reference make sure to save it on Pinterest. You can message me at [email protected] for any questions or DM on Instagram.