
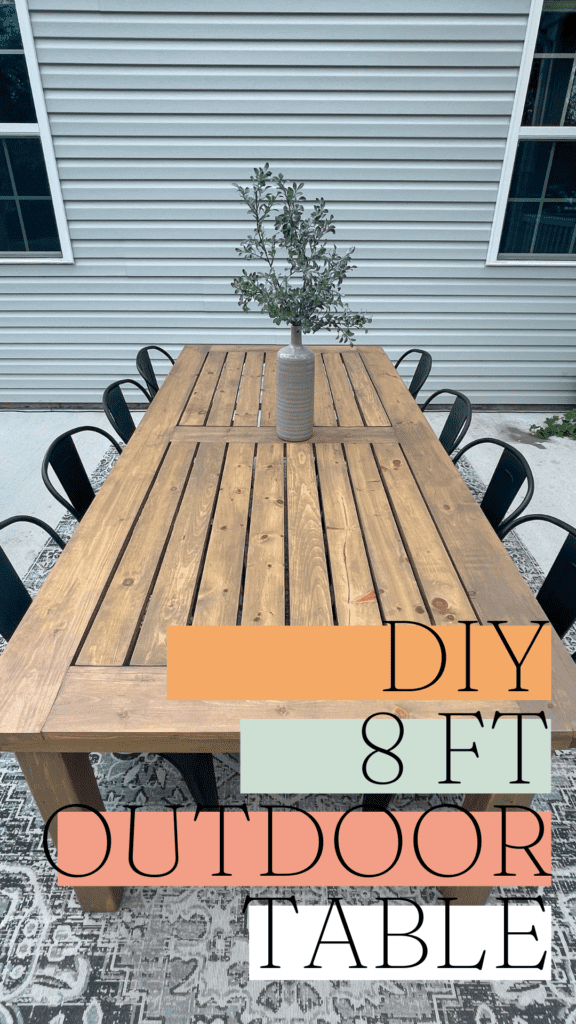
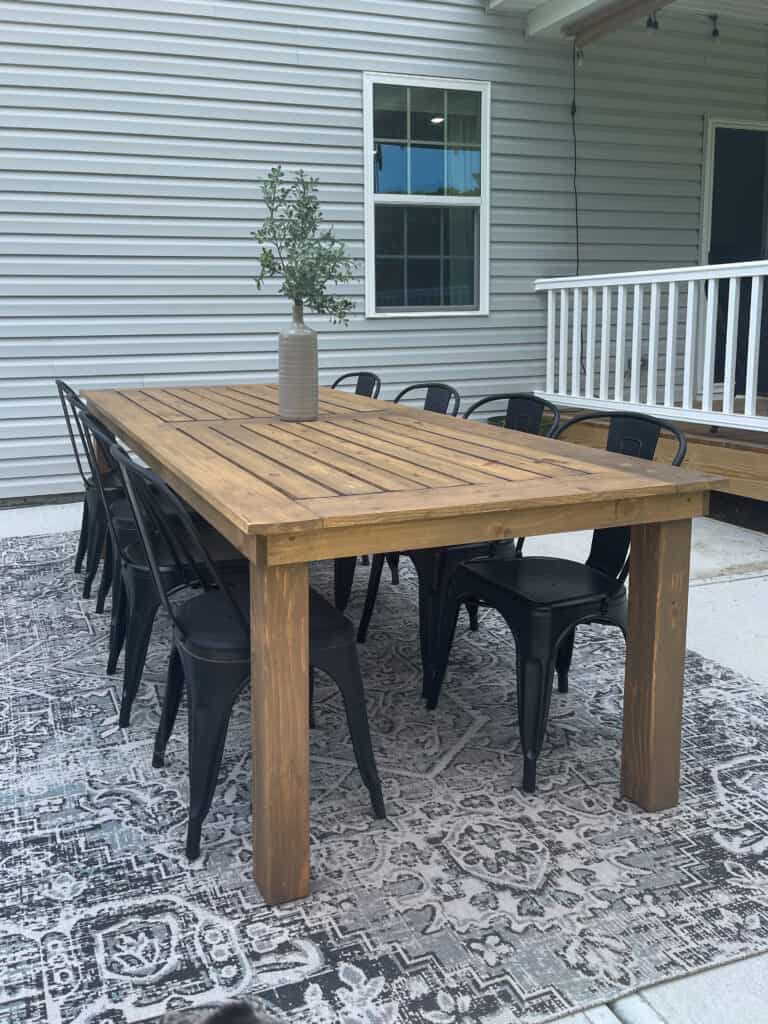
Learn to build this beginner DIY 8 foot outdoor table with these step-by-step instructions. You can enjoy those summer nights outside with your family and friends all season long!
This outdoor table has been on my to-do list for a long long time! I have always wanted an outdoor eating space but never had the perfect backyard to have a large table for eating. We made sure this time around that our new home would be able to house a large outdoor dining table and today is the day we get to building.
This post is sponsored by Dutch Boy. All opinions are my own and this is my honest review. To read more information see my disclosure HERE.
How much does it cost to build a 8 Foot table?
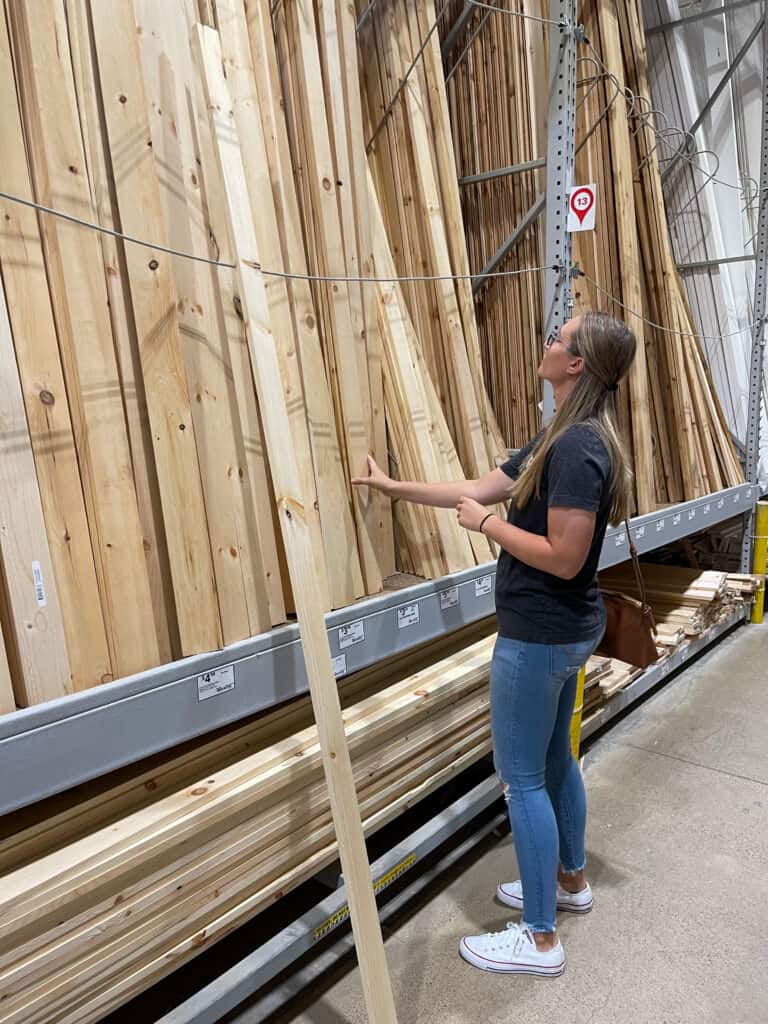
As you know lumber prices have been way up in the last couple years and DIYing can get expensive if you aren’t intentional with what you buy. Which is why I chose to go with common board or whitewood boards as some hardware stores label it. The total cost of the lumber for the DIY 8 foot outdoor table was less than $120!
[AFFILIATE LINKS ARE PROVIDED BELOW FOR CONVENIENCE. FOR MORE INFORMATION SEE MY DISCLOSURE HERE.]
Materials & Tools List
- (2) 4x4x8- used for legs
- (3) 1x6x8- used table frame
- (4) 1x3x8- used for table apron & and underneath support braces
- (8) 1x4x8- used for table slat boards
- Stainless Steel Patio Furniture Leveling Feet
- 1 1/4 in Kreg Screws Weather Resistant
- 3 in exterior screws
- Waterproof Wood Glue
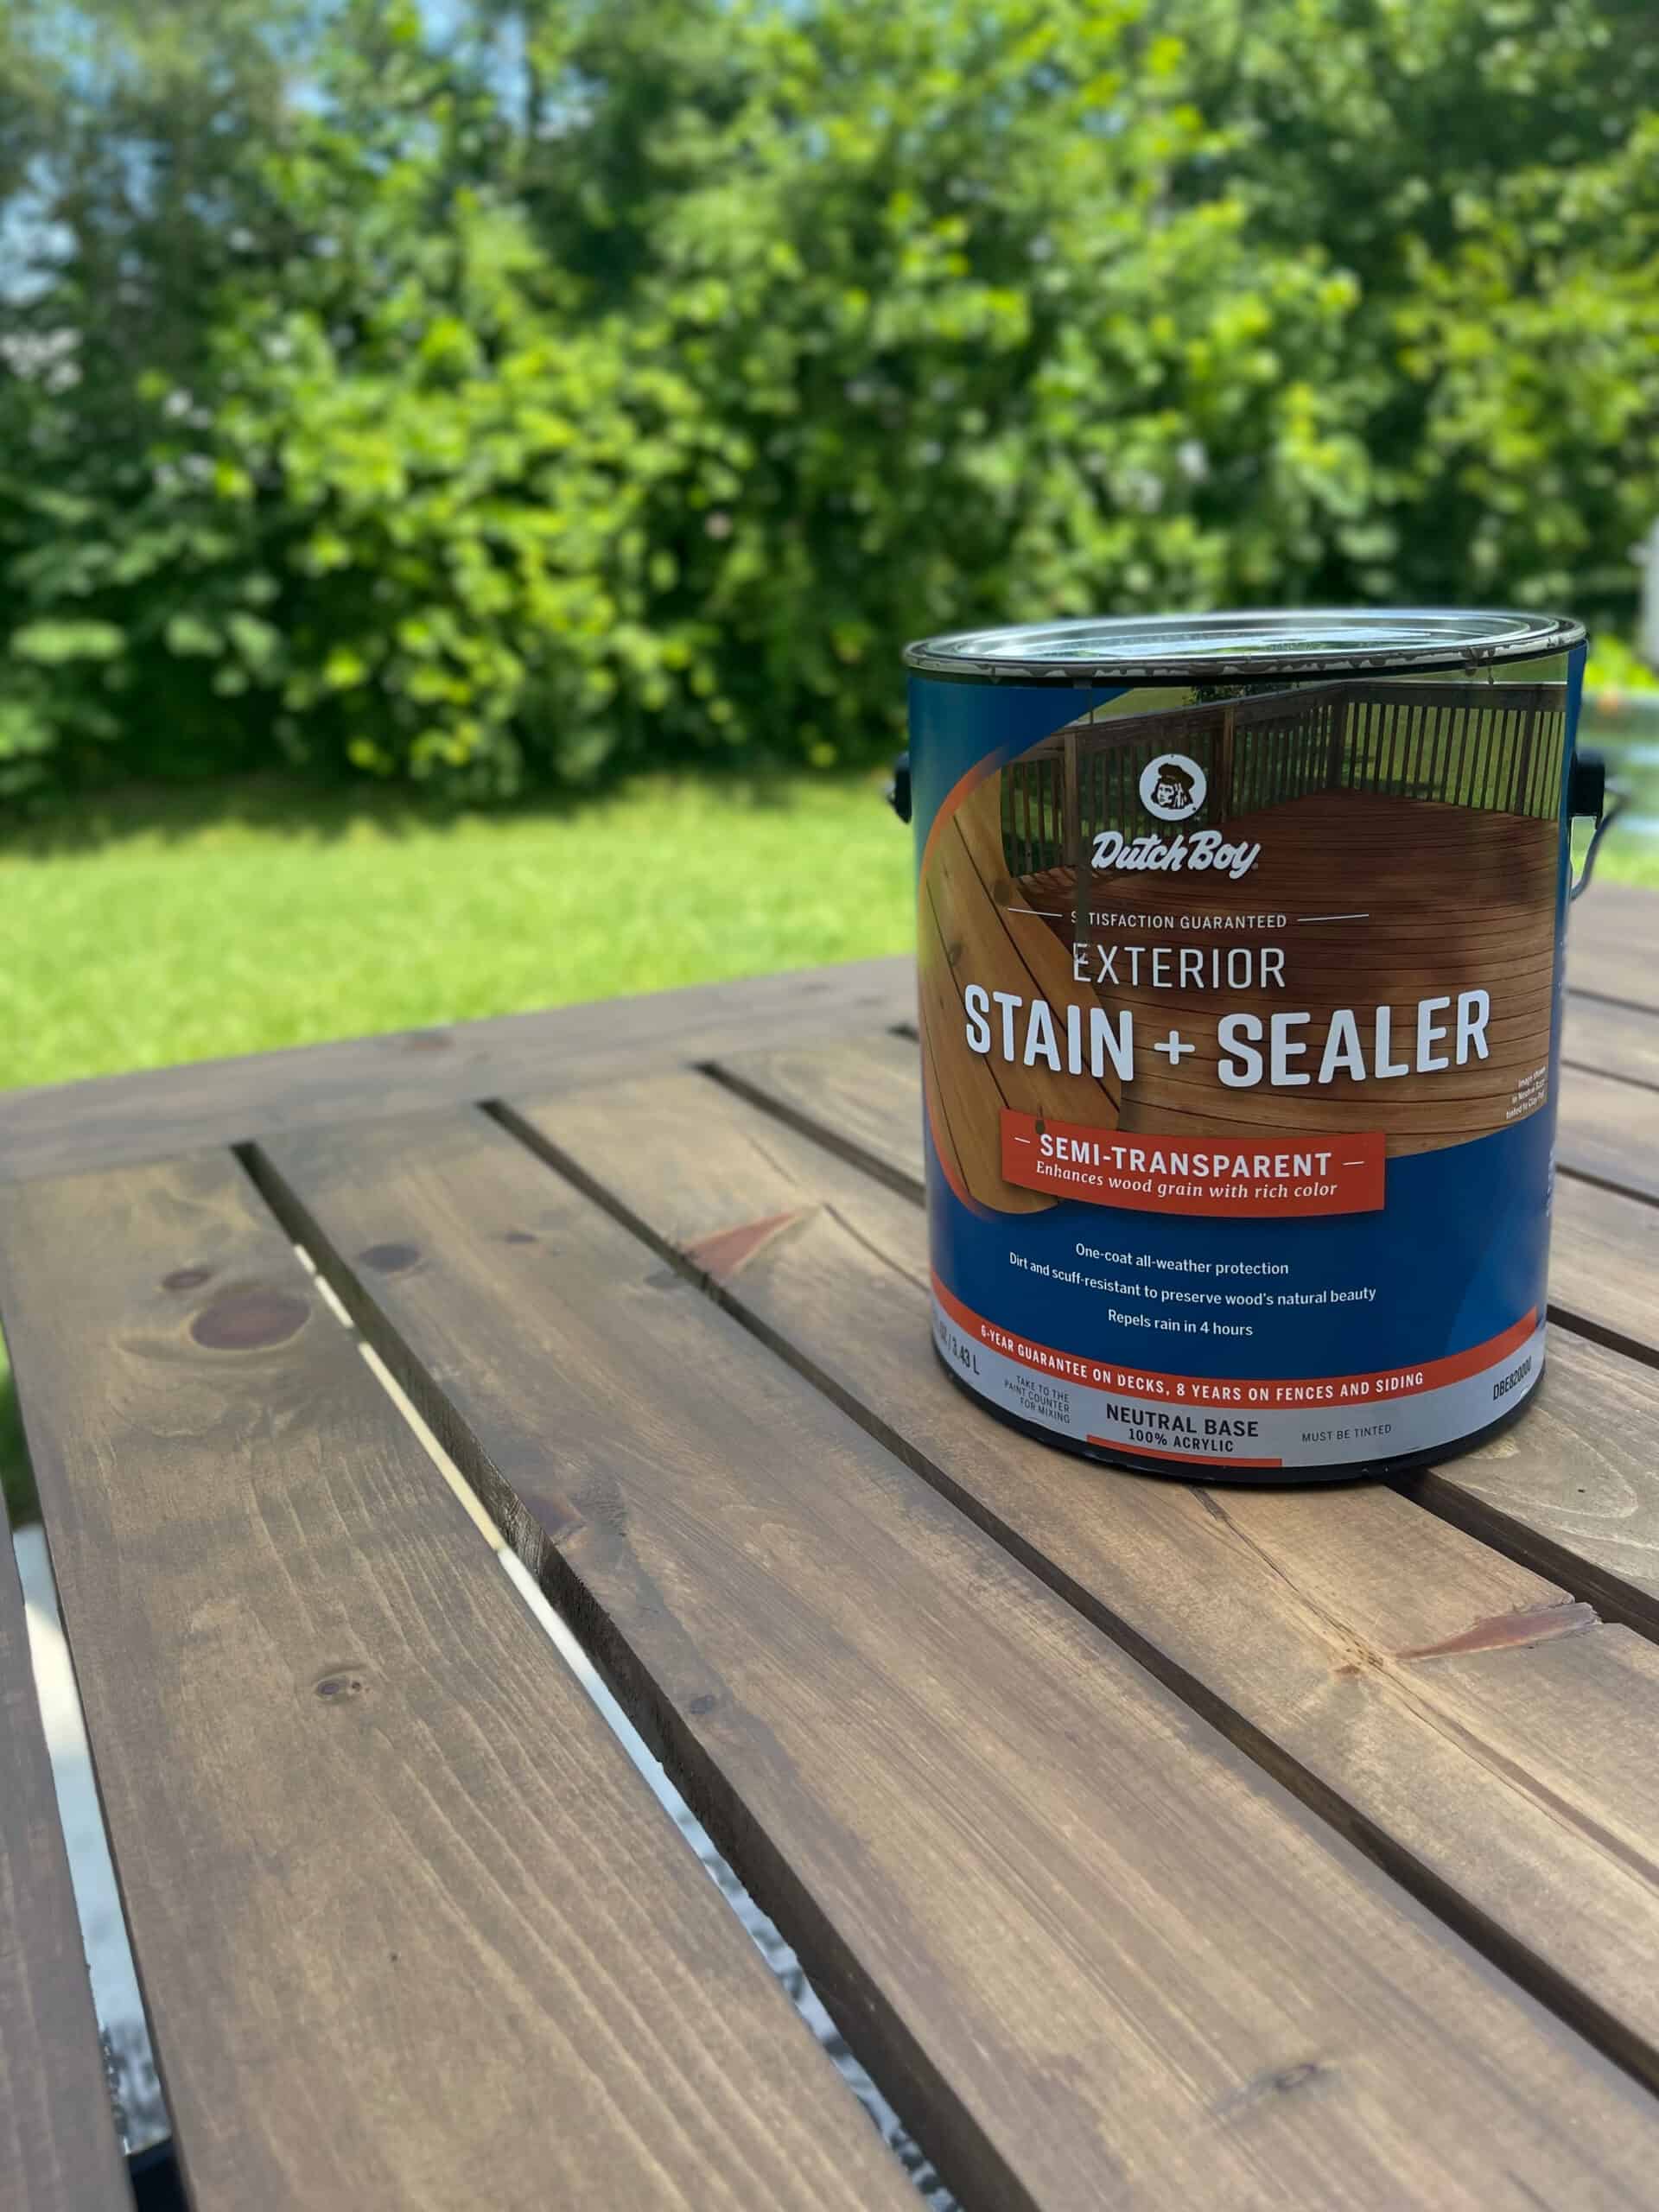
- Dutch Boy Exterior Stain + Sealer (I used Semi-Transparent in the color Timber 956-1DB)
- Scrap Piece of wood to space out your slat boards
- Kreg Jig
- Miter Saw
- Tape Measuring
- Drill
- Hammer
- Speed Square
- Palm Sander (optional but recommended for a smoother finish)
- Clamps (optional but very helpful)
DISCLAIMER- Make sure when buying wood for your outdoor table you do not purchase pressure treated lumber! You want to buy UNTREATED wood. The EPA determined that humans and animals can easily absorb CCA and that it can cause several different types of cancers. You do not want that on a surface you will be eating on!
DIY Outdoor Dining Table Dimensions
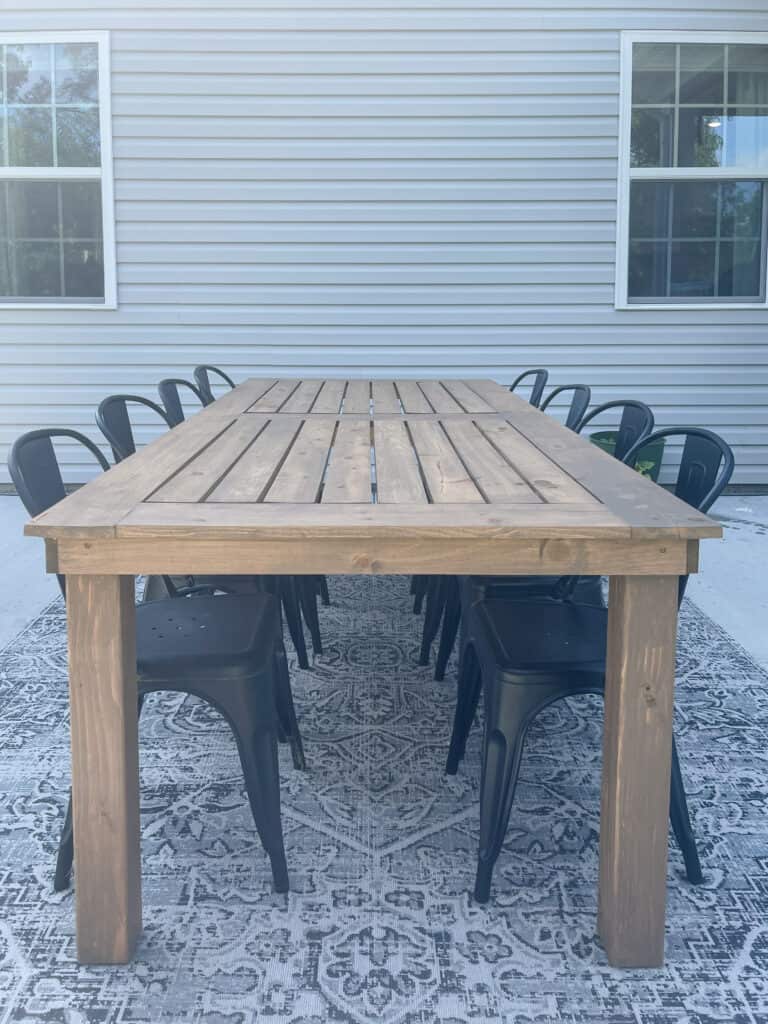
If you are wanting to build the exact table I have created the dimensions are 96 inches long X 42.5 inches wide X 30 inches tall. I wanted a large table that could sit 10 people. At this moment we bought 8 of these chairs and in the future I’ll buy two more for the ends or find something unique for those two spots.
DIY Outdoor Table Woodworking Plans
To make the building process even easier, I make made sure to create these printable DIY outdoor table woodworking plans. The plans include a cut list and step by step instructions with easy to follow diagrams!
Download The Outdoor Table Woodworking Plans Today!
How To Build a DIY Outdoor Table
This DIY beginner outdoor table is a quick build. You can build it by yourself or it will go quicker with another set of hands. It took me a weekend to get done due to kids and available time. But, I think if I had uninterrupted time I could have done it easily in one afternoon.
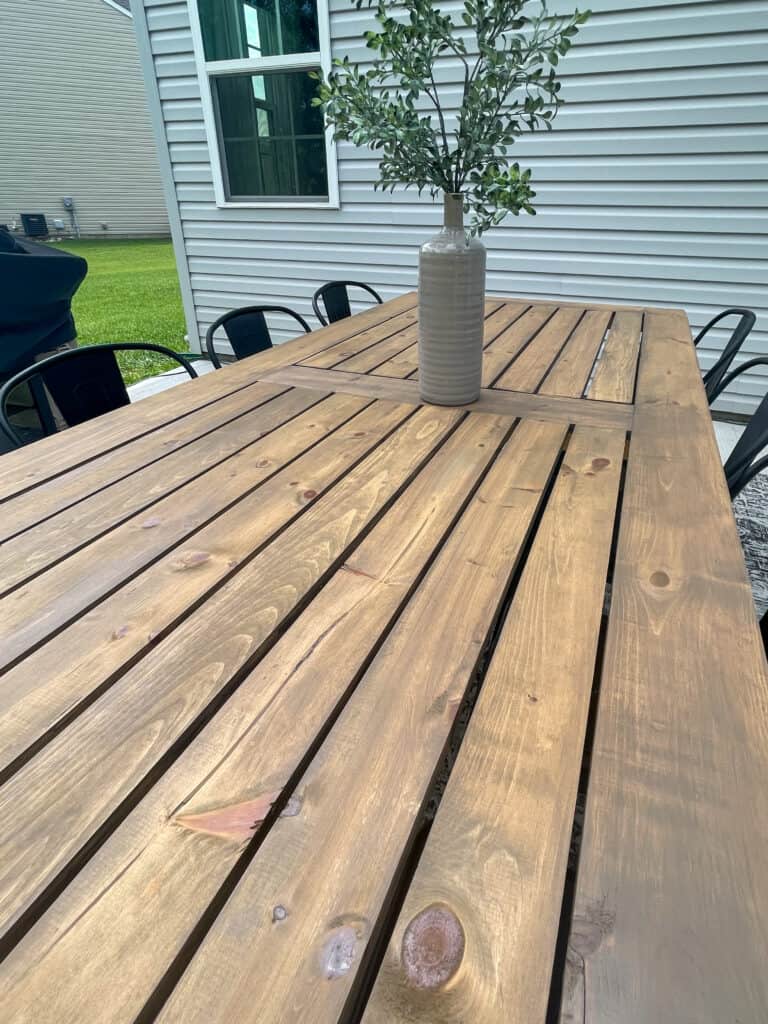
The staining portain of this project took me 2 hours. It could have went a lot faster if I had stained all my pieces before assembly due to the spacing in between the boards on the top of the table.
1. Cutting all your lumber for your outdoor table
Using your miter saw to make your cuts you are going to want to cut everything first.
- (3) 1×6 @ 31.5″ (Table top middle & side frames)
- (2) 1×6 @ 96″ (These actually don’t need to be cut if you bought 8′ boards)
- (4) 4×4 @ 29 1/4″ (Table Legs)
- (16) 1×4 @ 39 3/4″ (Table Top Slat Boards)
- (2) 1×3 @ 94″ (Table Apron)
- (2) 1×3 @ 39″ (Table Apron)
- (1-3) 1×3 @ 39″ (Support Under The Table)

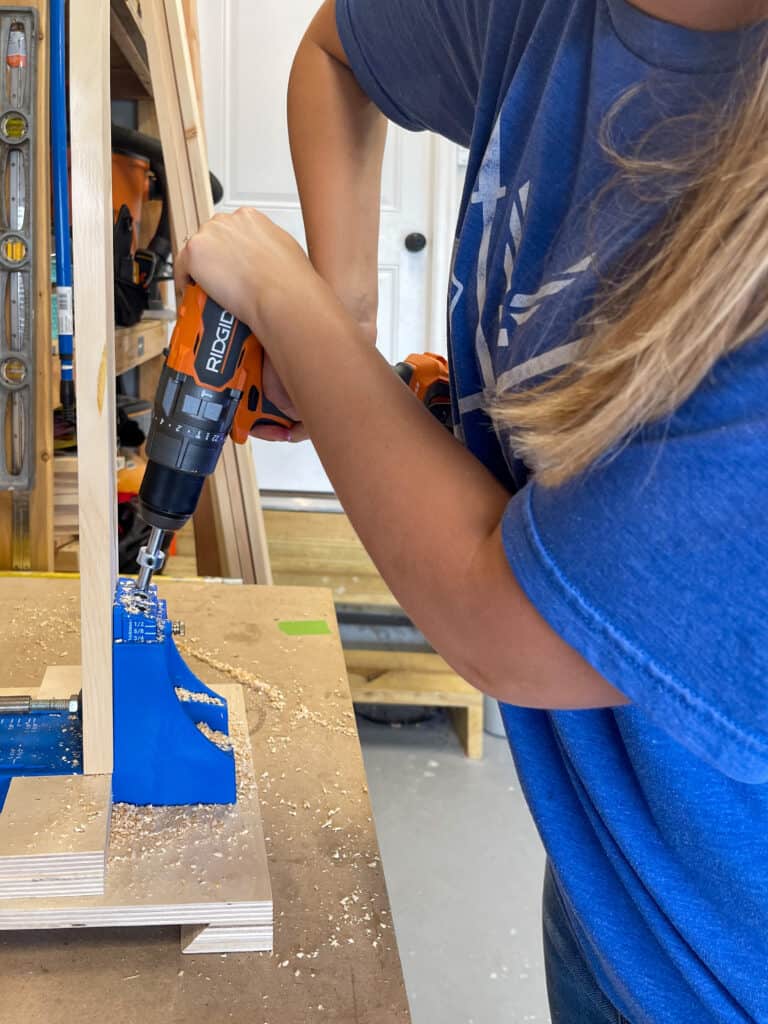
2. Adding all your pocket holes & sanding
Next you are going to drill all your pocket holes using your Kreg Jig. I did two holes per end on each board, making a total of 4 pocket holes per board. For the table apron the longer pieces I just added holes on the side that I attached to the table top. For the shorter sides I also added the two on each end to screw into the longer table apron boards.
The legs we added 1 pocket hole to 2 sides of the post. Make sure the sides are next to each other like the picture shows on step 4!
Sanding is optional but since I went with the common whiteboard I wanted to do a quick sanding to all the boards to prevent us from getting splinters.
- (3) 1×6 @ 31.5″ (Table top middle & side frames)
- (16) 1×4 @ 39 3/4″ (Table Top Slat Boards)
- (2) 1×3 @ 94″ (Table Apron)
- (2) 1×3 @ 39″ (Table Apron)
- (1-3) 1×3 @ 39″ (Support Under The Table)
- (4) 4×4 @ 29 1/4″ (Table Legs)
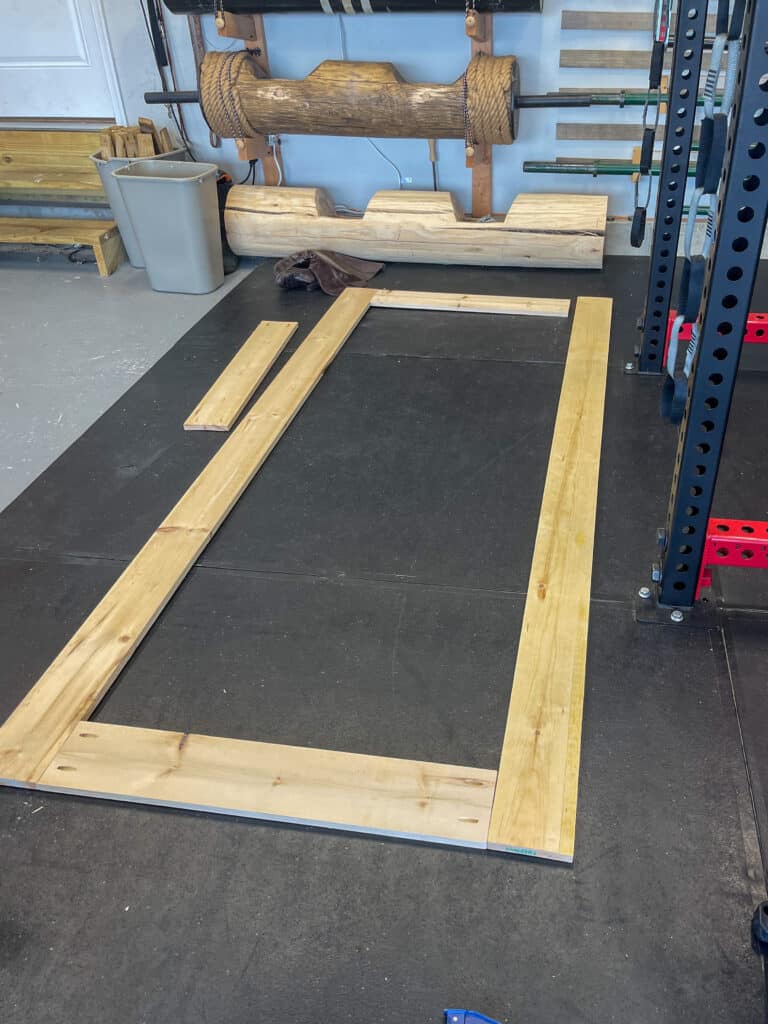
3. Assembling your outdoor table top
Assembling your table is super satisfying and surprisingly quick. First, you will want to lay out all your table top pieces. The two longer pieces that are 96″ and your 3 center pieces at 31.5″. If you have clamps they will come handy by holding your pieces flush so you can drill the screws in. I just laid the boards flat on our garage gym floor but I highly recommend if you have a large enough workbench or flat surface to use that.
Once the outer boards are all screwed together you will add in all the slat boards. I don’t have a easy way to do this other than trial and error. I kept cutting scrap boards until I found a piece that would work for getting an even spacing between the boards. Once I found a piece I would mock up the slat boards to make sure they all fit. Then one at a time screw them in making sure I was using that scrap wood to keep the spaces even.
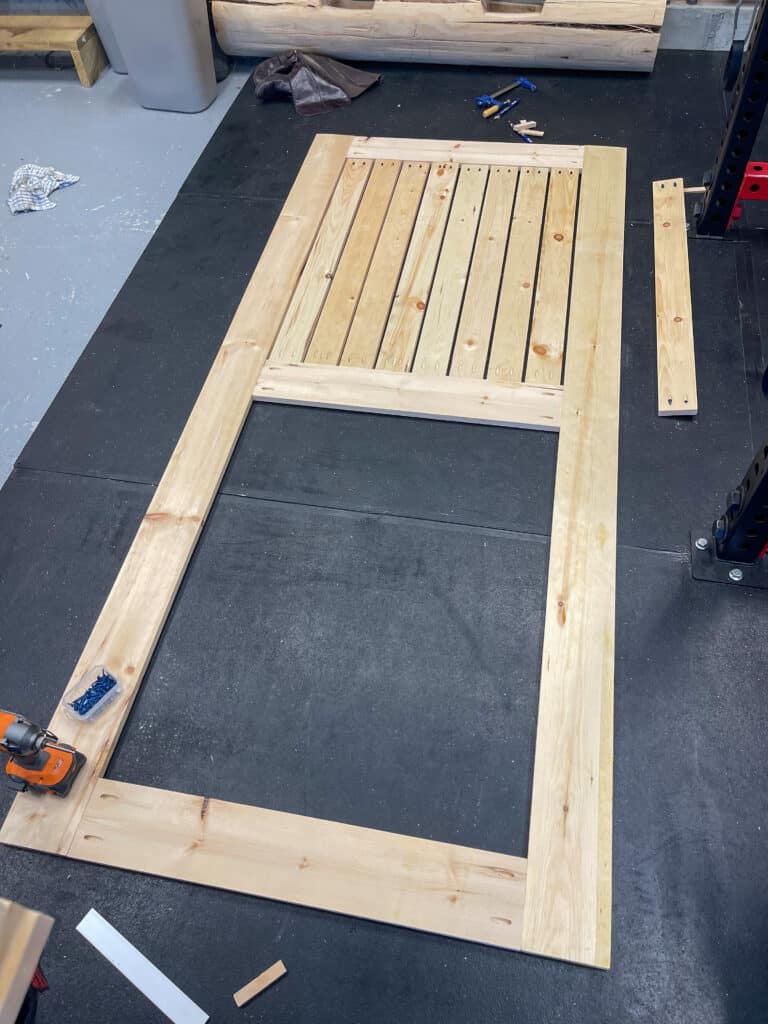
Once you have the table top all together you add the table apron. For our table I liked the look of the apron being set in by 1″. Take your apron boards apply exterior wood glue and attach the longer pieces first then the end boards. For the support pieces we decided to only do one in the center but if your table feels like it needs more you can add 3.
Download The Outdoor Table Woodworking Plans Today!
4. Adding legs to the table top
When building our table I didn’t like the look of the apron attaching to the legs and being able to see the top of the 4×4. So I designed the leg to be attached on the inside of the apron! To attach the legs you want the pocket holes to face inward and attach to the table top. On the outer sides you will take your 3 inch exterior screw and drill right into your apron on both sides.
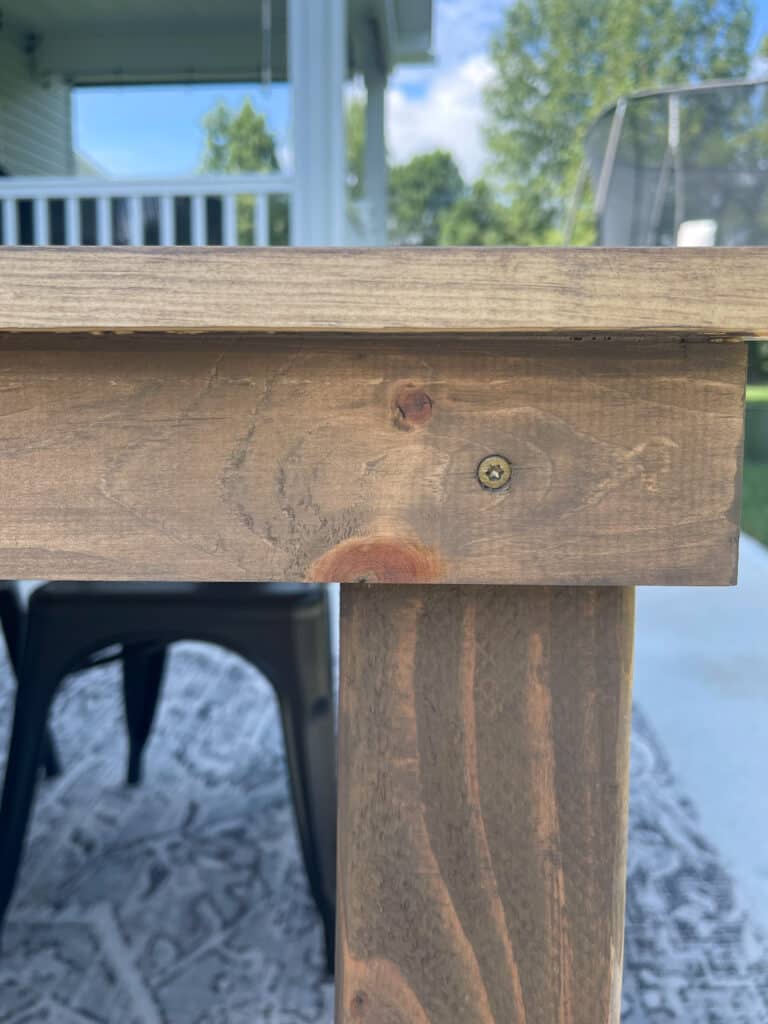
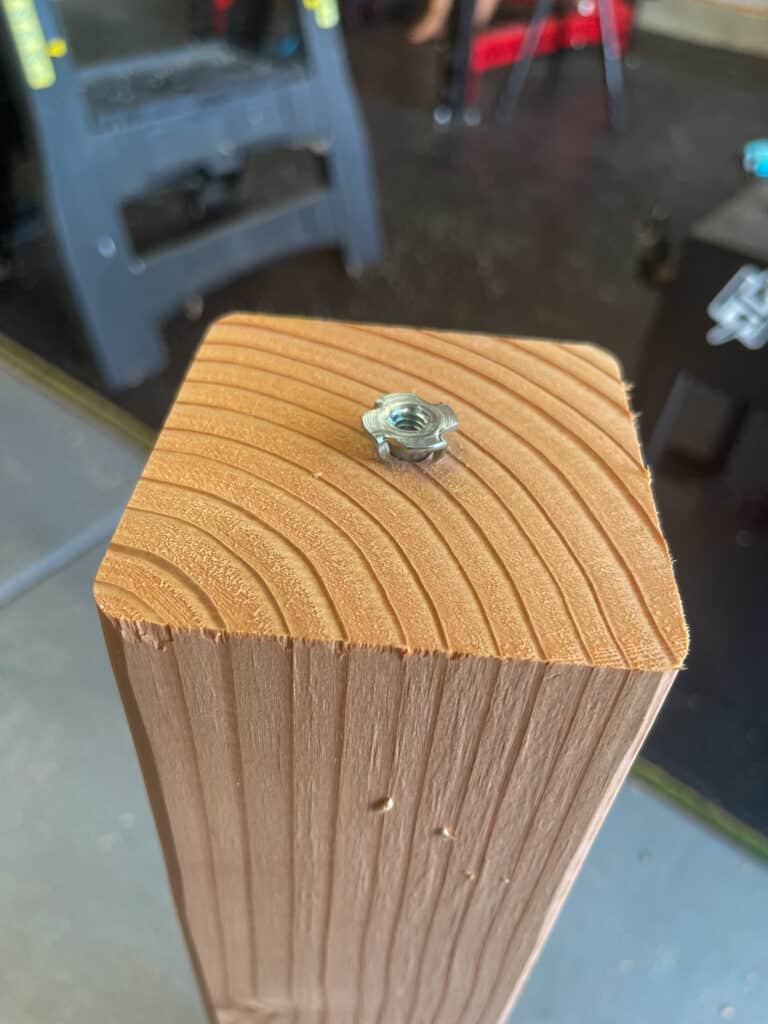
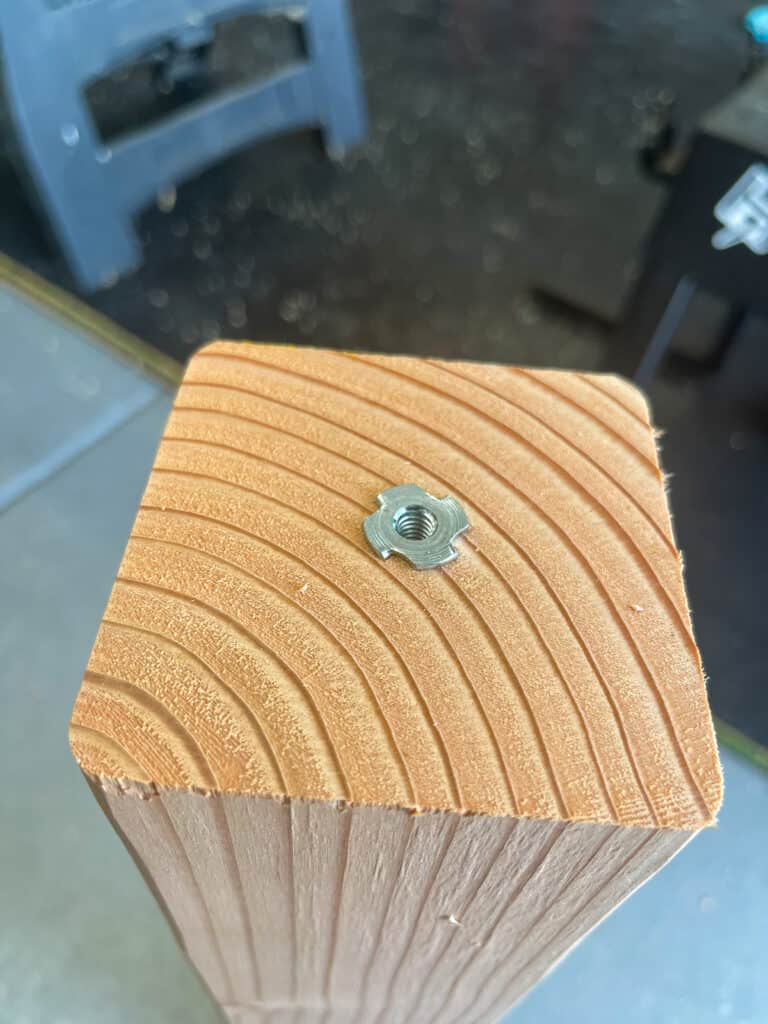
This reassures that the legs are stable and won’t move. Don’t worry about seeing the screws. We bought screws that were brown so they blended in with the stain. To add the stainless steel leveling feet you will find the center of your leg and pre-drill a hole (I would follow the directions that come with your leveling feet. It should tell you the size of the hole you need.) Once your hole is drilled just hammer the piece in and screw the feet in!
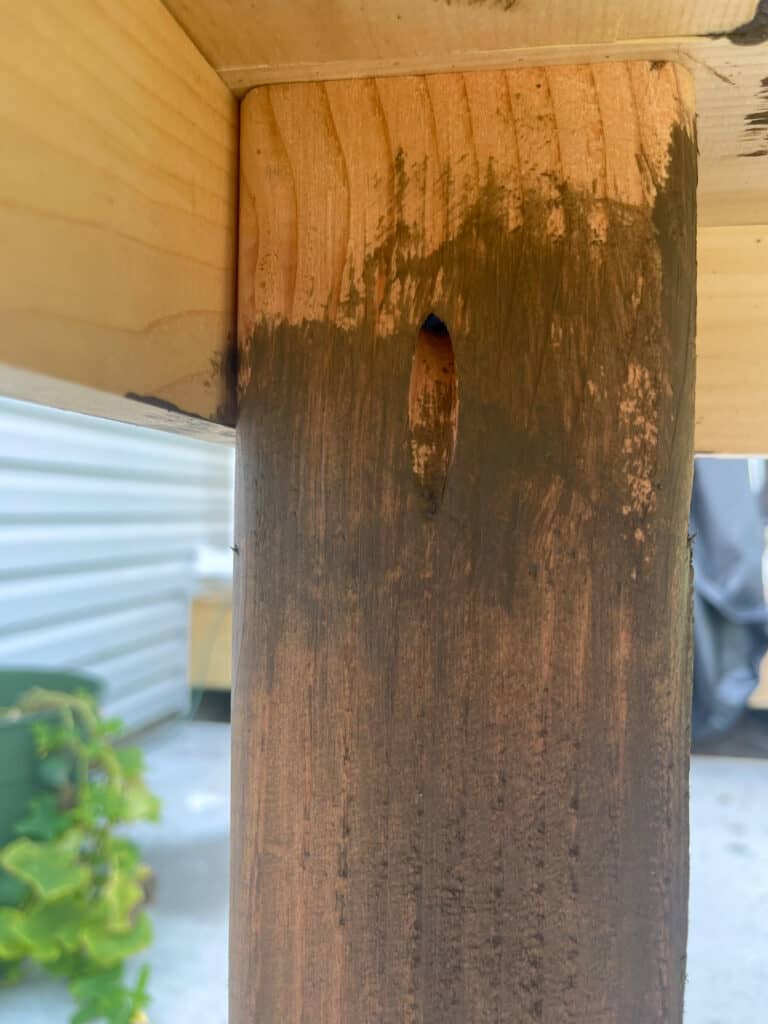
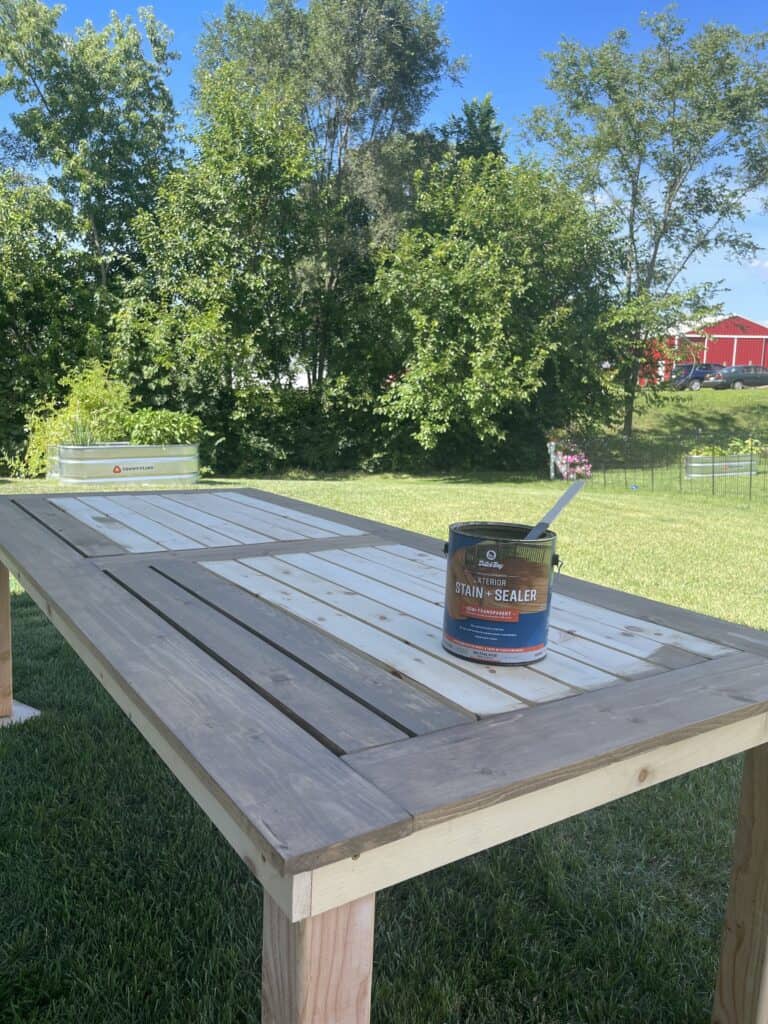
5. Staining your DIY outdoor table
Now for the fun part and where you will see your table transform the most! I want to thank Dutch Boy for sponsoring this portion of the article. When Dutch Boy approach me to try out their brand new Stain + Sealer I was so excited! I had already planned out this project and was actively searching for a all in one exterior stain + sealer.
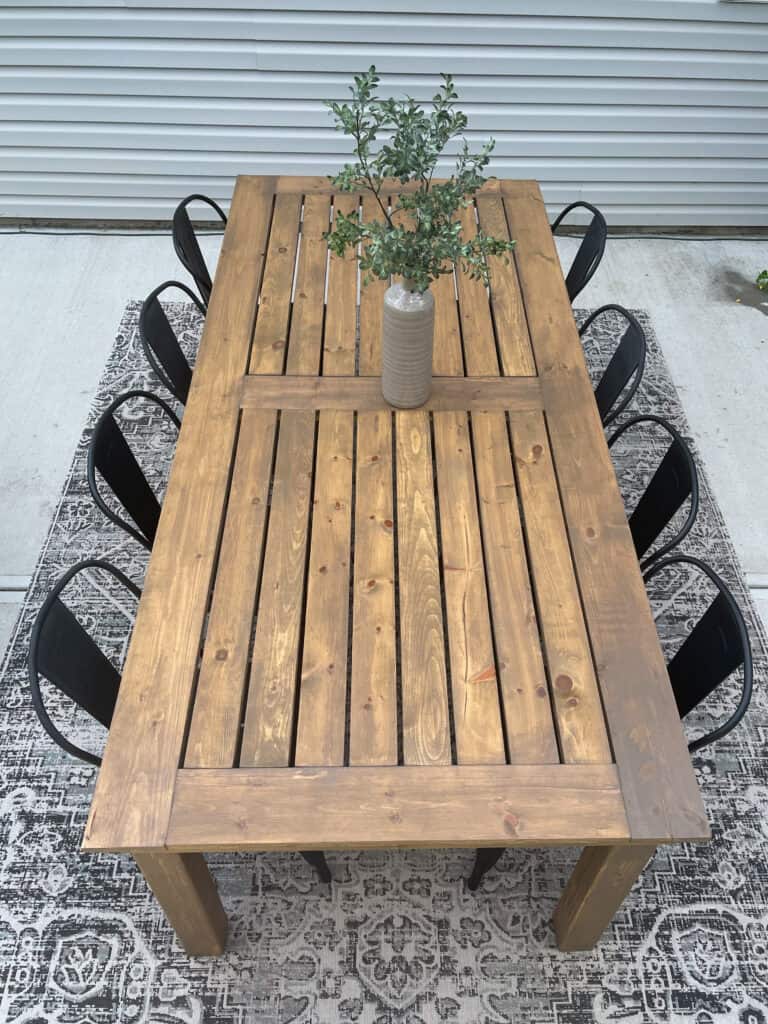
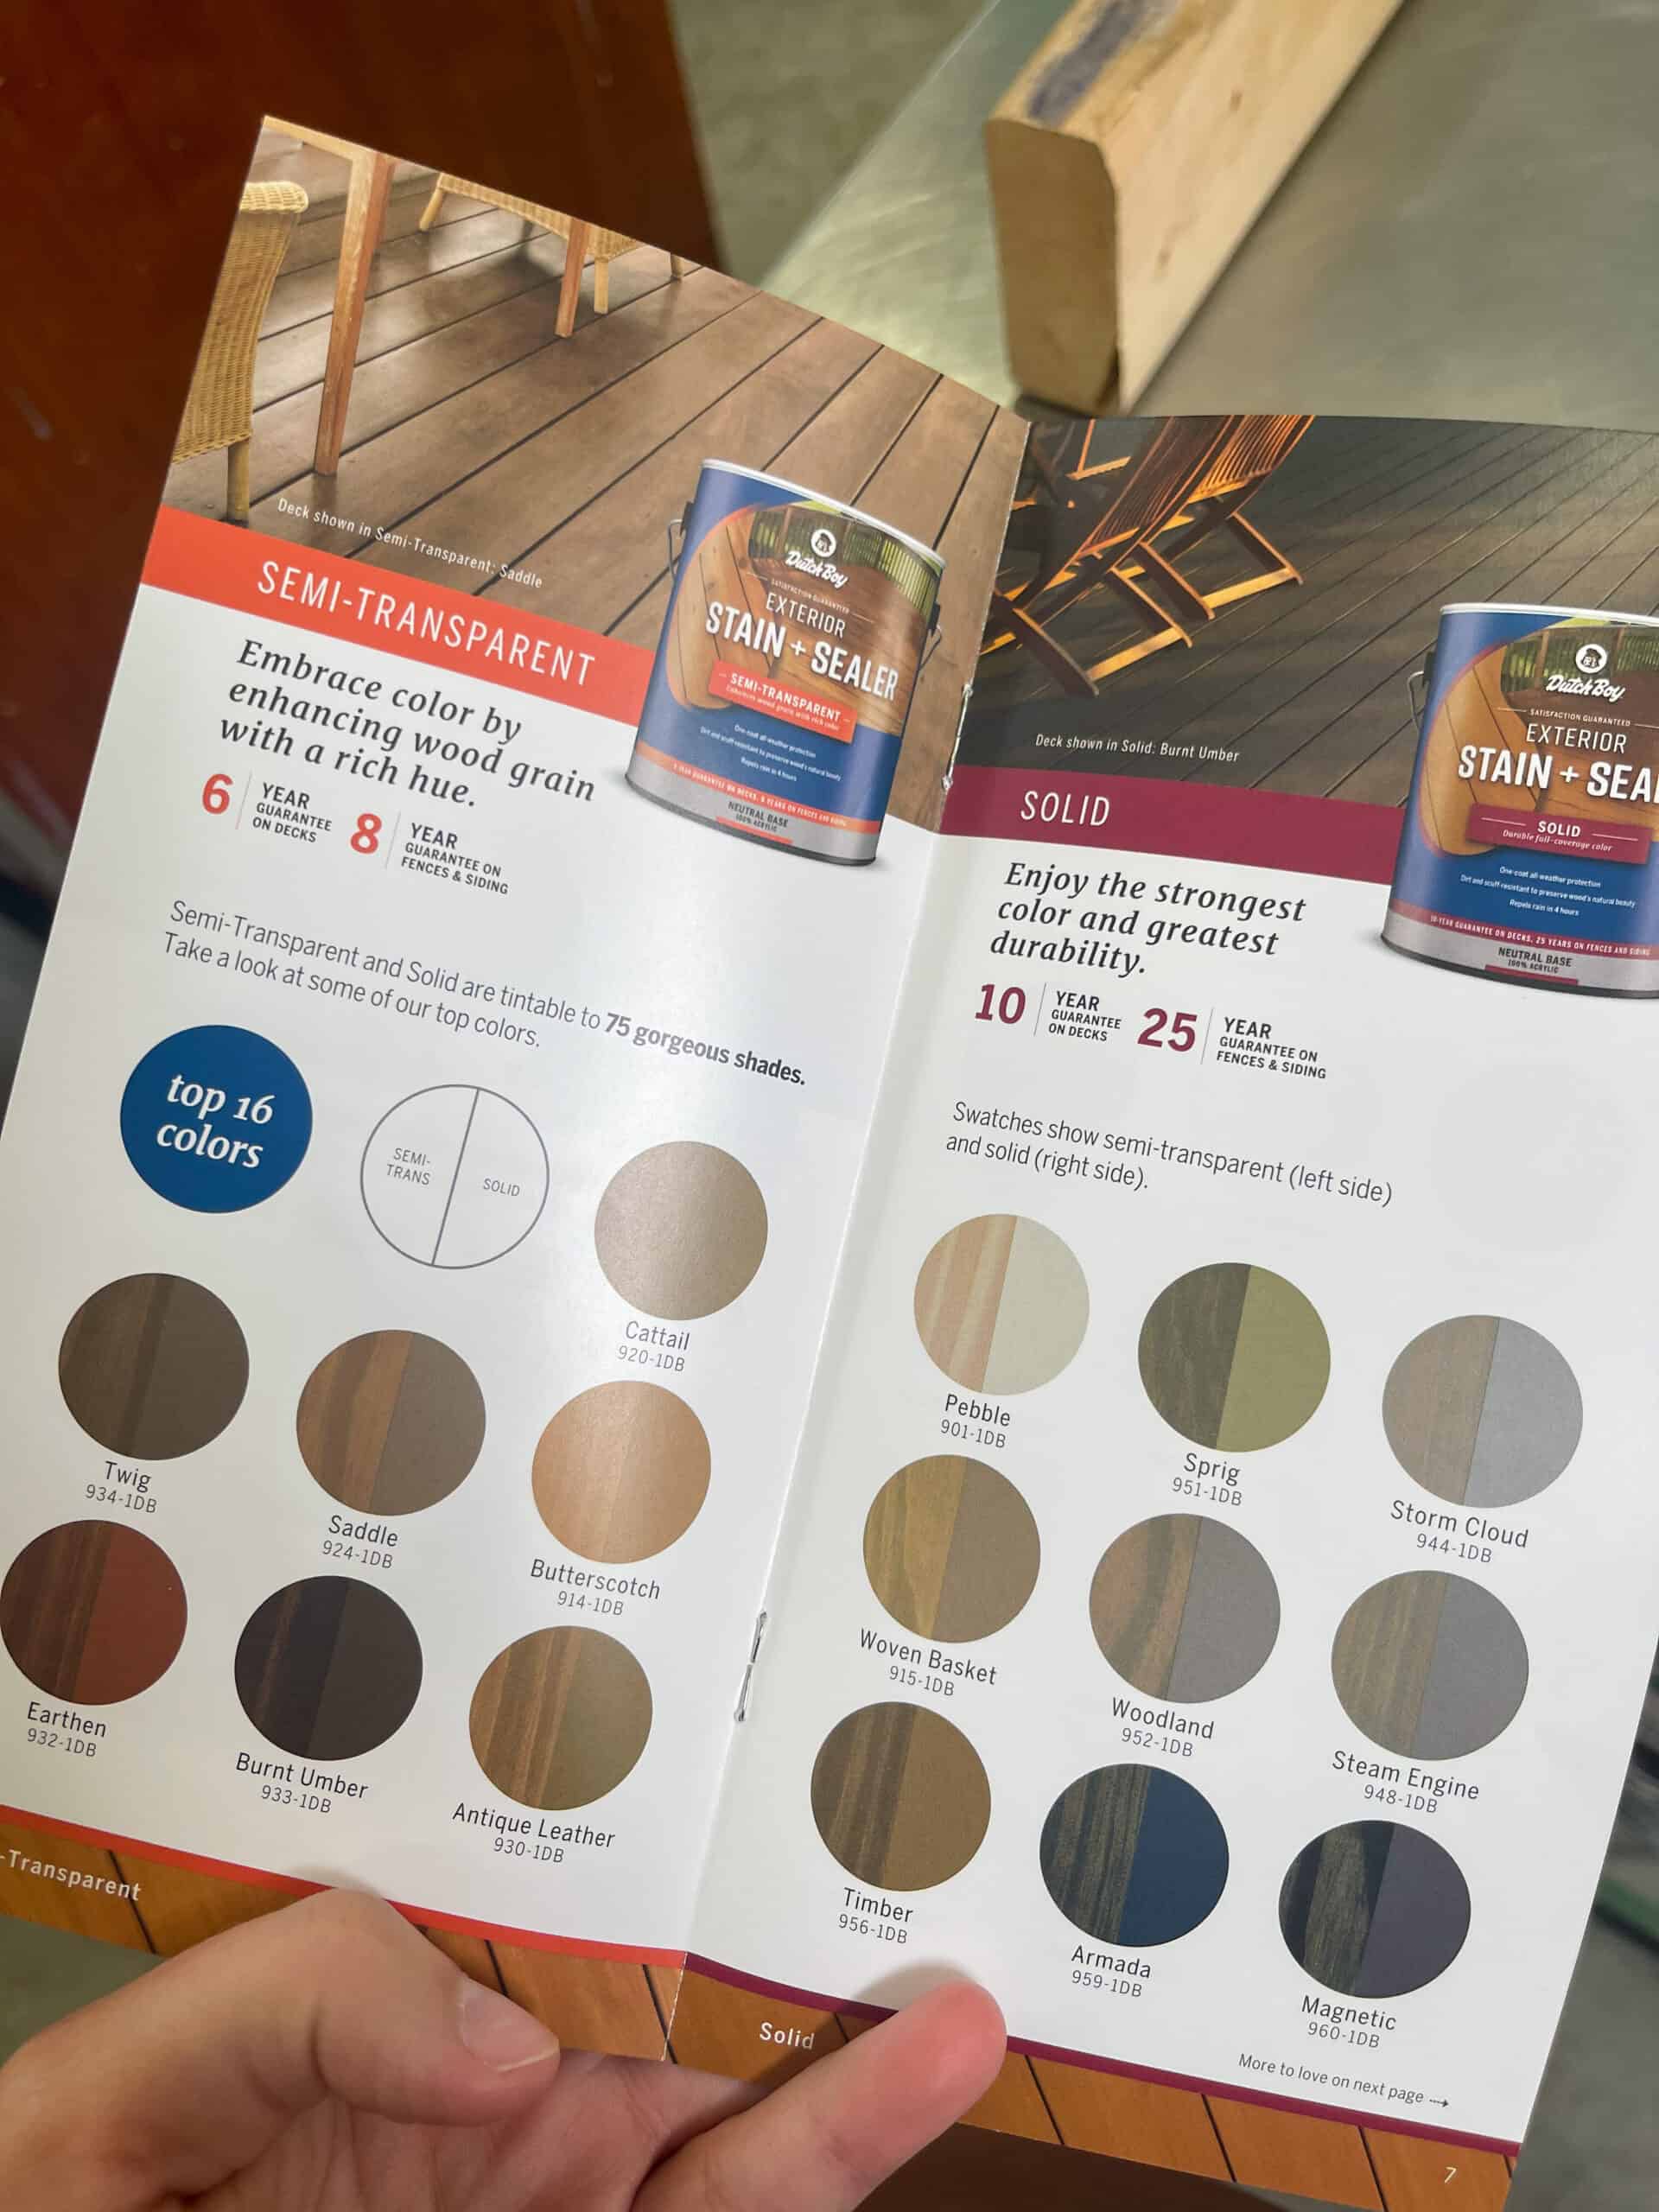
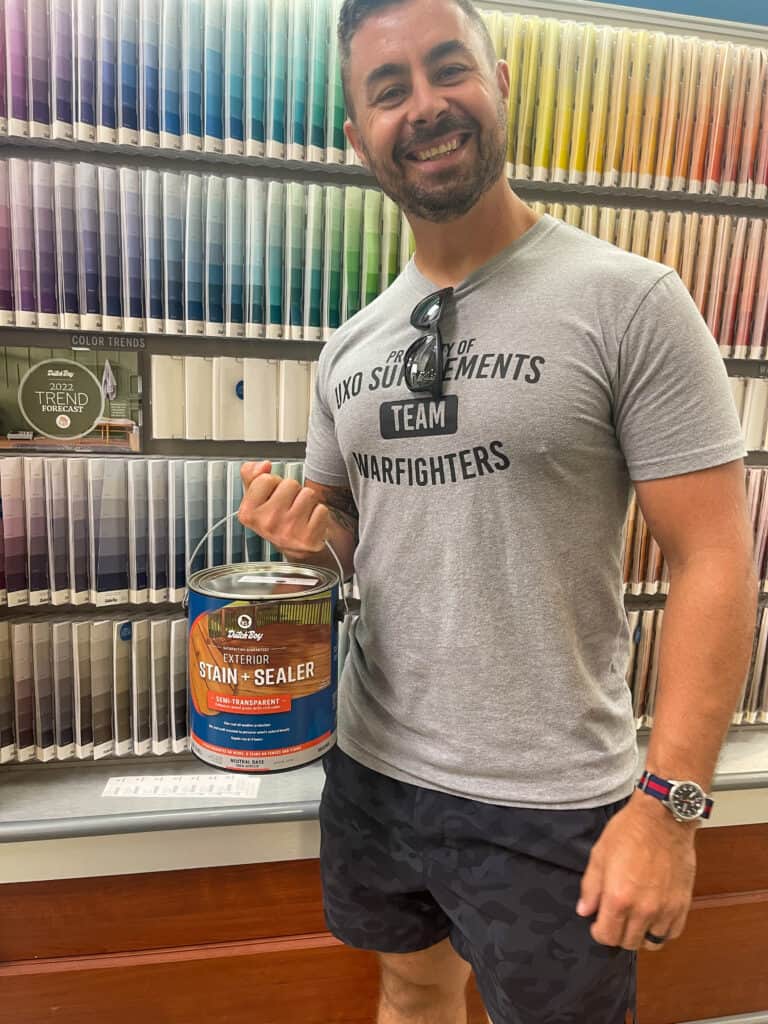
The Dutch Boy Exterior Stain + Sealer comes in 4 different opacities; clear, semi-transparent, transparent and solid. Unlike most stains the semi-transparent and solid stain has 75 gorgeous colors to choose from. For the table project I chose to go with the Semi-transparent stain + sealer in the shade Timber 956-1DB. Picking out my stain was so easy, Dutch Boy Exterior Stain + Sealer is located at your local Menards store. Pick your opacity and take the can up to their paint specialist to mix your color of choice!
I was so happy with the way the semi-transparent exterior stain + sealer looked on our table. The stain + sealer repels rain in 4 hours which was great since that first night we left it outside it unexpectedly rained. Not only is it rain ready in 4 hours the application was super easy with it’s one coat recommendation. The coverage was seriously spot on and who wants to take the time to recoat anyway!
I highly suggest this stain because not only is it a beautiful finish it’s mold and mildew resistant, blocks UV rays and has all-weather protection with it’s water-based 100% acrylic formula.
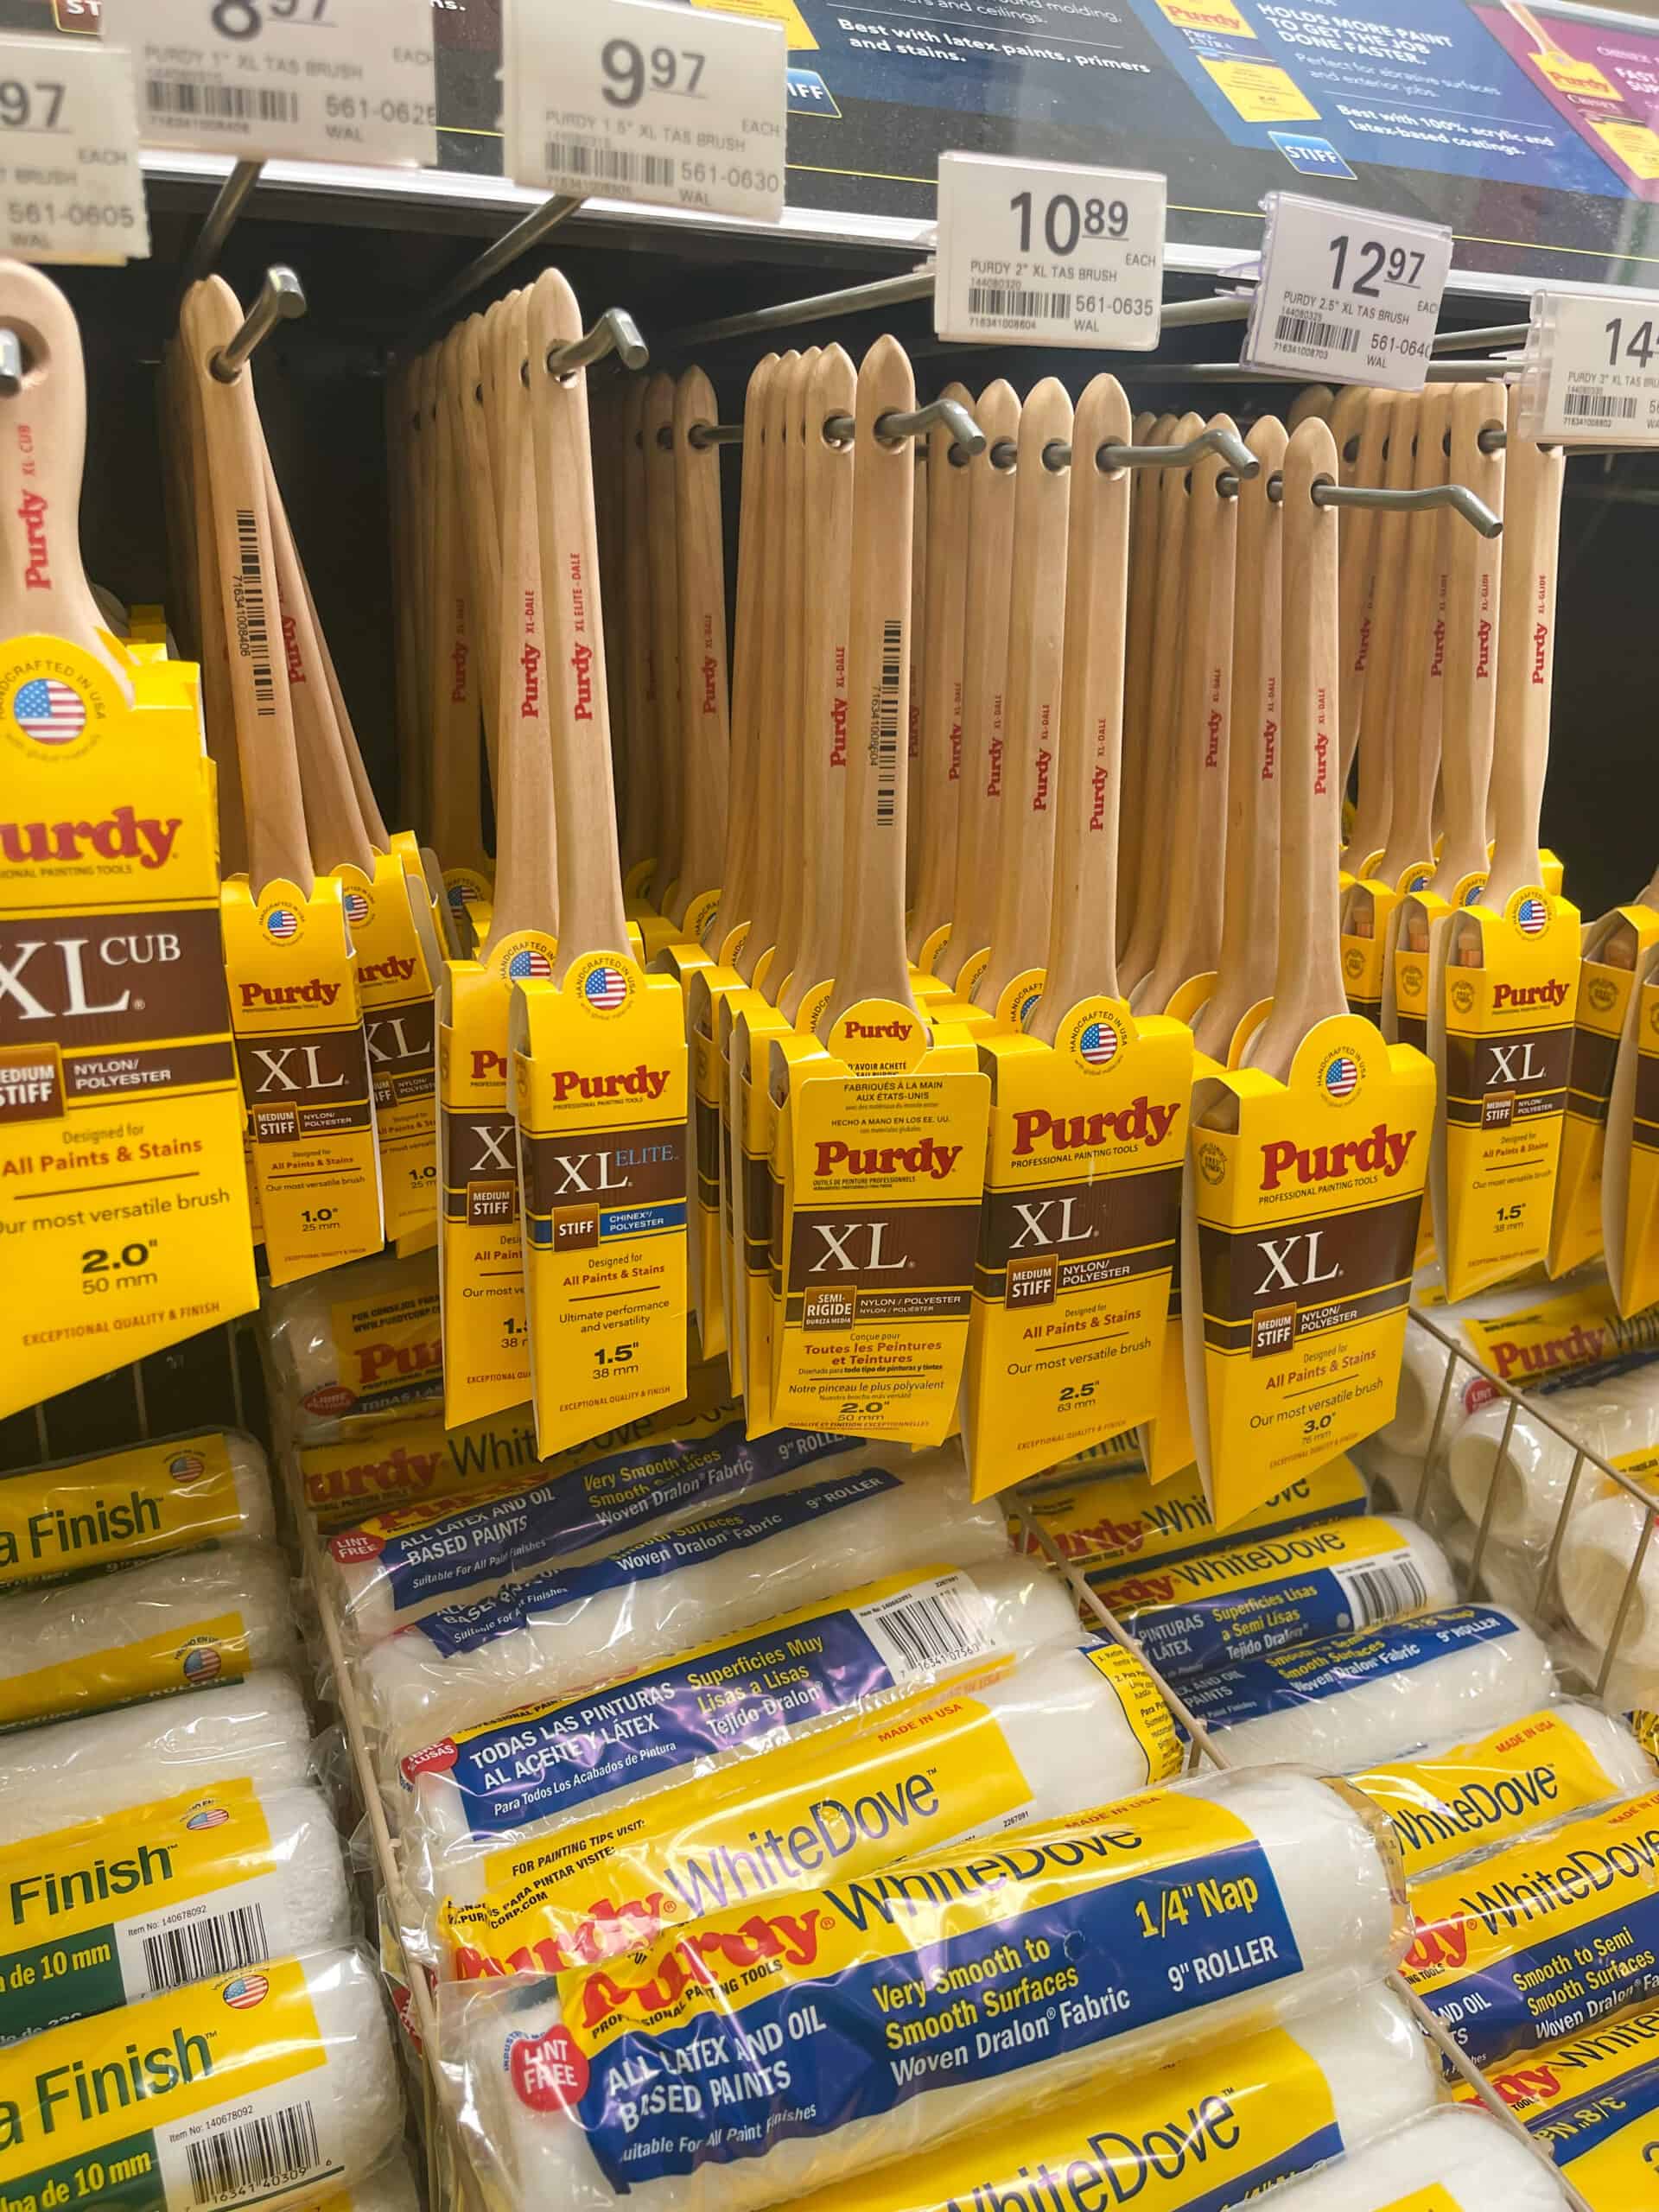
For best results I used premium Purdy brushes to apply the stain to the table. Brushing on and wiping with a clean rag was my preferred method. Technically you don’t need to wipe the stain after applying but it’s just what I have always done. I purchased this pack of 3 brushes incase I needed a smaller brush to get in the cracks. I picked mine up at Menards but they are also sold online.

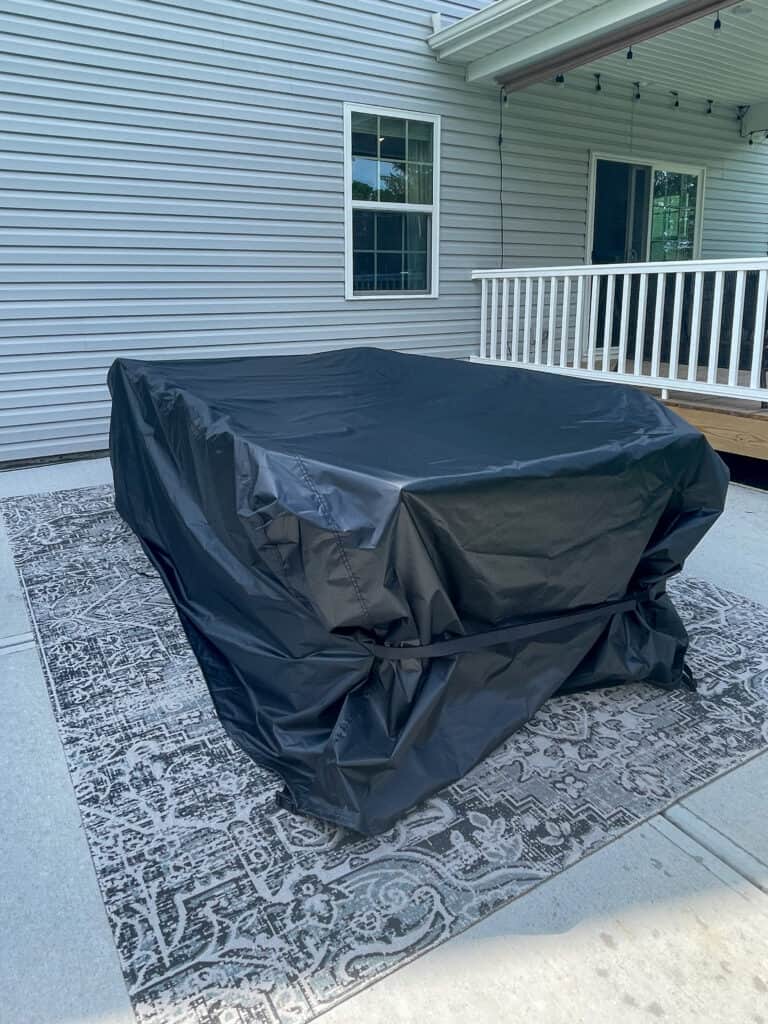
Protecting Your Outdoor Table From the Elements
Dutch Boy Exterior Stain + Sealer will most definitely hold up to the elements but for storing purposes we decided to buy a outdoor cover for the winter months. We will keep our table outside all year round. This cover is amazing because not only does it cover the table it is big enough to cover all the chairs along with it too.
I can’t wait to host outside at our new table this summer and fall. We have already had one dinner party and it was so nice to have space for everyone. Make sure to check out Dutch Boy Exterior Stain + Sealer for your outdoor staining needs & anything I used for this project you can find here.
[Safety is of great importance when working on DIY projects. Always follow proper safety guidelines, wear appropriate personal protective equipment, and adhere to local building codes and regulations. READ MY FULL DISCLAIMER HERE.]