
New to painting and have no clue where to begin? Not sure which paint brush to use or if paint pads are better than rollers? Don’t worry I got you! In this article I have compiled my tried and true paint tools for painting a room.
If you’re new to painting it can be very overwhelming. When walking into Lowes, Home Depot, and even Ace Hardware it can be paralyzing when all you see are 20 different brushes and rollers, all different prices but claiming to all do the same thing. Most of the time if a paint tool claims to be to good to be true then most likely it’s a waste of money. I use to be someone who bought the cheapest brushes but after going through almost every brand I am confident in my choices!
Disclaimer- No matter what tools you have painting requires you to prep your work and requires a careful hand. I am a firm believe if you do all the steps and DON’T skip the prep work anyone can paint a room!
[AFFILIATE LINKS ARE PROVIDED BELOW FOR CONVENIENCE. FOR MORE INFORMATION SEE MY DISCLOSURE HERE.]
What tools do I need to paint a room?
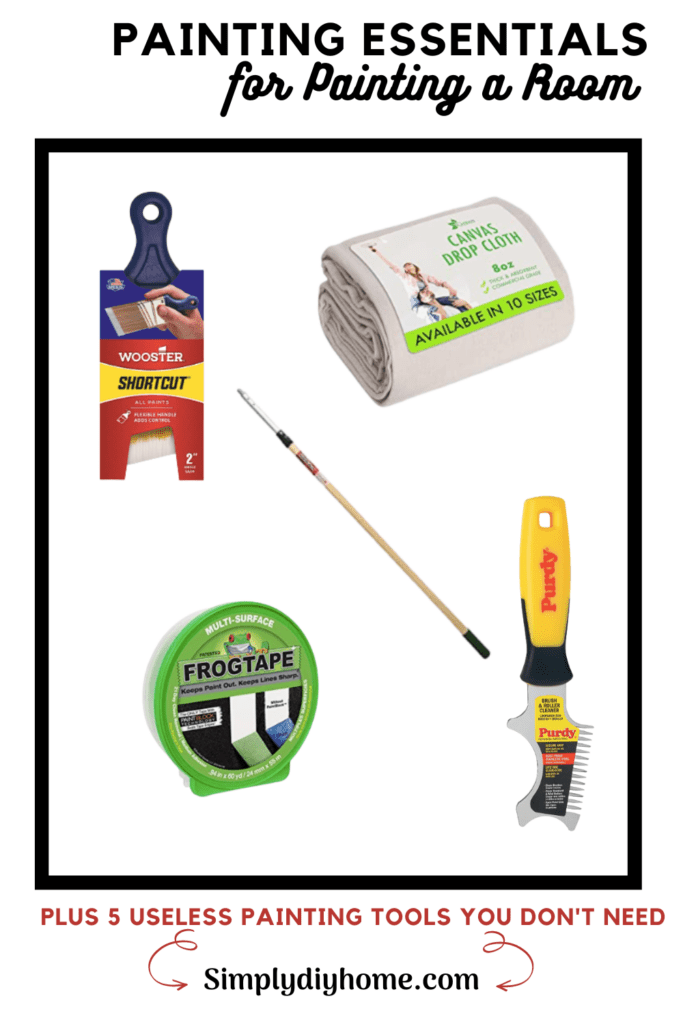
- Handy Paint Cup– I use this every single time I’m painting with a brush. Less trips up & down the ladder. WORK SMARTER, NOT HARDER!
- Paint Tray & Paint Tray Liners– Any paint tray and liner will do. I highly recommend you don’t skip the liners they are inexpensive and make clean up so much faster.
- Wooster Shortcut Brush– This is one of my favorite brushes! They have a brush for every type of project. They are budget friendly, quality made, no shedding, good hand grip and comfortable. Purdy is another great brand for brushes. Honestly, I wouldn’t suggest buying any other brand. I have found that both Wooster and Purdy have the best angled brushes for cutting in.
- Purdy White Dove Roller Covers– These are the rollers I have recently switched too and won’t ever purchase any other brand. Never had a complaint with the Purdy rollers and they do what they are expected to do. They just roll with it! Before switching to Purdy I would buy the valspar rollers and they were good but I noticed their fluff wasn’t as high of quality and I always had fuzz in my paint no matter how hard I tried to remove it before painting.
- Drop Cloth– I don’t always use protection when painting but when I do I just use a drop cloth exactly like this one. (P.S. I have also heard these are amazing farmhouse curtains.)
- Paint Can Opener– This thing is magic. It makes opening and closing your paint cans so much easier. This is a must have in my house. You can also never have to many. A simple flat head screwdriver will also do the same thing if you wanted to skip this. But, from my experience when buying my paint from Ace Hardware they give you a free one with your paint can!
- Paint Brush Cleaner Tool– Also another magic tool that I can’t live without! One side is made to clean your roller and the other side helps clean out your paint brush! This has made my brushes last so much longer and saving me money.
- Step Ladder with Tray– Get yourself a 3 step ladder with a tray for paint cans and tools. Best purchase ever and we use it for everything. We got ours at Lowes but it looks like they don’t sell it anymore. This one from Amazon was the next best thing I could find.
- Paint Extension Pole– This is a great addition to have if you have high ceilings. Even if you have the normal 8 ft ceiling it saves you from going up and down the ladder a bunch of times.
- Painters Tape– I’m a FROGTAPE kinda gal but I have a large annoying amount of Scotch Blue painters tape from my husband buying the jumbo pack. A great tip for your rollers is to take painters tape and wrap it around the roller and pull off to remove any unwanted fuzzies before painting.
- Peel & Stick Samples– I always advise that you try samples of your paint color choice in your own home before buying. These peel and stick real paint samples are inexpensive and come straight to your door.
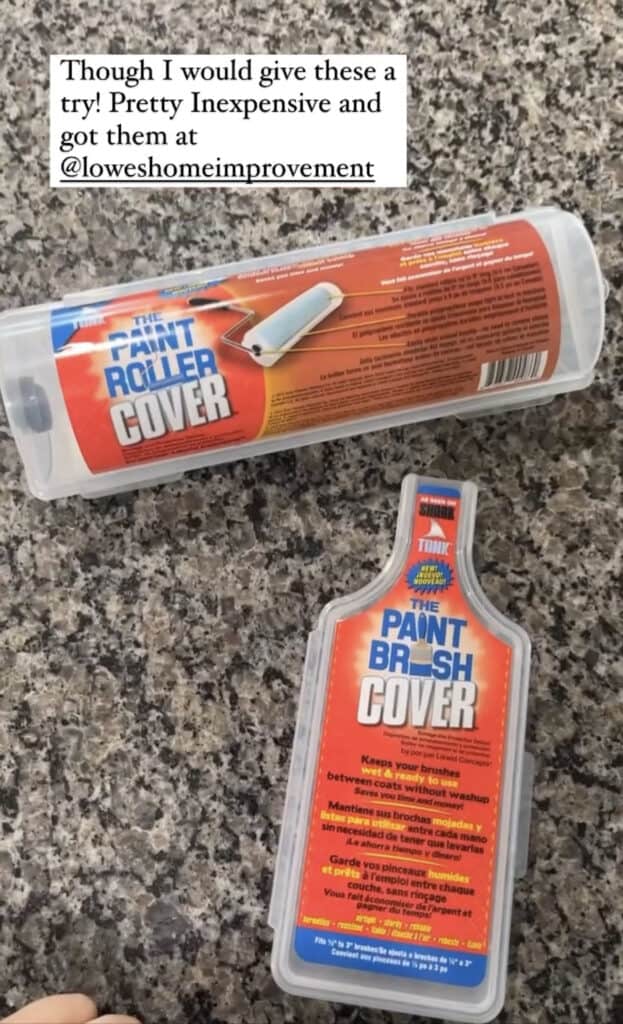
The 2 newest painting tools added to my collection aren’t necessary but I was surprisingly a huge fan. From the TV show Shark Tank Likwid Concepts came out with The Paint Brush Cover and The Paint Roller Cover. I typically use aluminum foil to wrap around my brushes and rollers in between coats. But, I was happy to try out these two new covers and loved them! So easy to clean, and really does keep your roller and brush fresh.
5 useless painting tools
We know that this world is all about advertising. They make everything look like the next best thing and insist you have to have it! I have bought a fair share of painting supplies so believe me when I say I’ve tried it all. Here are 4 useless paint tools that you DON’T need to buy.
- Fillable Paint Stick- Don’t waste your money on a fillable paint stick. The cleaning of the paint stick is so time consuming and using the paint stick can be rather messy.
- Paint Pads- Paint pads of any sort is not worth it. You have to dip it just the right way into your paint for it to work right. Too much paint and it oozes over the sides, and not enough paint and you find yourself repeating yourself over and over until you have it perfected. In that time you could have free handed it with an angled brush and been done.
- Paint Brush Cleaners- I have never wasted my money on cleaners for my brushes. Good ole Dawn soap has always worked for me. Majority of the time I just use my brush cleaner tool and hot water to do the job.
- Wall Cleaners- For most homes you will just need to dust the walls with a swifter or damp rag. There is no need to go and buy a special cleaner loaded with who knows what chemicals to clean your walls. If you have a special case and find the need for a cleaner Dawn dish soap in a hot bucket of water can do wonders.
- Paint Grids– I am so disappointed in this product. I wanted to like it and I thought I did for a short period of time. I even recommended it on my Instagram, to later find out the more I used it that it wasn’t for me. The action of dipping your whole roller into a bucket of paint leaves paint dripping from the sides of the roller it self. No matter how you roll the access paint on to the grid you will never get the dripping paint off the sides. All that gets put on the wall leaving a huge mess with paint drops dripping everywhere.
Frequently asked questions on how to paint a room?
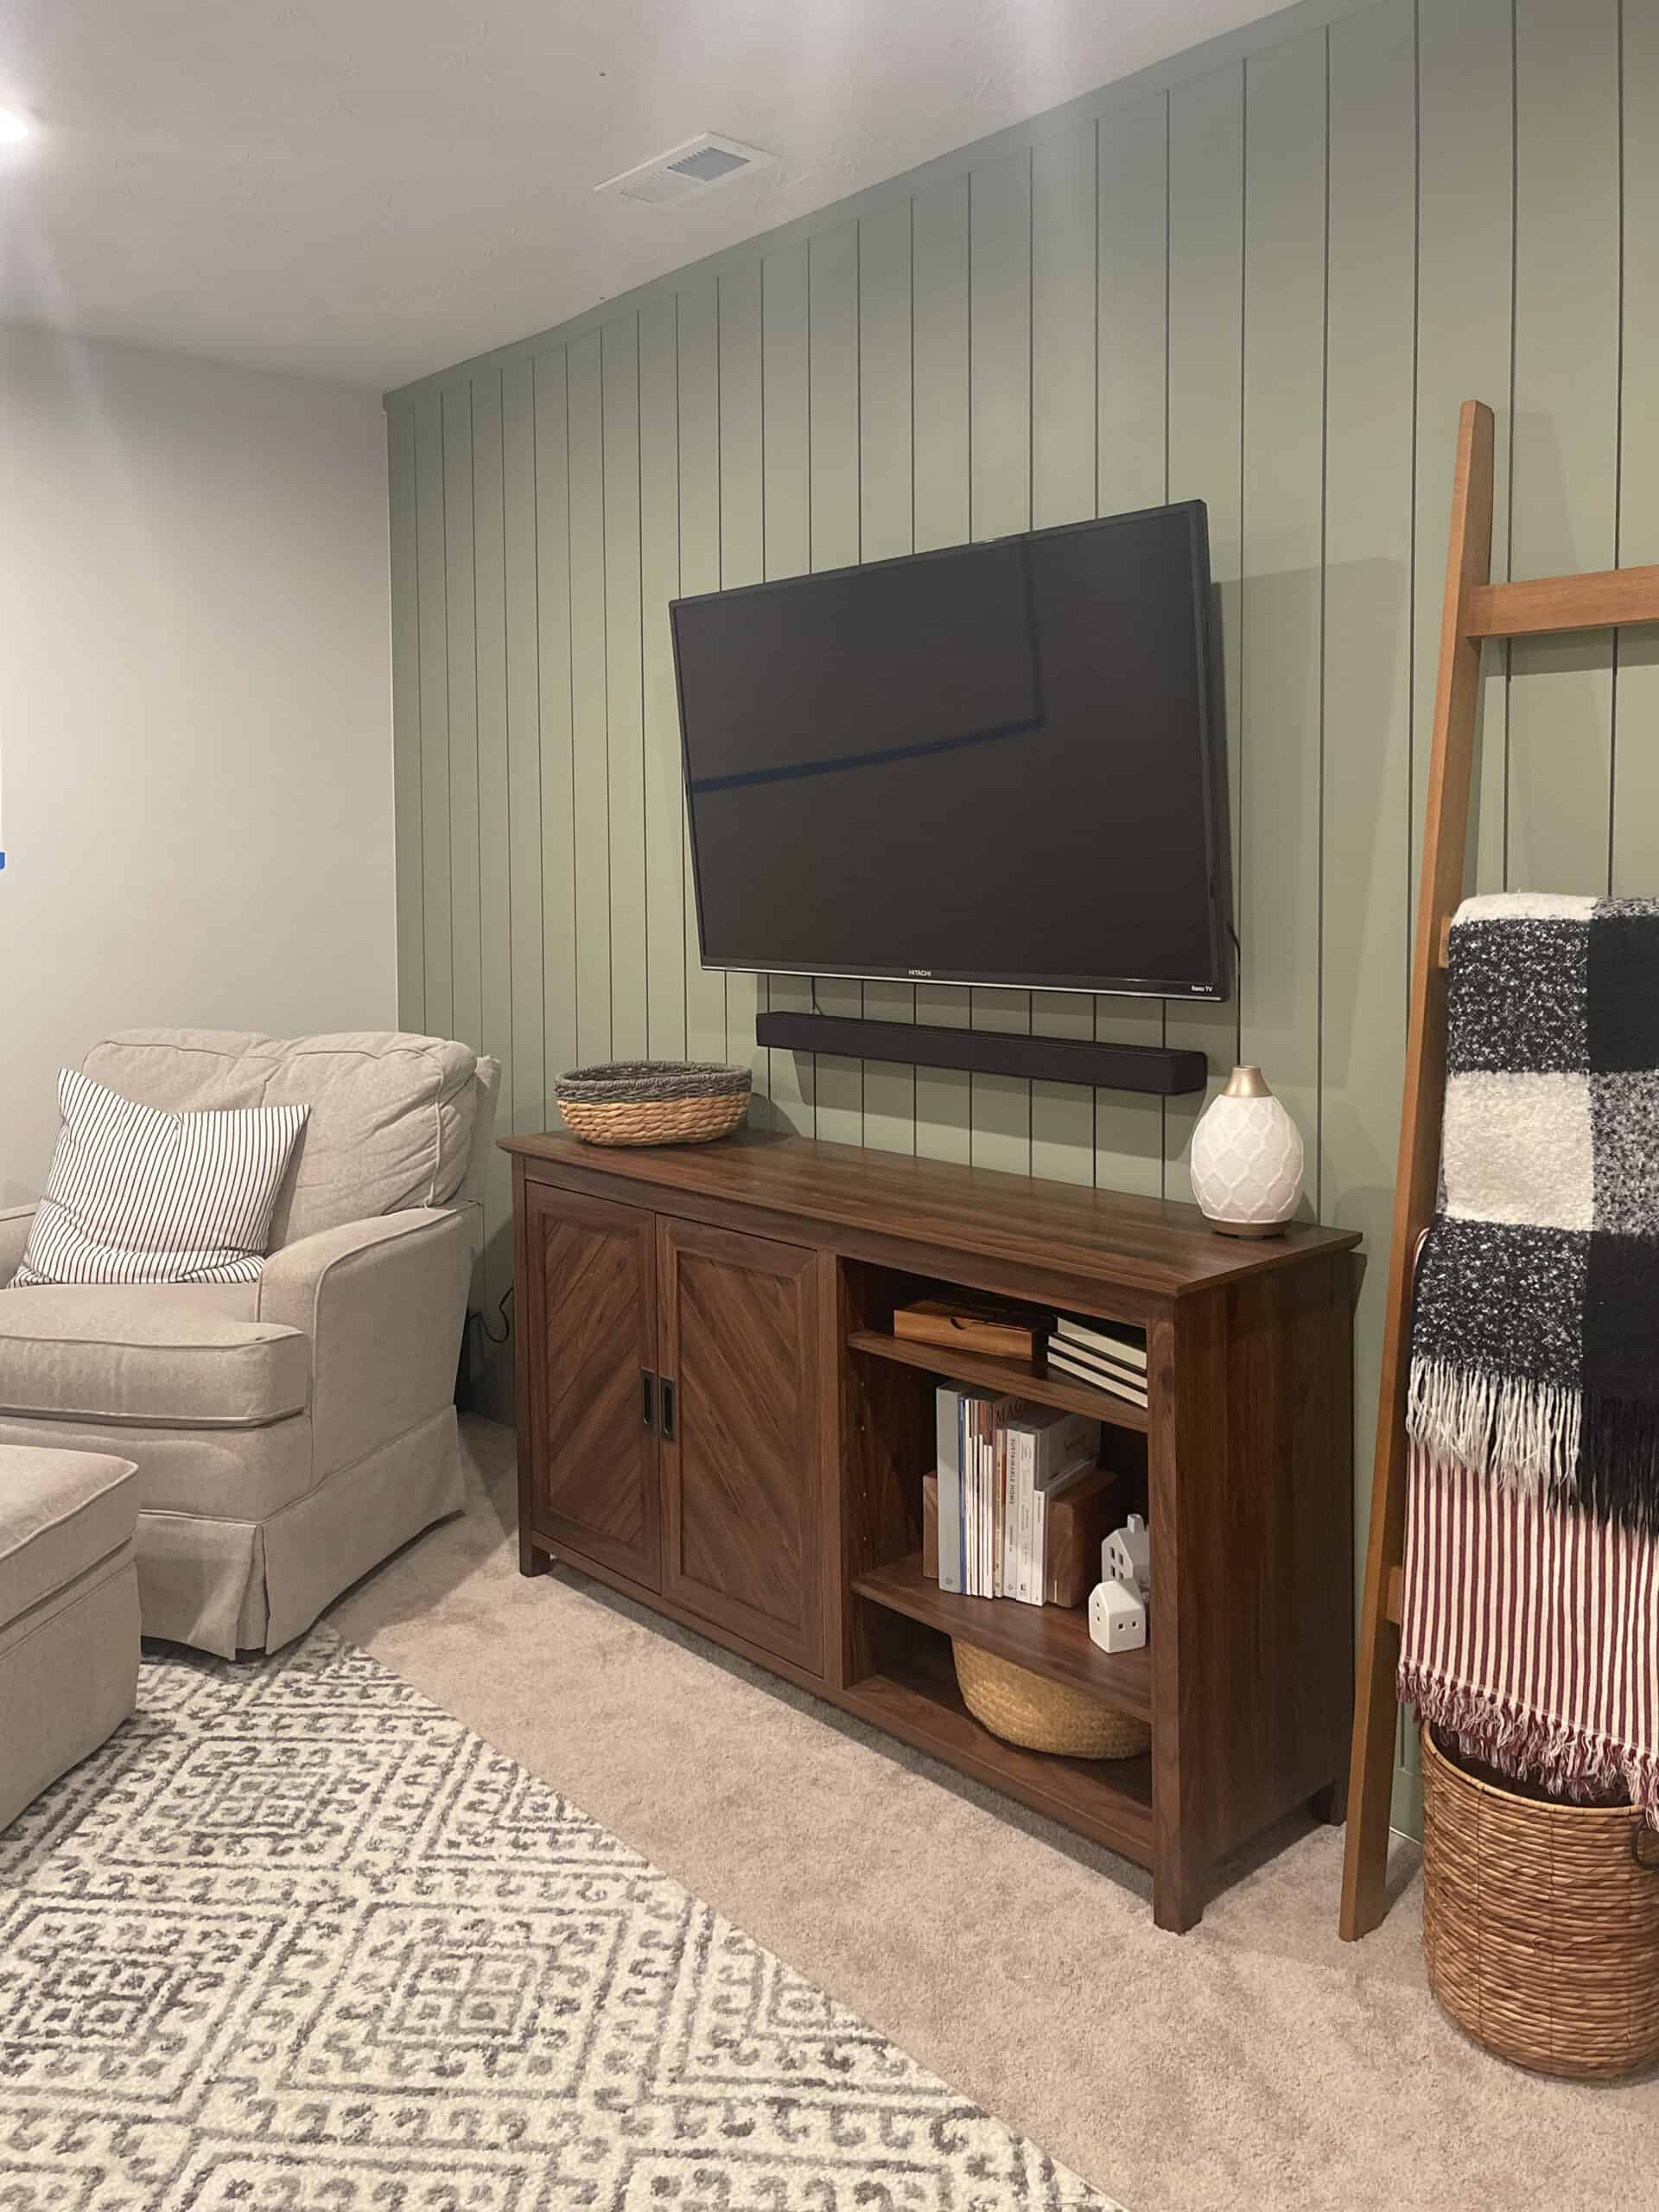
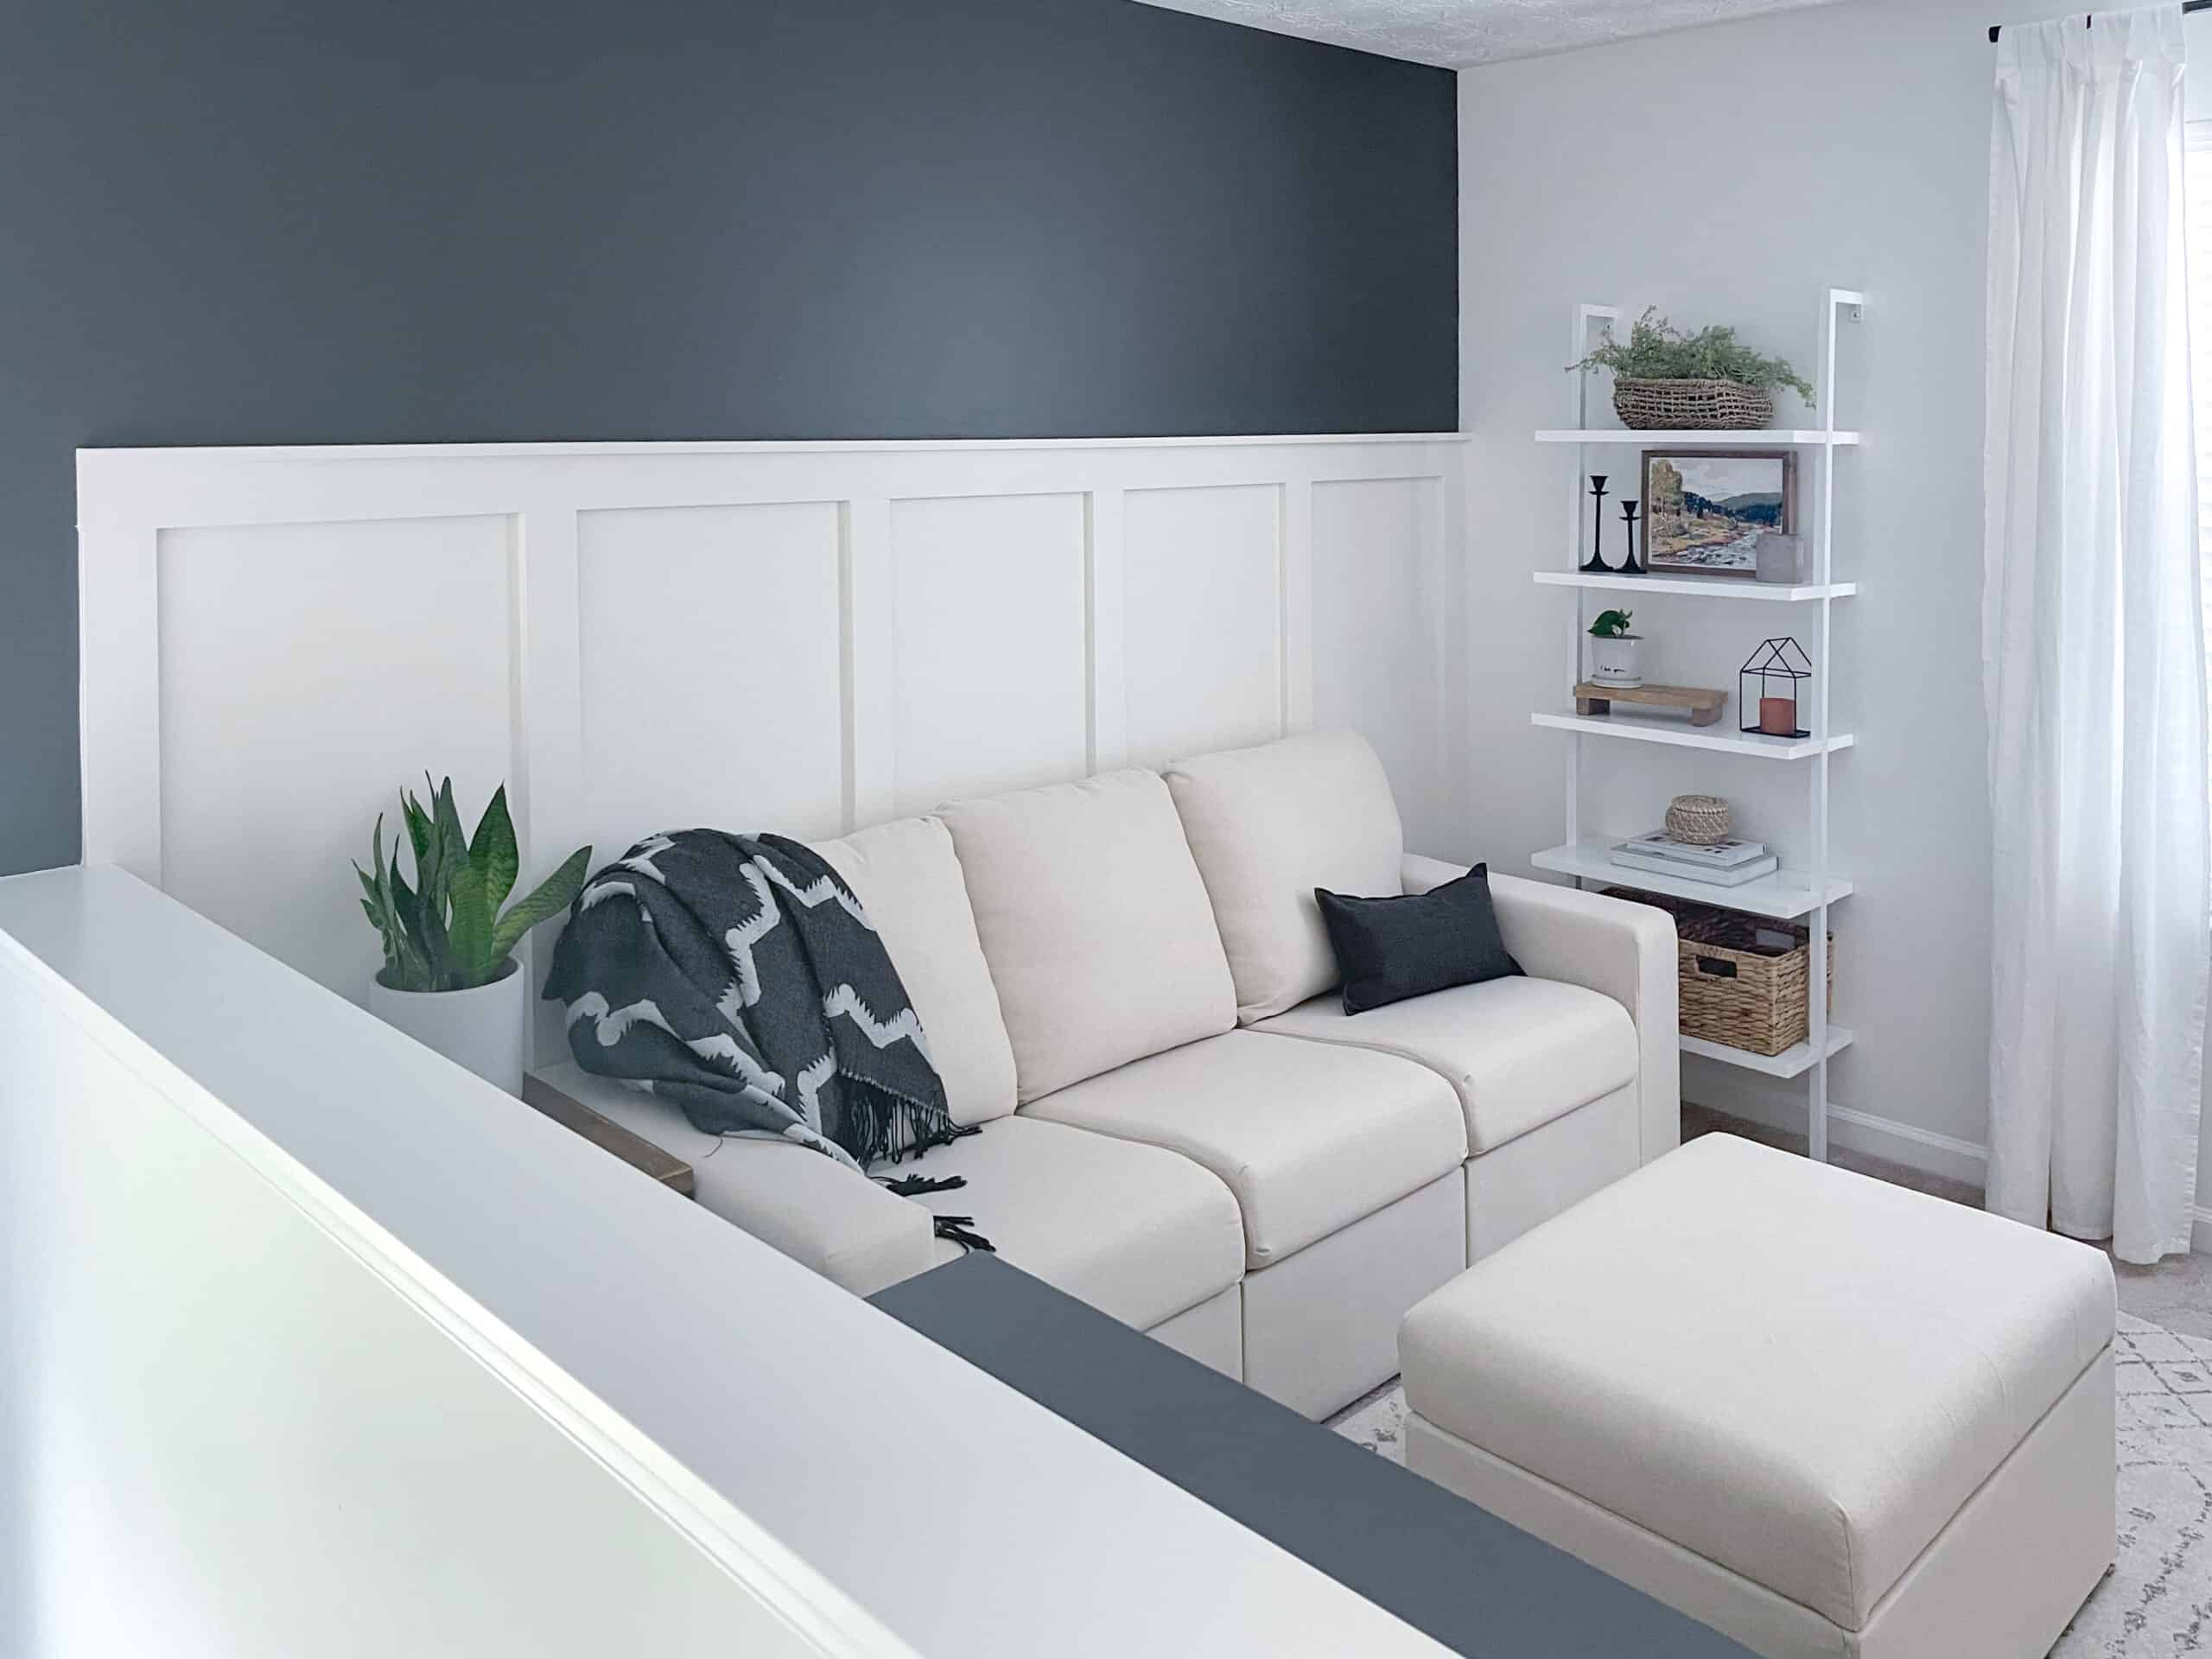
Painting is one of my most favorite ways to transform a room. Not to mention it’s pretty inexpensive and doesn’t require much time. Something about stepping back and looking at the transformation and knowing you did that with your two hands is just exhilarating. Down below is some of the most asked questions i get in my messages on Instagram.
How long does it take to paint a room?
This can vary greatly. Room size, the amount of prep work you have to do and if your kids are present! Typically I can paint a bedroom in one days time. Other days depending on time, toddlers and the current state of the room it can take me as long as 3 days.
Recently, I painted my daughters room and come to find out the builder’s never primer our new drywall. So first I had to prime all four walls and the next day I moved on to the final colors. It took me 3 days total, primer, then painting 3 walls Swiss Coffee and then accent walls were painted last.
Is primer required for repainting?
Normally you will not have to prime your walls before repainting. Most paints have primer built in and it works just fine. Other scenarios though you might need to prime if your walls are new or you have a really dark color like red or black. All new drywall must be primed before painting or you will see all roller marks and brush strokes from your paint.
Do you paint trim or walls first?
This is all preference. Most pro painters will tell you to paint the trim first, then ceiling then walls. Less taping off and the quicker the painting will go. As for me I would like to say I follow that rule but I would be lying! I get impatient sometimes and want to see a transformation quicker. Starting with the walls is usually where I begin.
How do you get clean lines without painters tape?
Slow, very slow. And mainly practice. Having a good angled brush is key. The newer the brush the better. Depending on how much you use your paint brushes all depends on how your lines turn out. If you have a lot of stray hairs hanging from your brush it’s time for a new one.
Don’t pile a ton of paint onto your brush either. To much paint can lead to you not having enough control over your paint lines. If you need practice draw a line on a piece of paper and get the feeling for it before you move onto your walls.
I hope this was helpful and got you started on building your knowledge and painting tools collection. Down below are some other helpful articles on painting I hope you enjoy.